


Taking payments on your Webflow site should feel easy. Stripe makes that possible by handling everything securely in the background. Once connected, you can charge customers, take donations, or manage subscriptions without leaving Webflow.
In this guide, you’ll learn the three main ways to connect Stripe to your Webflow site. We’ll explain which method fits your setup best and give you step-by-step instructions to launch payments fast and with confidence.
What Is Stripe?
Stripe is a payment platform that helps businesses accept money and process transactions online. With Stripe, you can take payments through credit cards, debit cards, Apple Pay, Google Pay, and many other options.
It is the most reliable and flexible tool out there as it handles security, currency conversions, and fraud prevention for every transaction. This way you can focus on growing your business instead of worrying about accounting and finance.
Why Integrate Stripe with Webflow
Integrating Stripe with Webflow gives you everything you need to start accepting payments without moving to another platform. It connects your existing website with a secure payment system that works almost everywhere across the globe.
Here’s what you gain from the integration:
- Global payments: Accept money from customers anywhere, in their local currency.
- Security built in: Stripe includes encryption and fraud protection, so transactions stay safe.
- Multiple payment options: Works with major cards, Apple Pay, Google Pay, and more.
- No extra tools: You don't need to install external checkout software or use plugins.
- Faster setup: You can start collecting payments within hours.
For most brands, Stripe makes online payments smoother and reduces the technical setup time, so you can launch faster and get paid sooner. And if you need help with the setup, our Webflow development company can help.
What You Need to Integrate Webflow With Stripe
Before you connect Stripe to Webflow, make sure you have everything ready. Setting these up first will save you time later.
1. A Webflow Account
You’ll need at least a paid Webflow Site Plan to use custom integrations. If you plan to use Webflow Ecommerce, you’ll connect Stripe directly inside your project settings.
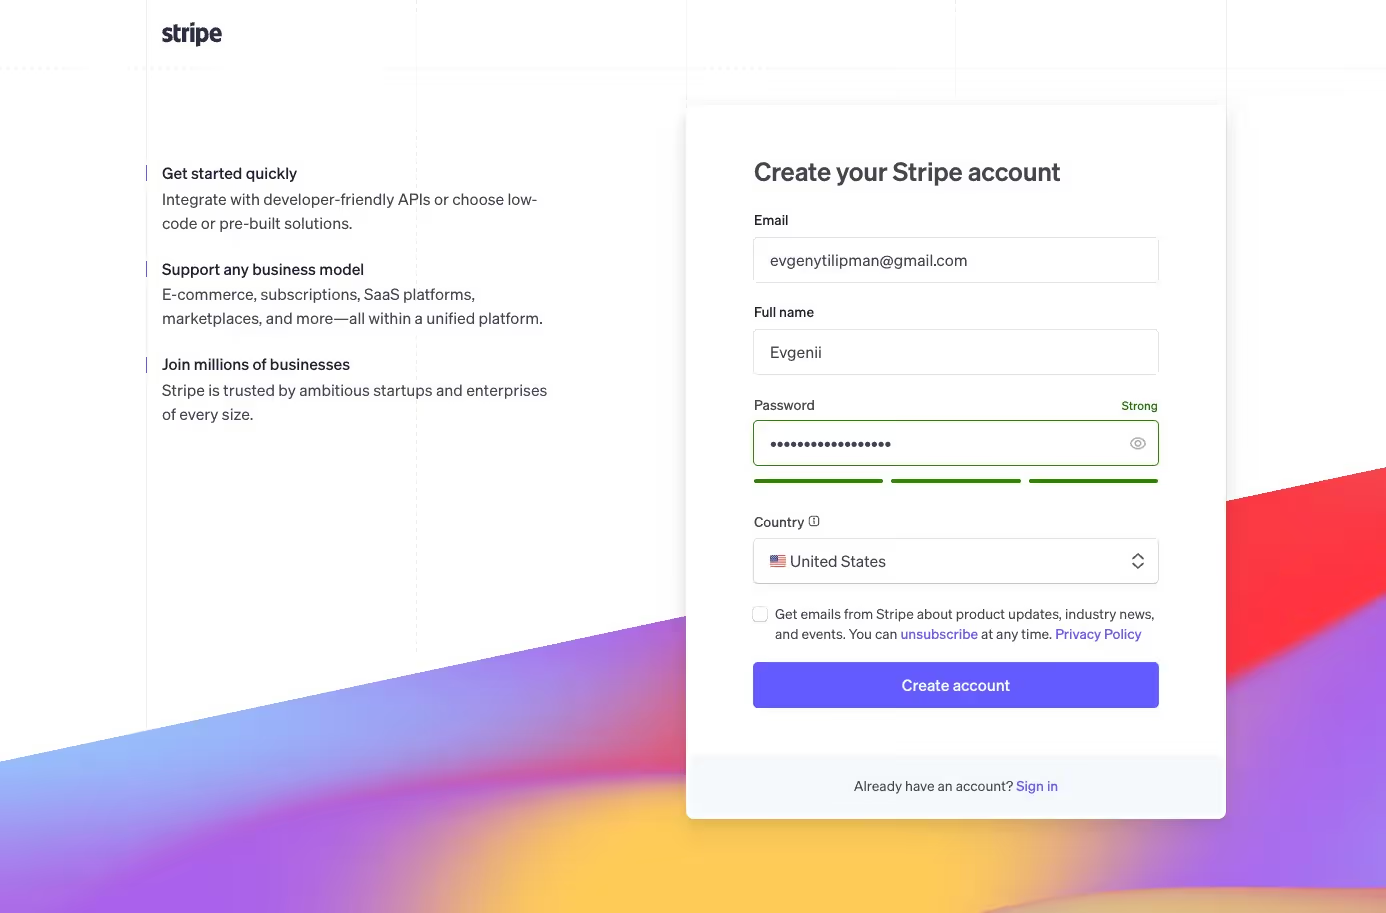
2. A Stripe Account
Go to stripe.com and create a free account. Verify your business by adding your company details, tax information, and a bank account for payouts.
3. Business Information
Stripe will ask for basic company data like your business name, website, and legal details. Make sure your information matches what’s on your bank account to avoid payout issues.
Once these are in place, you’re ready to choose how you want to connect Stripe to Webflow.
Stripe Integration Methods
There are multiple ways to connect Stripe to Webflow, depending on your needs and technical expertise.
- Using Stripe Payment Links (Quickest & Easiest)
- Best for small businesses, service-based companies, and simple one-time payments.
- Requires no coding—just generate a payment link and embed it in Webflow.
- Using Flowout’s Stripe App (No-Code Webflow Marketplace Solution)
- A Webflow Marketplace app that integrates Stripe payments directly into Webflow.
- Best for businesses that need more flexibility than payment links but don’t want to code.
- Using Stripe API (Advanced Custom Integration)
- Gives full control over the payment process, including subscriptions and custom checkout flows.
- Best for businesses needing complex Stripe Webflow integration, requiring developer expertise.
In this guide, we will be going over the first two integration methods, as talking about Stripe's API is a broad topic, and implementation would more likely than not require Engineering resources.

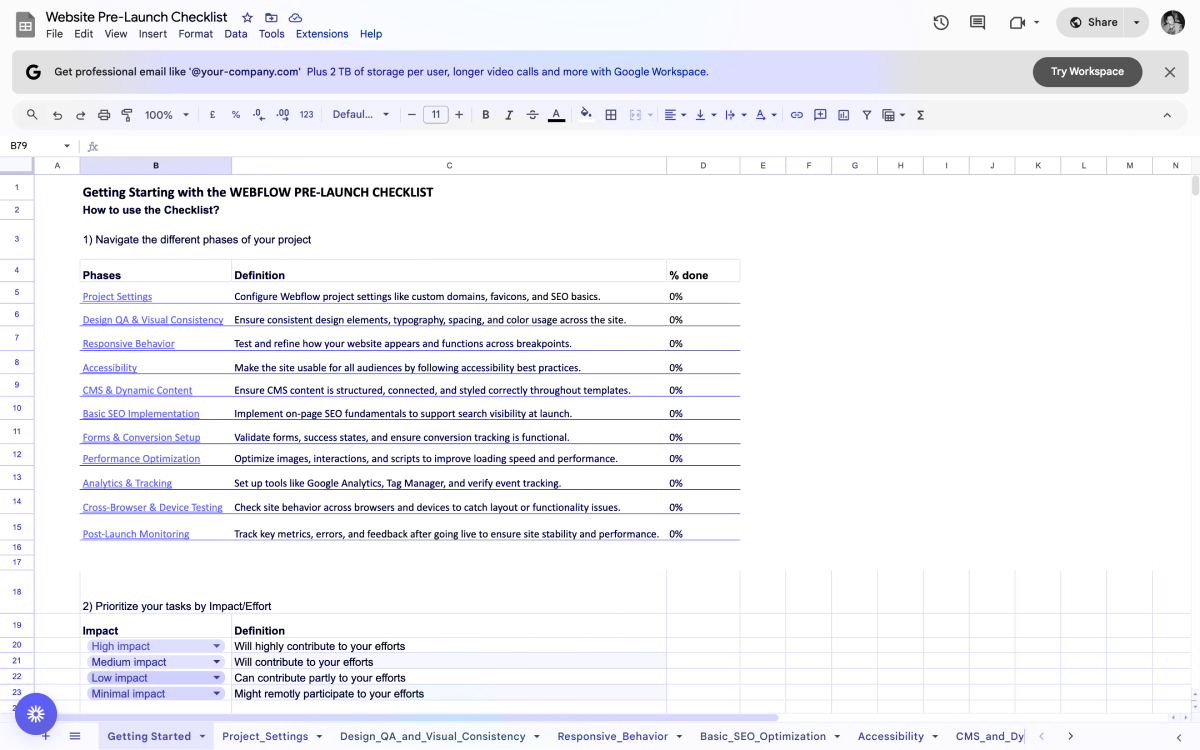
Launching soon? Don’t wing it.
Use our free website launch checklist to avoid common pitfalls—like broken links, tracking issues, and SEO mistakes. It’s a comprehensive pre- and post-launch guide built for teams that care about getting it right the first time.
Step-by-Step Guide to Connecting Stripe to Webflow
Method 1: Using Stripe Payment Links (Quick & Easy)
If you want the fastest way to collect payments in Webflow, Stripe Payment Links are the way to go. You don’t need code, plugins, or a developer.
How It Works
You create a link in your Stripe dashboard for a specific product or service. Then, you paste that link onto any button or text link in Webflow. When a visitor clicks it, they go straight to a secure Stripe checkout page.
Step-by-Step Setup
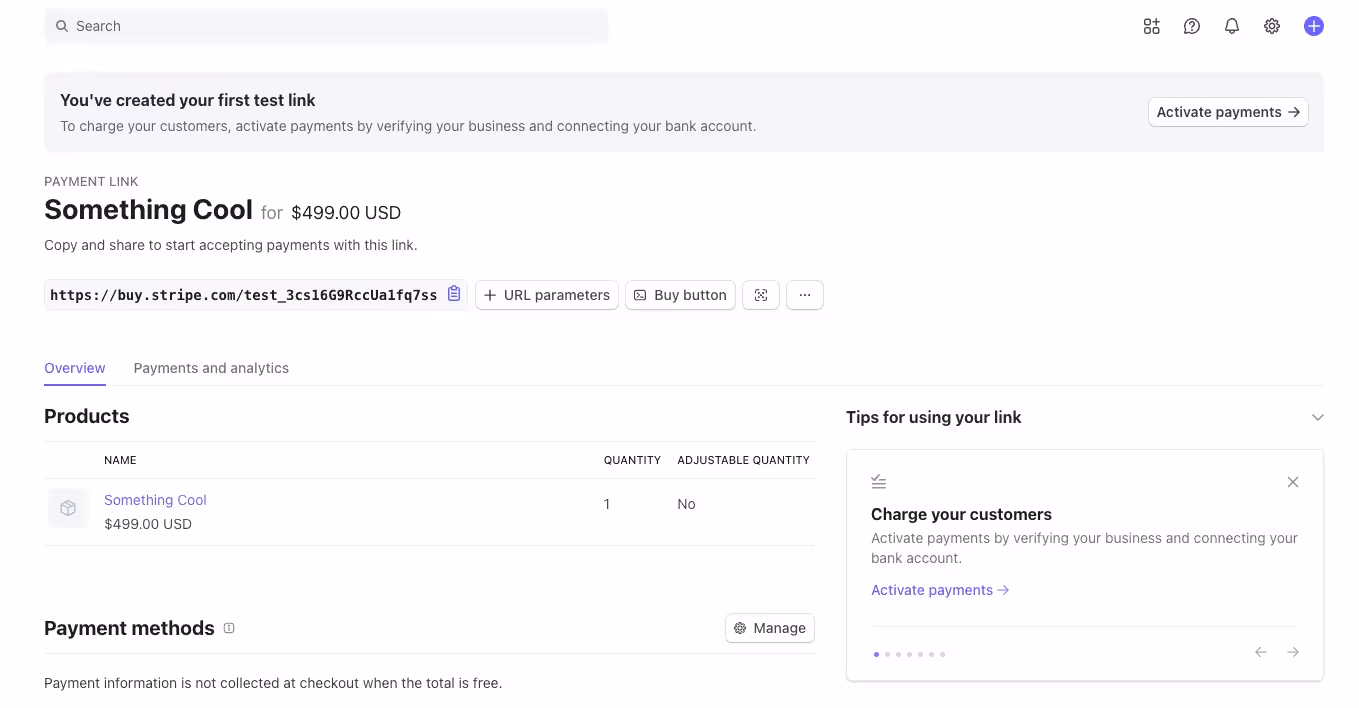
- Log in to your Stripe Dashboard.
- Go to Payments > Payment Links.
- Click Create Payment Link and add your product or service details.
- Set your price and payment type (one-time or recurring).
- Copy the link generated by Stripe.
- In Webflow, select your button or link element and paste the Stripe link into the
href=""atribute of a link element. - Publish your site and test it to make sure the link works.
Best for: Small businesses, service providers, or anyone who wants a quick and simple checkout experience.
Tip: You can customize your Stripe checkout page with your logo and brand colors for a consistent look.
If you are finding these steps hard to visualize, here is a good Stripe integration explainer video.
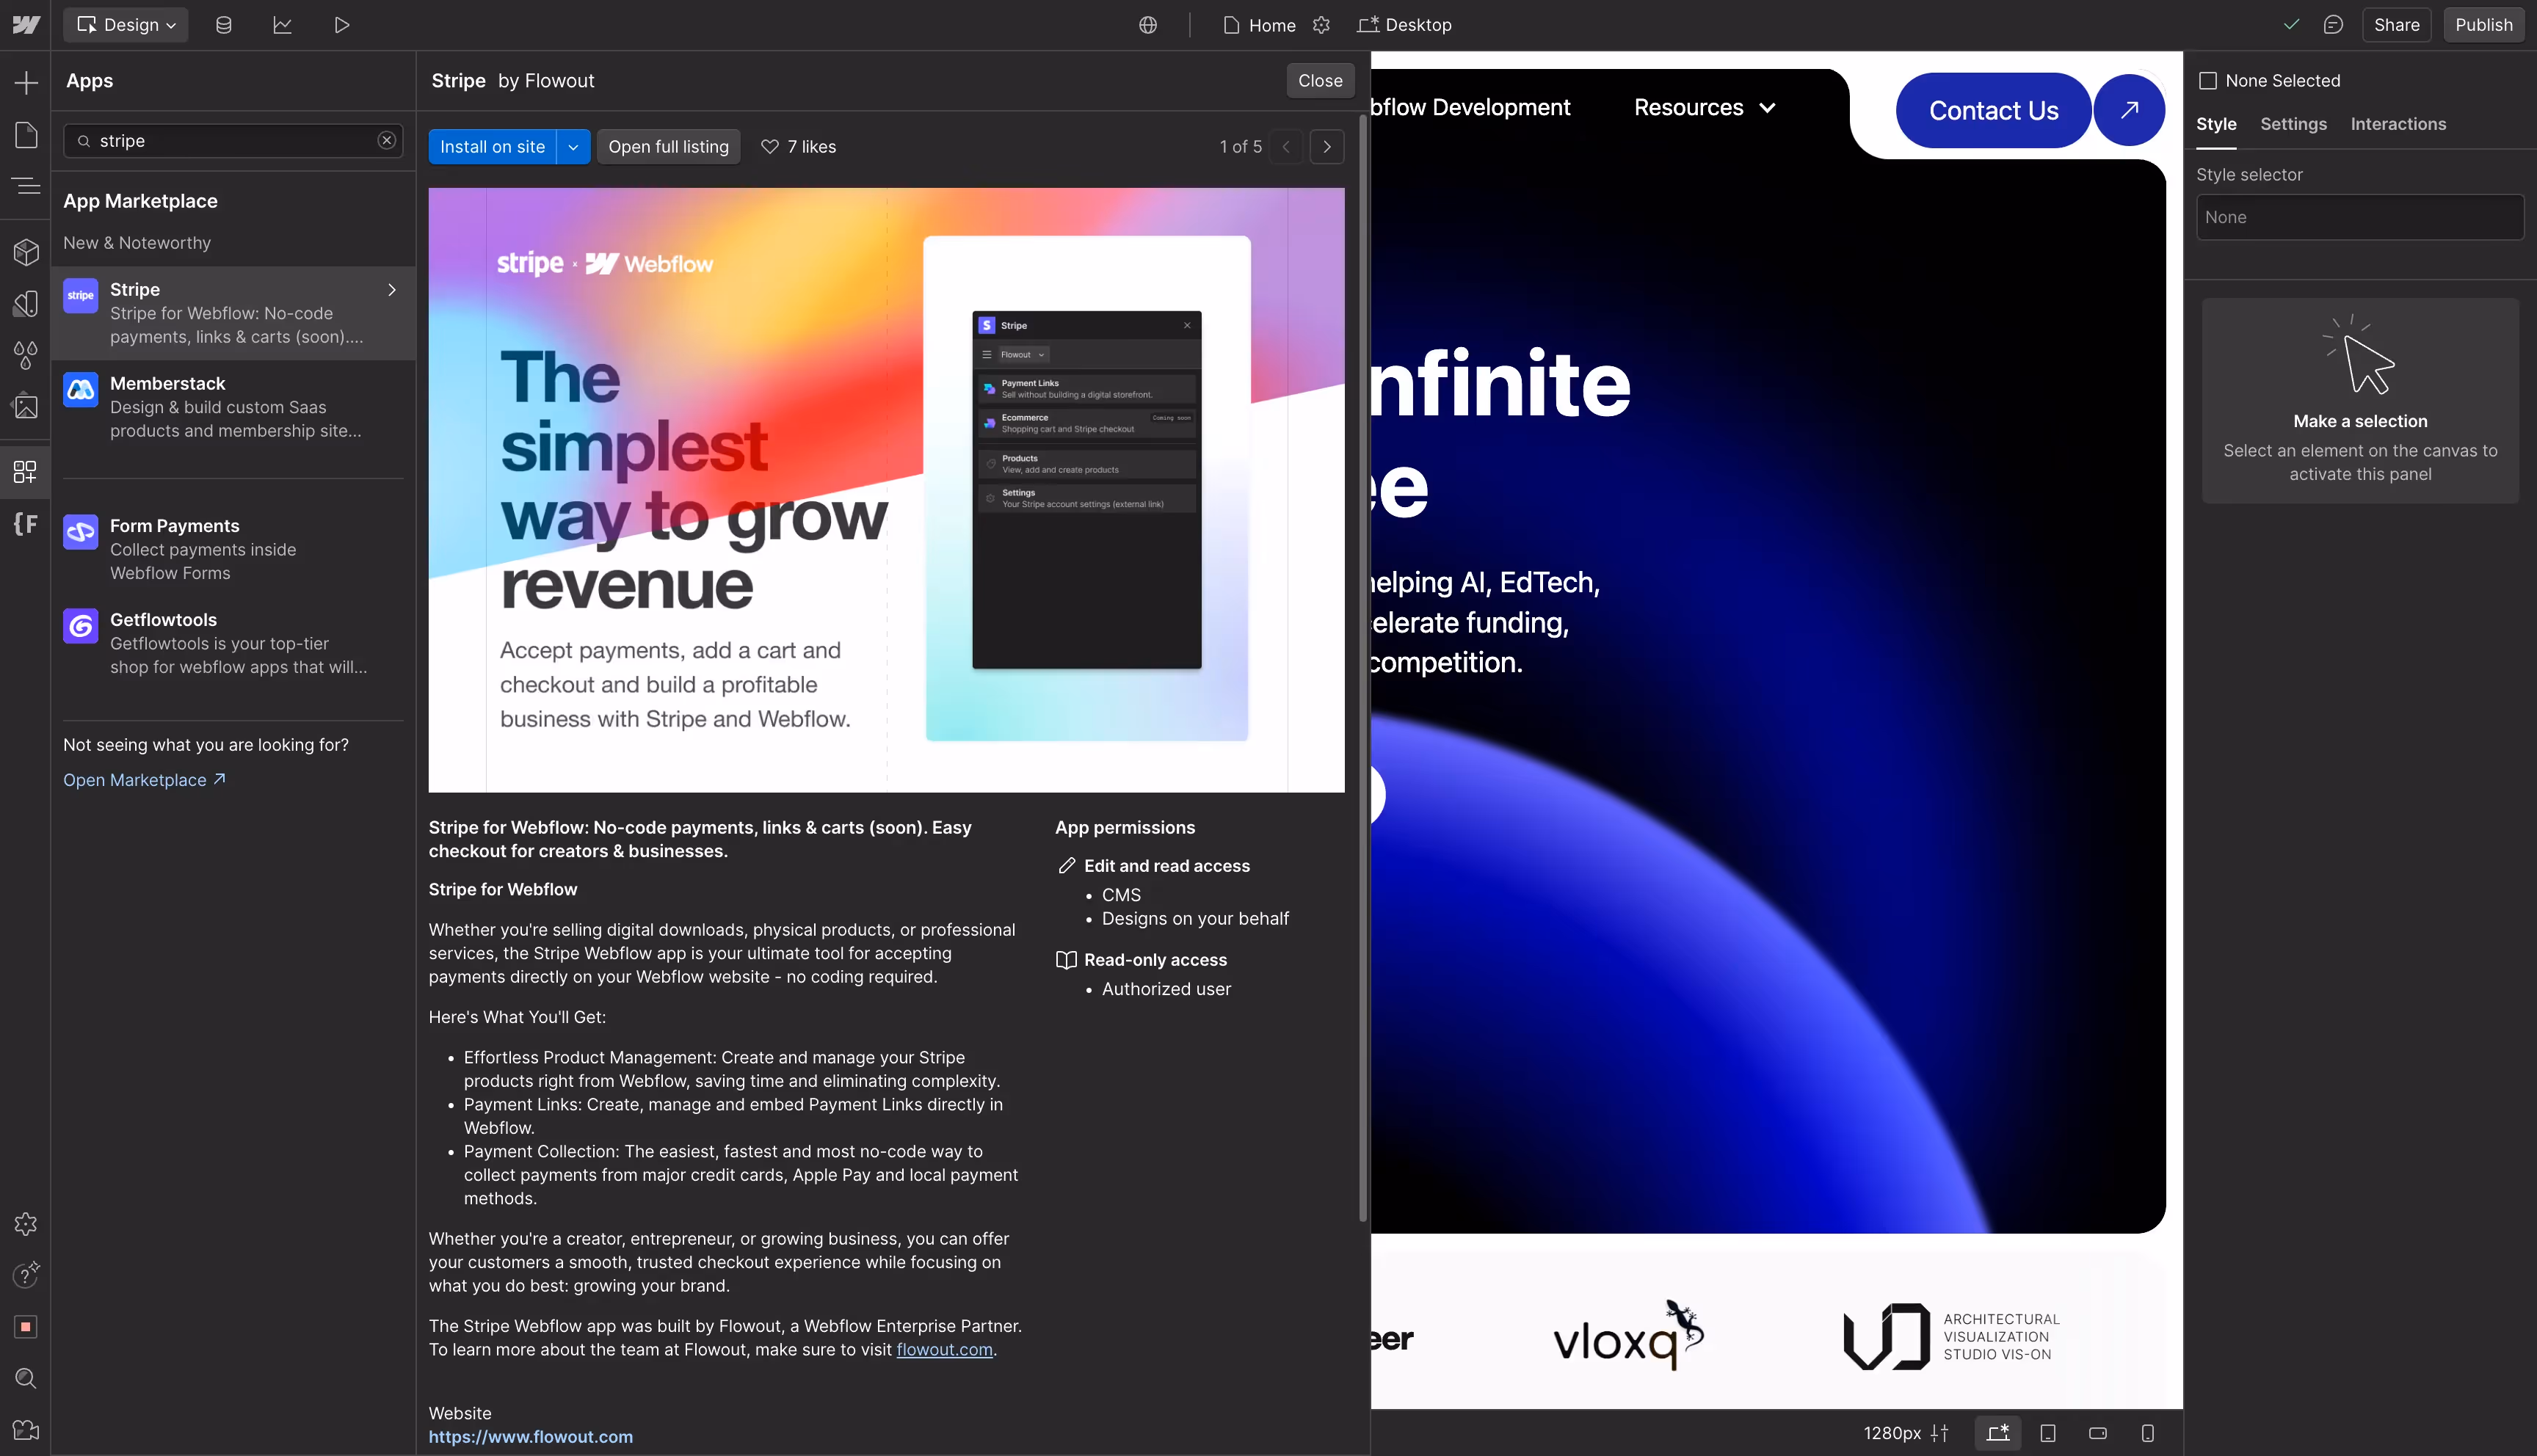
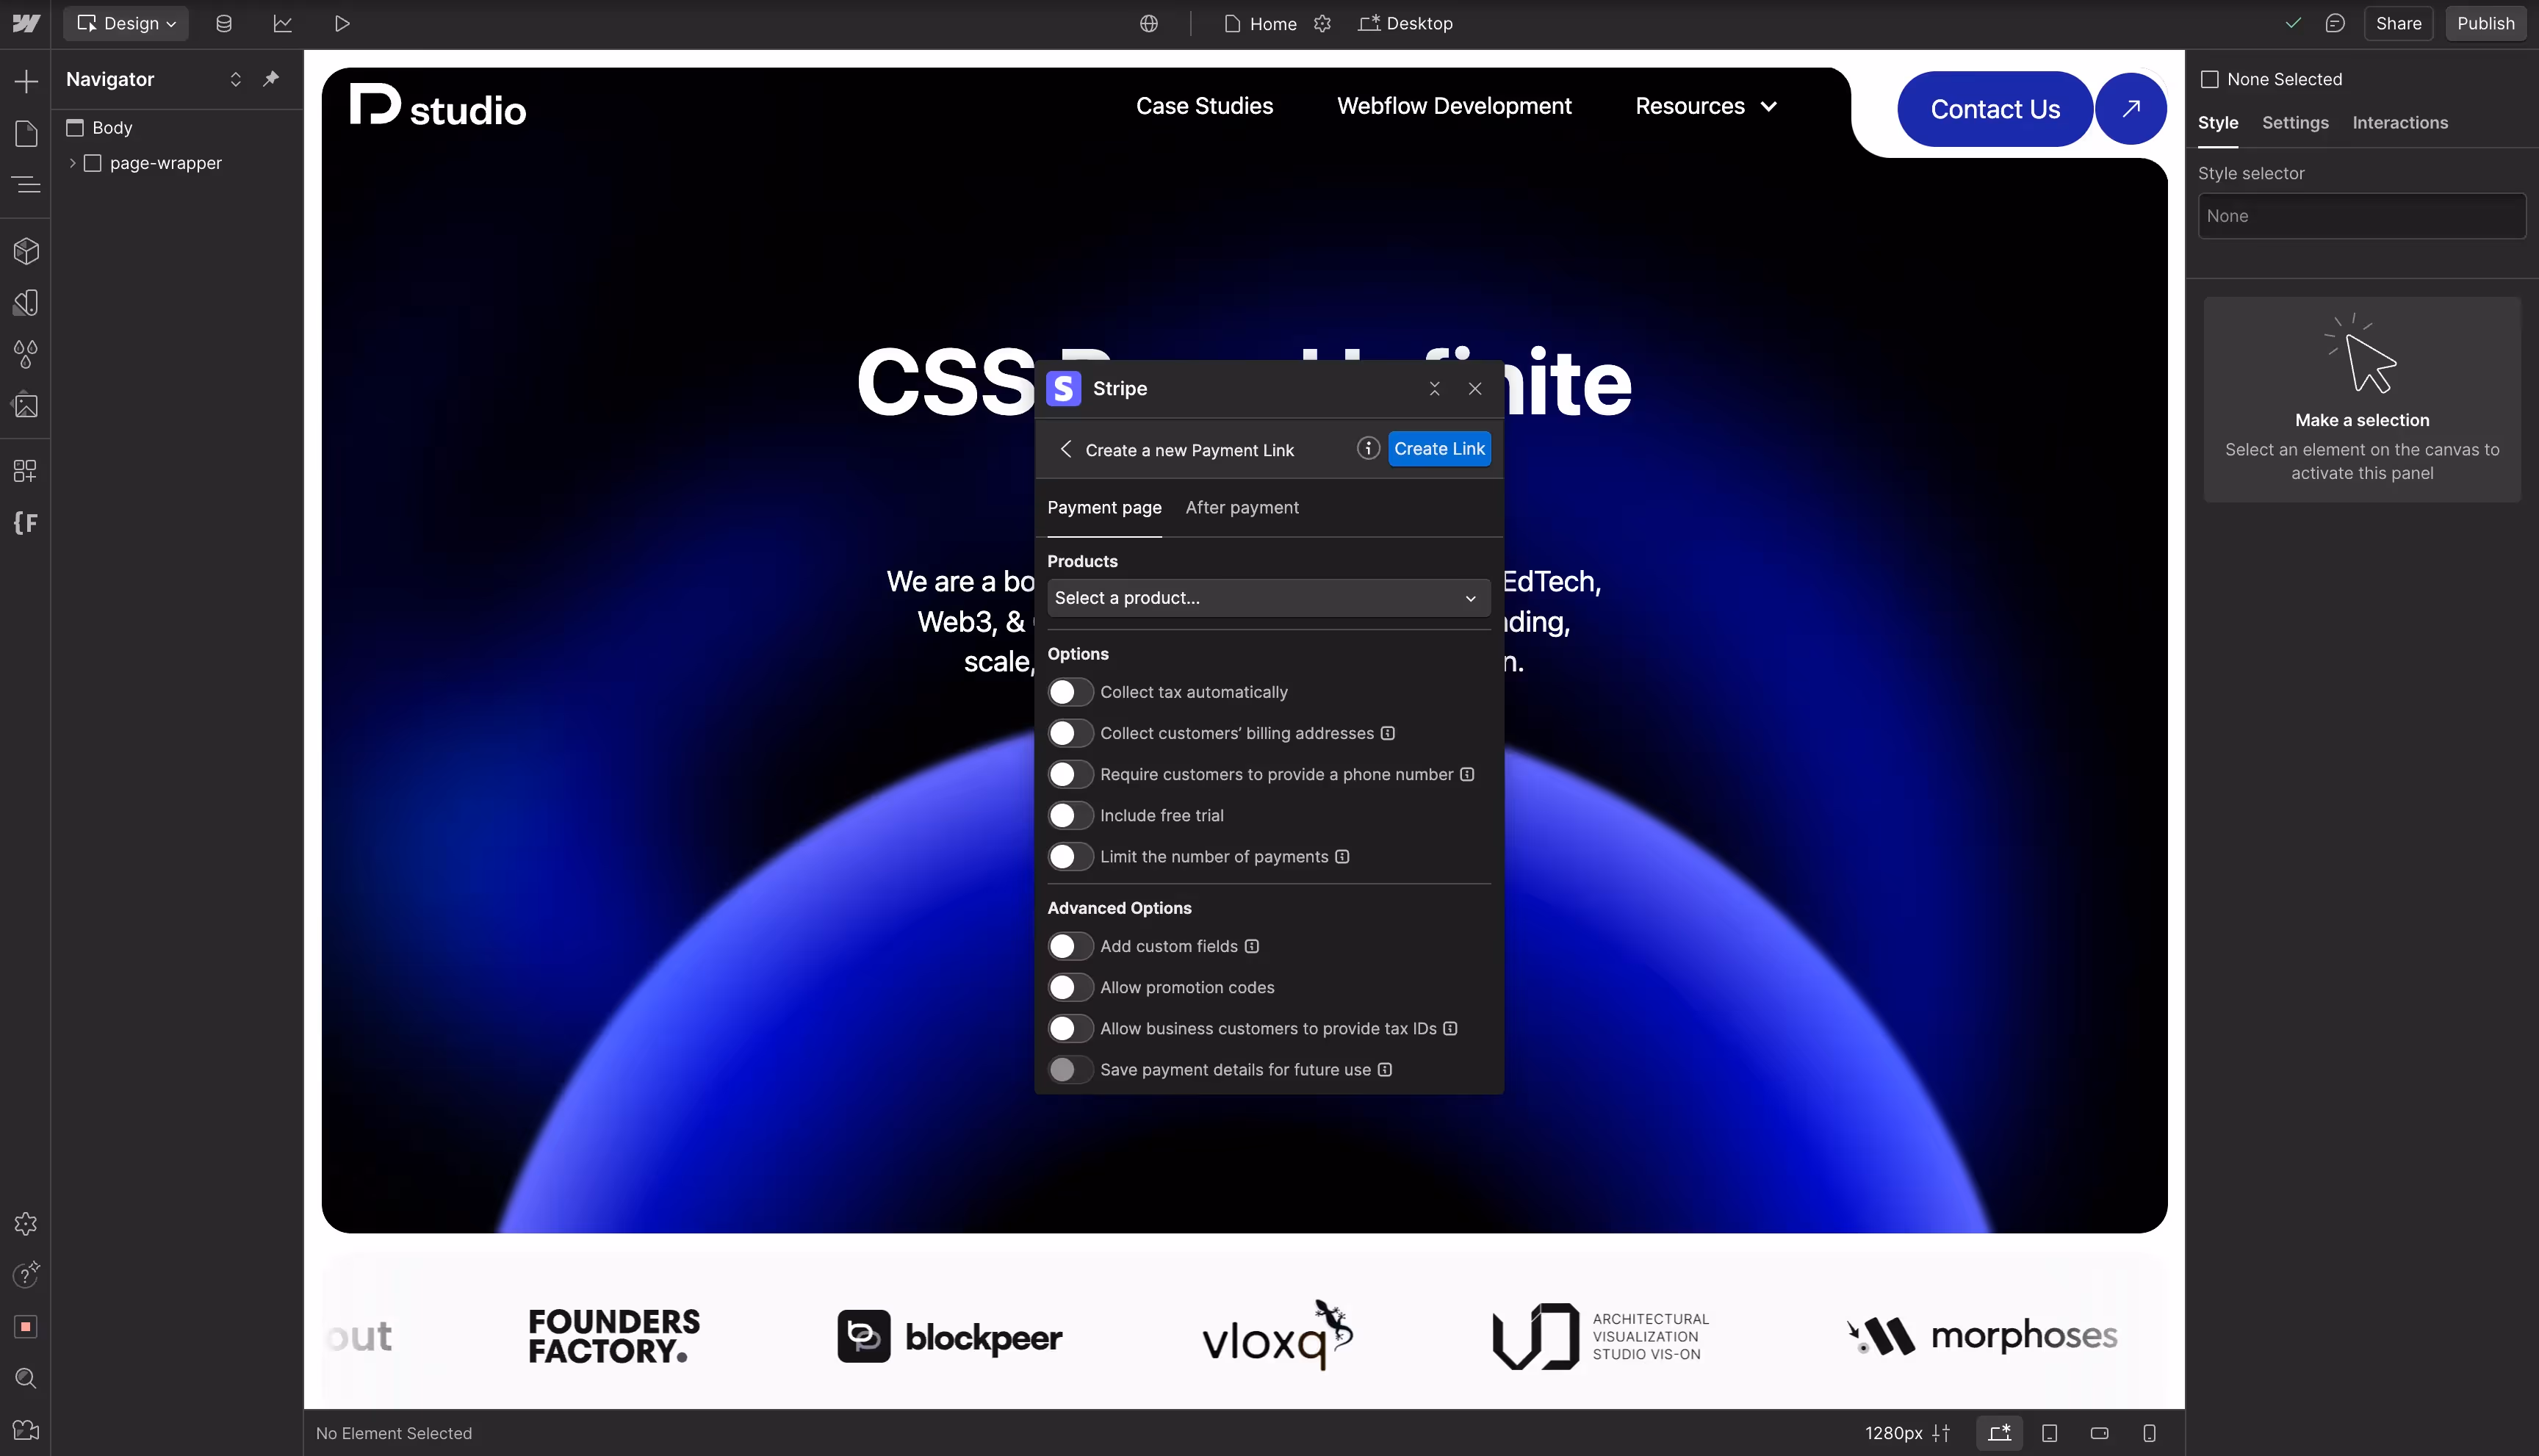
Method 2: Using Flowout’s Stripe App (No-Code Integration)
If you prefer to stay inside Webflow while managing your payments, the Flowout Stripe App is the best choice. It’s a no-code tool from the Webflow Marketplace that connects Stripe directly to your site.
How It Works
Instead of copying links manually, this app lets you create and assign Stripe payment links without leaving Webflow. It’s faster and keeps everything organized.
Step-by-Step Setup
- Go to the Webflow Marketplace and search for Stripe App.
- Click Install App and connect it to your Webflow project.
- Sign in to Stripe and authorize access.
- Create or select an existing payment link inside the app.
- Attach the link to a button or element on your Webflow page.
- Publish your site and test the checkout flow.
Best for: Businesses that update products often or need a simpler workflow for managing multiple payment links.
Tip: The App works well for non-technical teams because it keeps everything inside Webflow’s visual editor.
Method 3: Custom Stripe Integration via API (Advanced Setup)
For teams that need subscriptions, custom pricing, or dynamic checkouts, using the Stripe API gives you the most flexibility. This approach requires a developer or backend setup but offers complete control.
How It Works
The API lets you connect your Webflow forms to Stripe using a backend service. This can be built with tools like Node.js, Python, or no-code backends such as Wized or Xano. When a user submits a form, the payment request is sent to Stripe, and you can handle confirmations automatically.
Step-by-Step Setup
- Set up a backend (using Node.js, Python, or a no-code tool like Xano).
- Use Stripe’s API to create a Checkout Session for each purchase.
- Send payment data from Webflow forms to your backend endpoint.
- Use Webhooks to handle successful payments or errors.
- Customize your checkout page to match your site’s design.
- Test transactions using Stripe’s sandbox mode before going live.
Best For: SaaS products, subscription-based businesses, or teams that need advanced payment logic.
Tip: Start with a single product or subscription type to simplify your first API integration. Once it works smoothly, expand to more use cases.
Troubleshooting and Common Issues
Even with an easy setup, you might run into small issues. Here’s how to fix the most common ones:
- Payment Not Working: Check that your Stripe account is verified and active. If it’s in test mode, switch to live payments before publishing.
- Link Doesn't Redirect: Make sure your Webflow button URL starts with
https://and that the Stripe link is correct. - Transaction Fails: Double-check your product settings in Stripe. The issue could be a missing price, incorrect currency, or an expired link.
- Stripe Not Supported in Your Country: Stripe isn’t available everywhere. You can check supported regions on their global coverage page. If your region isn’t listed, look into Stripe Atlas to set up a U.S.-based account.
If these don’t solve the issue, visit Stripe Support or Webflow help center for more detailed troubleshooting guides.
Pro Tip: If you’re using a backend such as Xano, test both success and failure webhooks in Stripe’s test mode to make sure your automation works correctly. And if you don't have a backend, but need it, check out this Webflow Xano Integration guide.
Conclusion
Connecting Stripe to Webflow is one of the easiest ways to start accepting payments online. You can begin small with Stripe Payment Links, manage everything visually with the Flowout App, or build a complete system through the Stripe API.
Each method fits a different type of business:
Looking for professional help setting it up, our team at Tilipman Digital can integrate Stripe with your Webflow site.
You’ll save time, reduce errors, and launch with confidence knowing everything is handled properly.
And if you're not sure if we can integrate webflow with your tech stack, browse the Webflow integrations we work with, or just ask us. Chances are, we can take care of it.
Frequently Asked Questions
How to hook up Webflow to Stripe?
You can connect Webflow to Stripe in three main ways:
- Stripe Payment Links: The fastest option. Create a link in Stripe and paste it onto a Webflow button.
- Webflow Stripe App: Install it from the Webflow Marketplace and manage payment links directly inside your site.
- Stripe API: For advanced setups like subscriptions or dynamic pricing. Requires backend support or a developer.
Do I need Webflow Ecommerce to accept payments?
No. You can use Stripe Payment Links or the Flowout App on any paid Webflow Site Plan. The Ecommerce plan is only required if you want to use Webflow’s native checkout and cart features.
Can I accept recurring payments with Stripe in Webflow?
Yes. You can set up recurring payments using Stripe’s subscription tools or by building a custom integration through the Stripe API.
How long does it take to set up Stripe on Webflow?
Most users can connect Stripe within 30 minutes to 1 hour window using Payment Links or the Webflow App. API setups may take longer depending on your customization needs.

