


Add seamless scrolling animations to your Webflow projects without using custom code! This guide walks you through creating an infinite marquee using Webflow’s native interactions, step by step. Whether for static or CMS-based content, this tutorial has you covered.
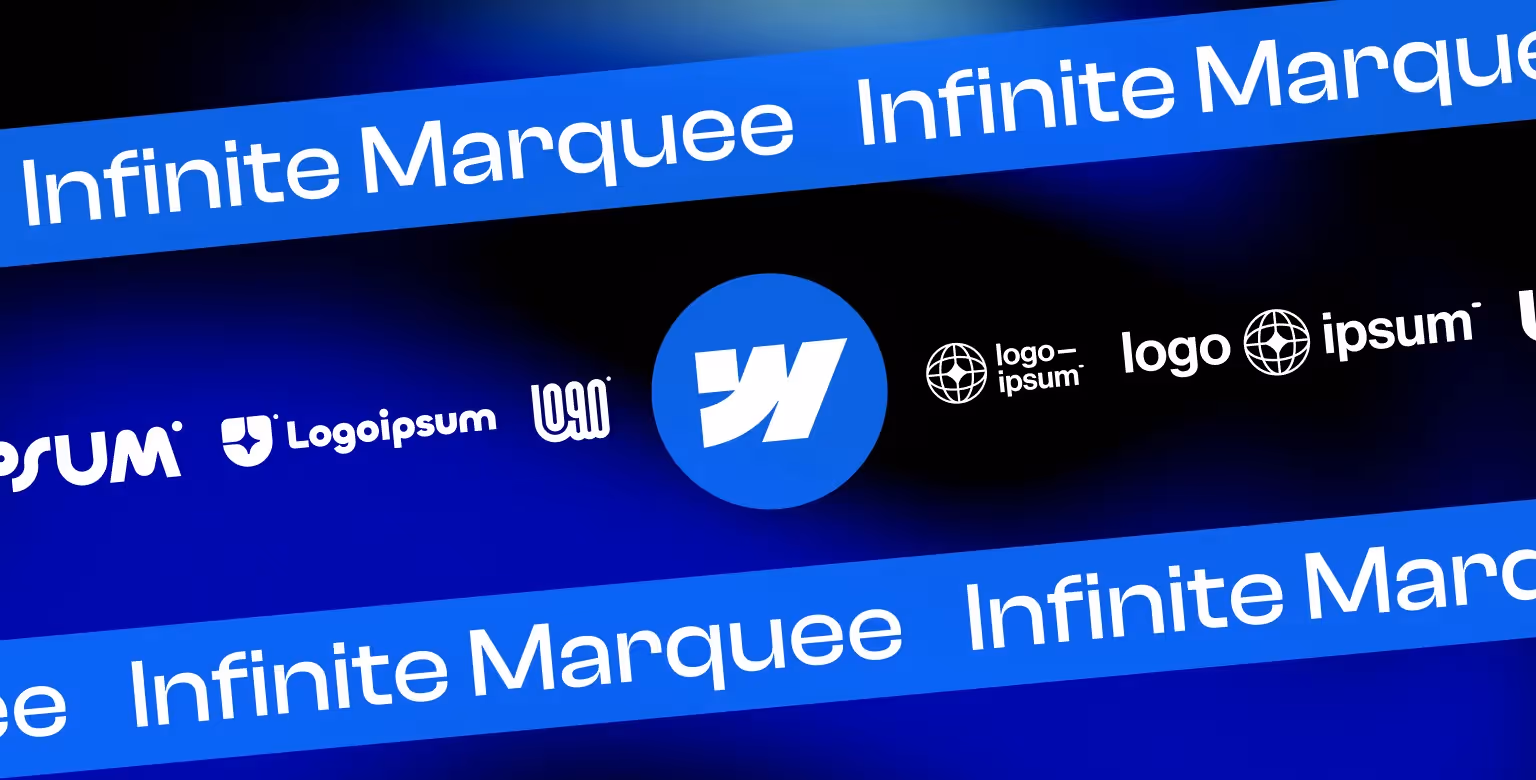
What Is an Infinite Marquee?
An infinite marquee is a scrolling animation that loops continuously, typically used for displaying logos, announcements, or other visual content. It’s dynamic, visually engaging, and achievable in Webflow without external tools or code.
Why Use Webflow Native Interactions?
Webflow’s interactions panel lets you create smooth, customizable animations directly in the Designer, reducing complexity and ensuring compatibility across breakpoints. However, it is important to note that Webflow interactions are based on JavaScript technology, which is not the most performant for animations.
Why JavaScript Animations May Not Be the Most Performant for the Use Case
JavaScript-based animations, such as those created through Webflow’s interactions, rely on the browser’s main thread for execution. This can lead to performance bottlenecks, especially on resource-constrained devices, because the main thread is also responsible for rendering, event handling, and other critical tasks.
In contrast, animations built using CSS or hardware-accelerated techniques (e.g., GPU-accelerated transforms) are typically more efficient as they offload processing to the GPU. While Webflow’s native interactions are convenient and powerful, consider these performance trade-offs for complex or high-demand animations.
Alternative Methods to Create an Infinite Marquee
- CSS Animations: Use keyframes and
transform: translateX()for smoother performance. - Third-Party Libraries: Tools like GSAP (GreenSock), SwiperJS, Splide, or other offer robust performance and advanced features for animation.
Step-by-Step Guide: Creating an Infinite Marquee
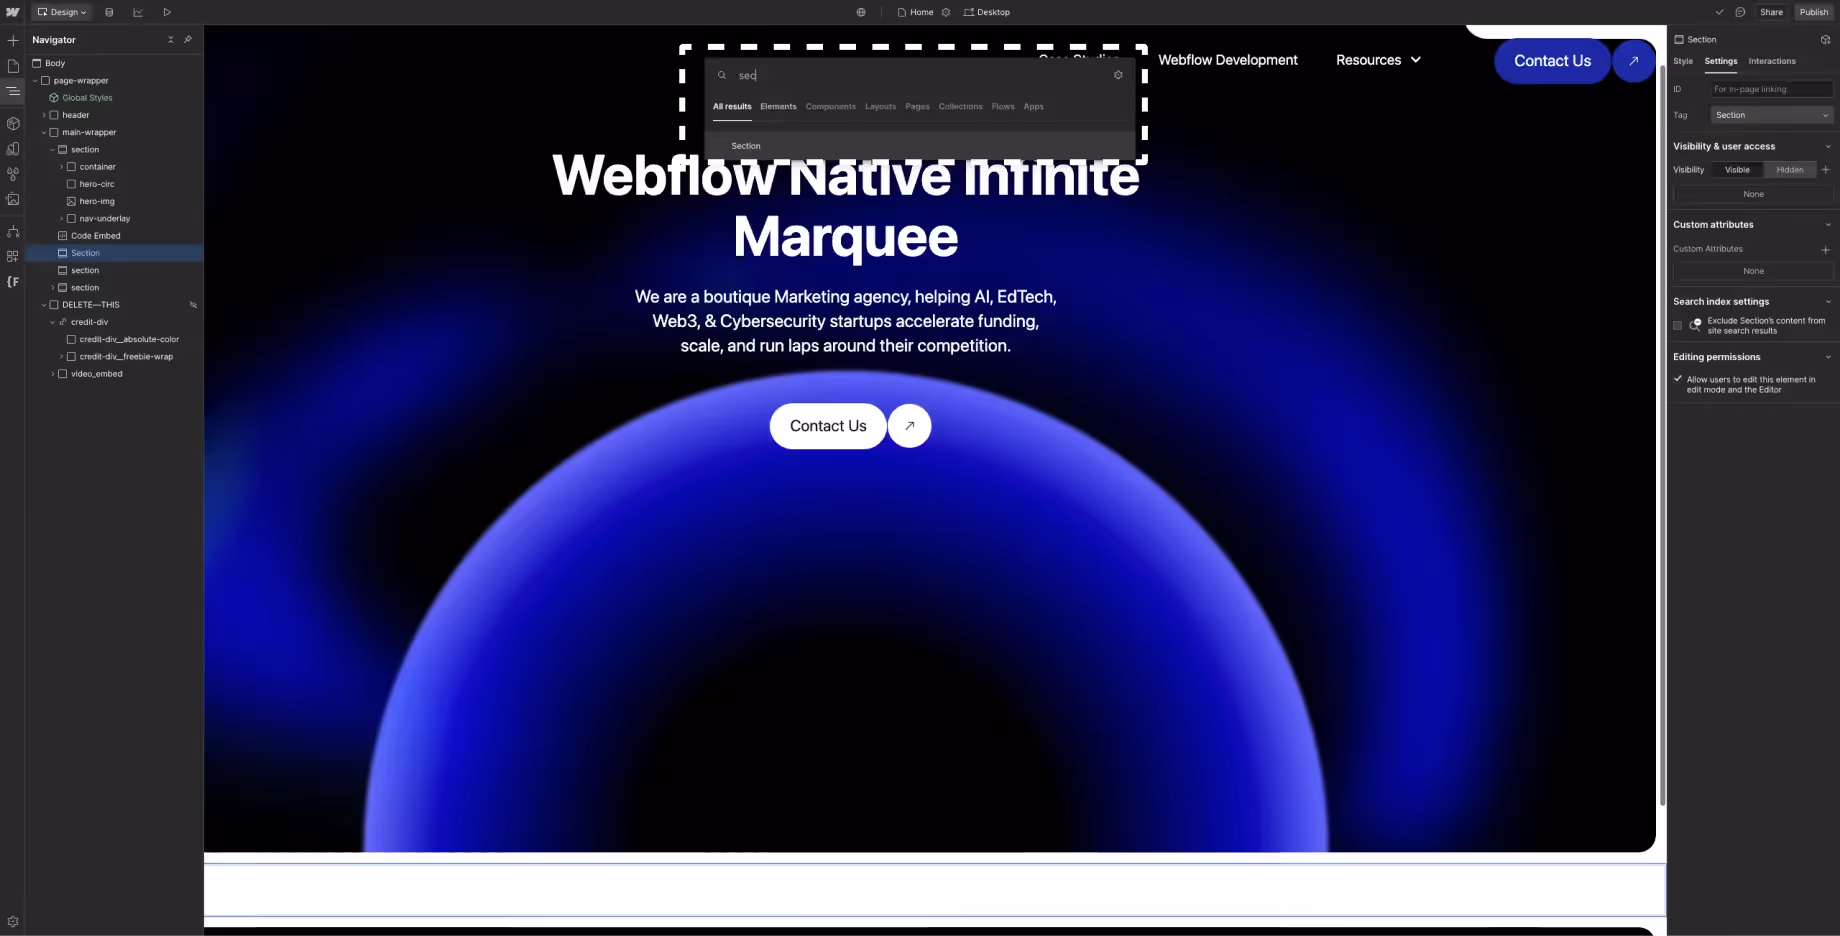
Step 1: Add the Section Element
Start by adding a section to your Webflow project. This will serve as the container for the marquee.
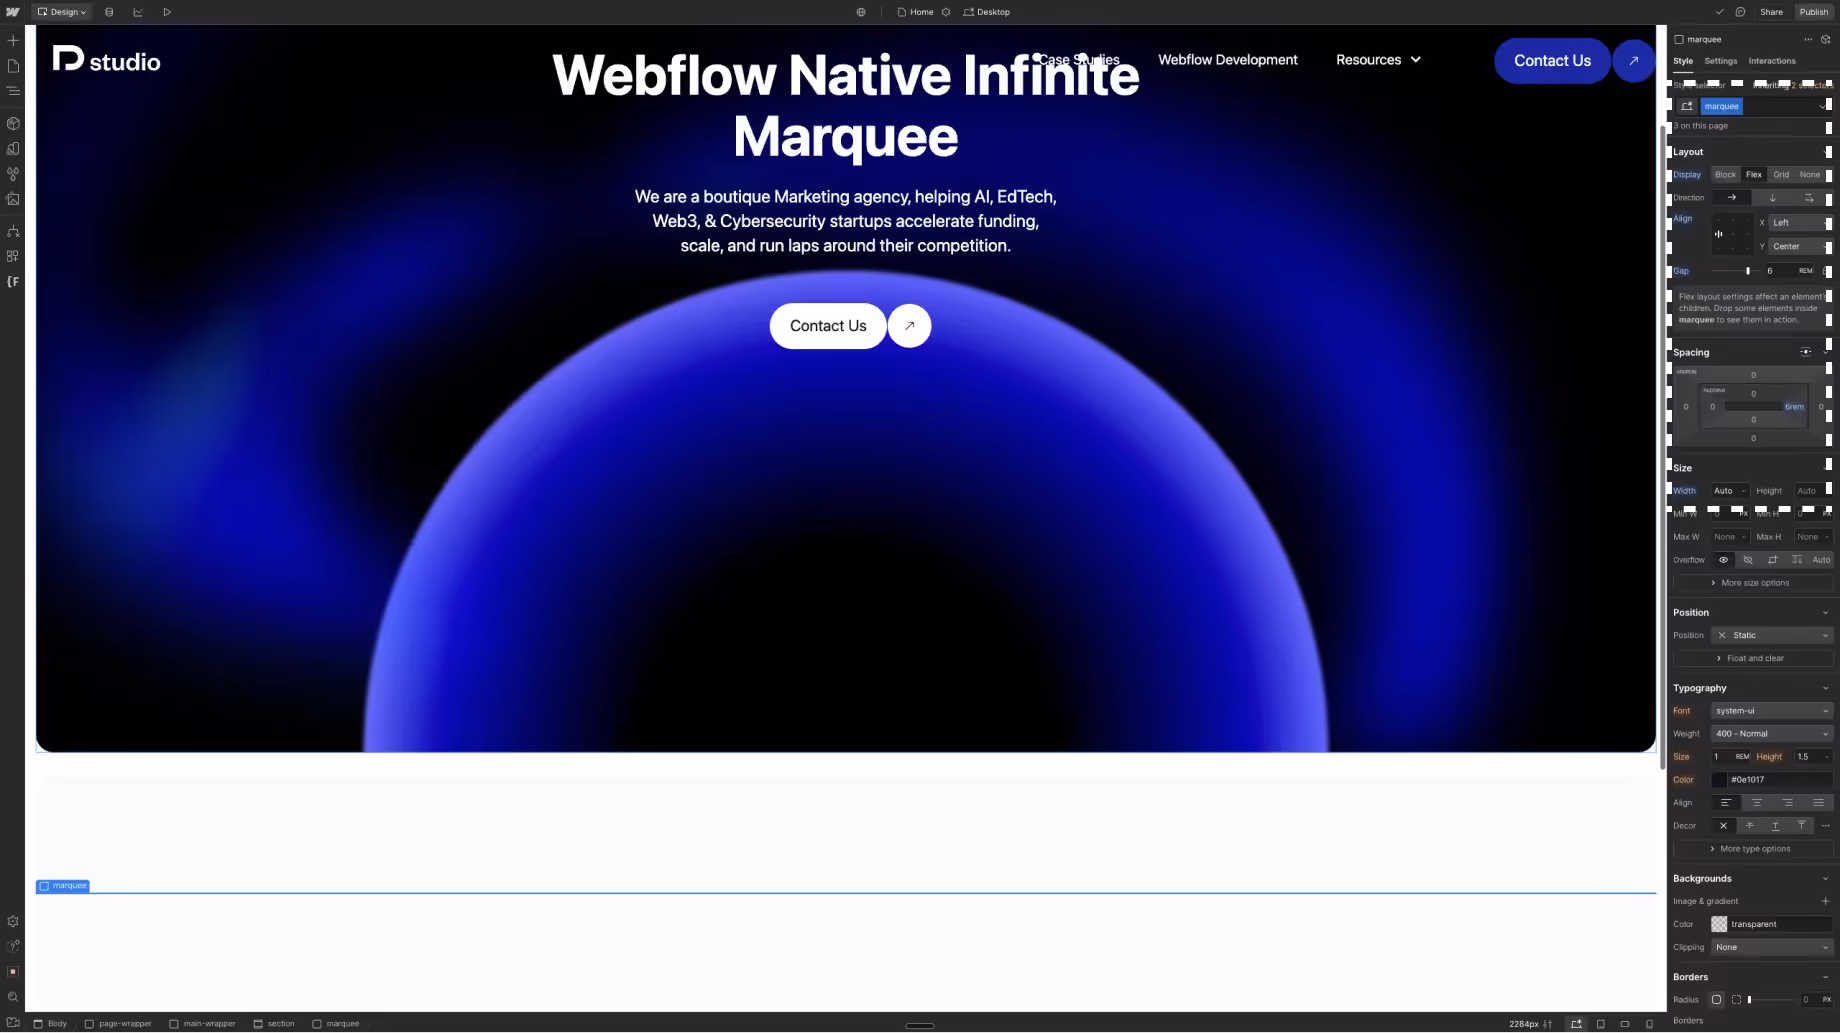
Step 2: Apply the Class .is-marquee to the Section
- Set the display property to
flexto ensure proper alignment.

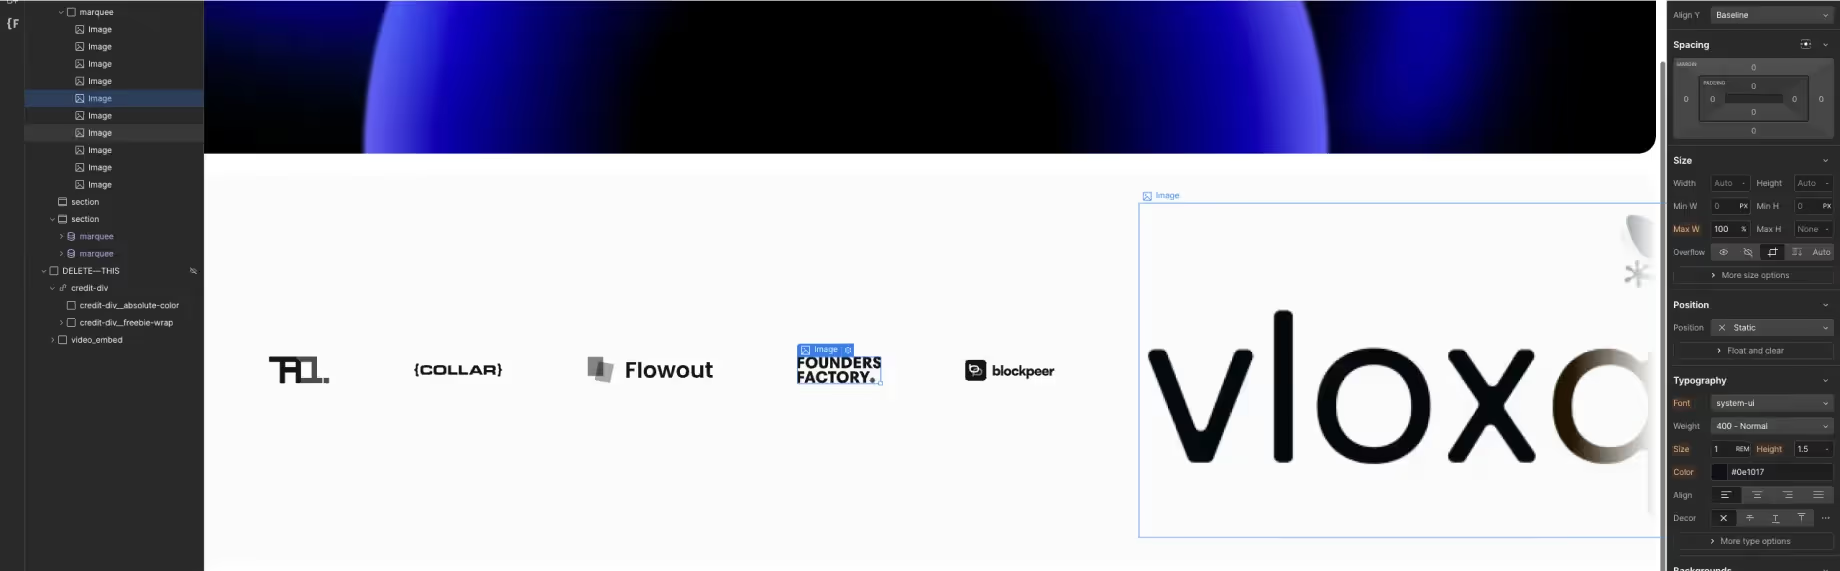
Step 3: Add a Div Block and Apply the Class .marquee
- Inside the section, add a div block and give it the class
.marquee. If you're unsure how to manage styles in Webflow, we wrote a beginner guide teaching you how to use classes in Webflow. - Set the following styles:
- Display:
flex - Gap: Define a gap (e.g.,
20px) for spacing between items. - Padding-right: Match the value of the gap.
- Sizing: Prevent shrinking or growing by setting
flex-shrink: 0;andflex-grow: 0;. - Width: Ensure it’s set to
auto.
- Display:
Step 4: Add Content into the .marquee Div
Insert the content you want to scroll within the .marquee. This could be text, images, or a combination.
Step 5: Style the Content
Customize the appearance of the elements inside the .marquee div to match your design requirements.
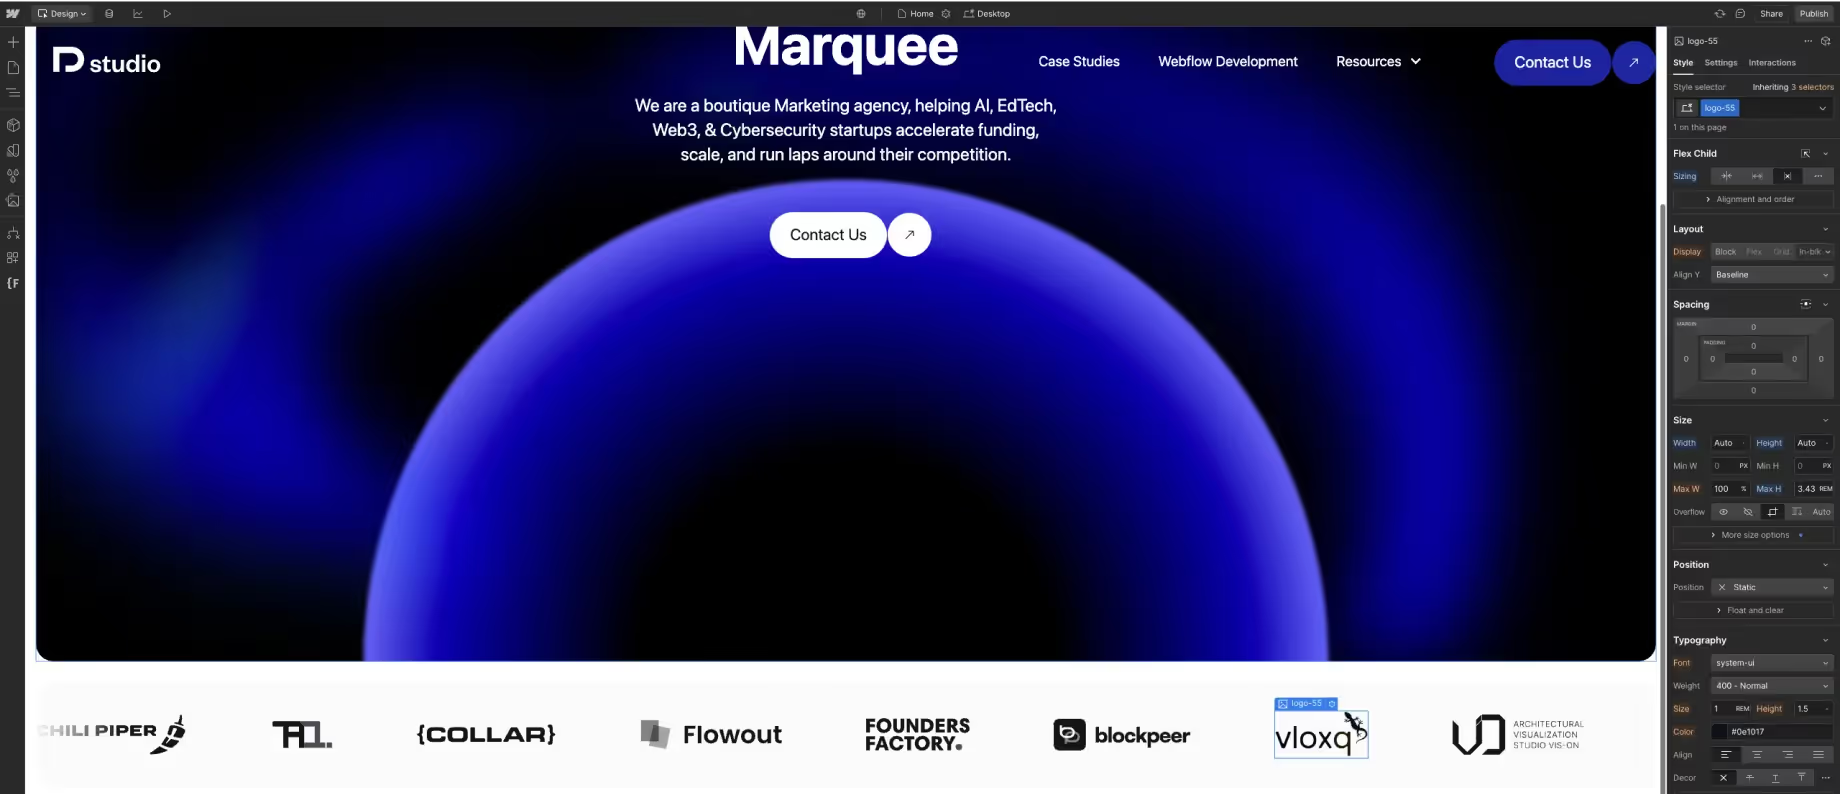
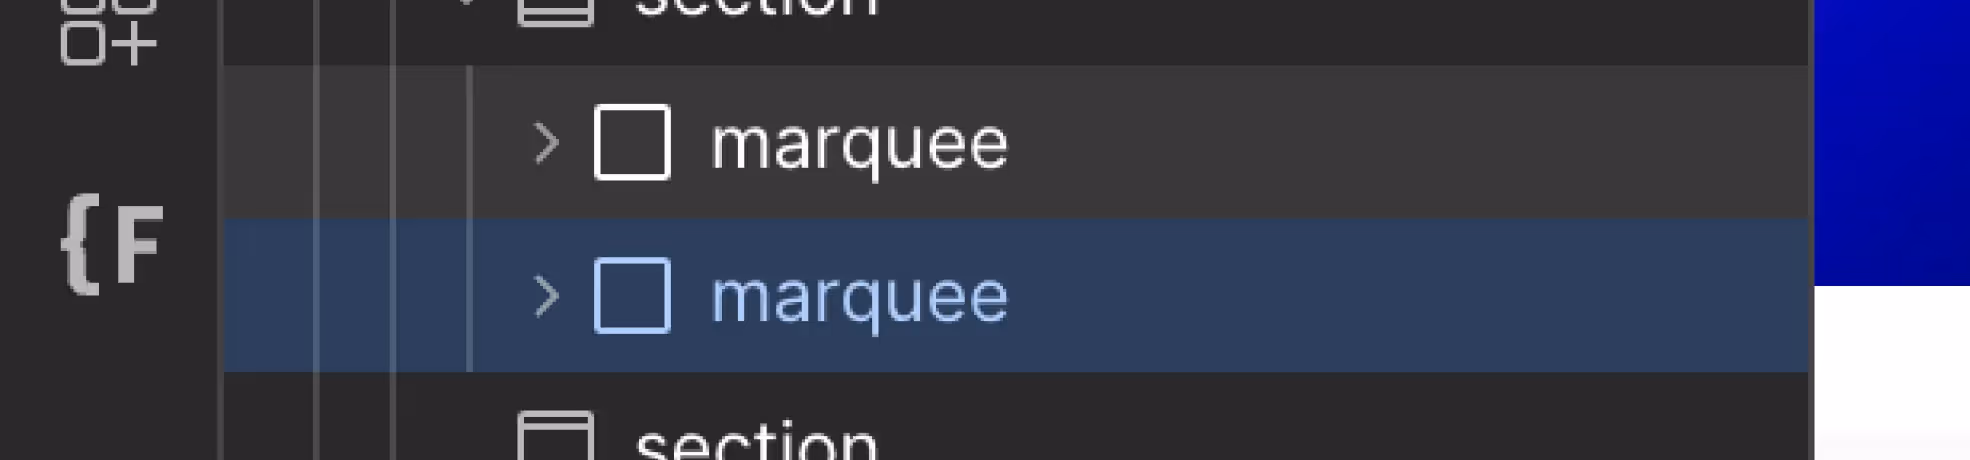
Step 6: Duplicate the .marquee Div
Copy the .marquee div so there are at least two identical marquees side by side. This ensures a seamless loop effect.
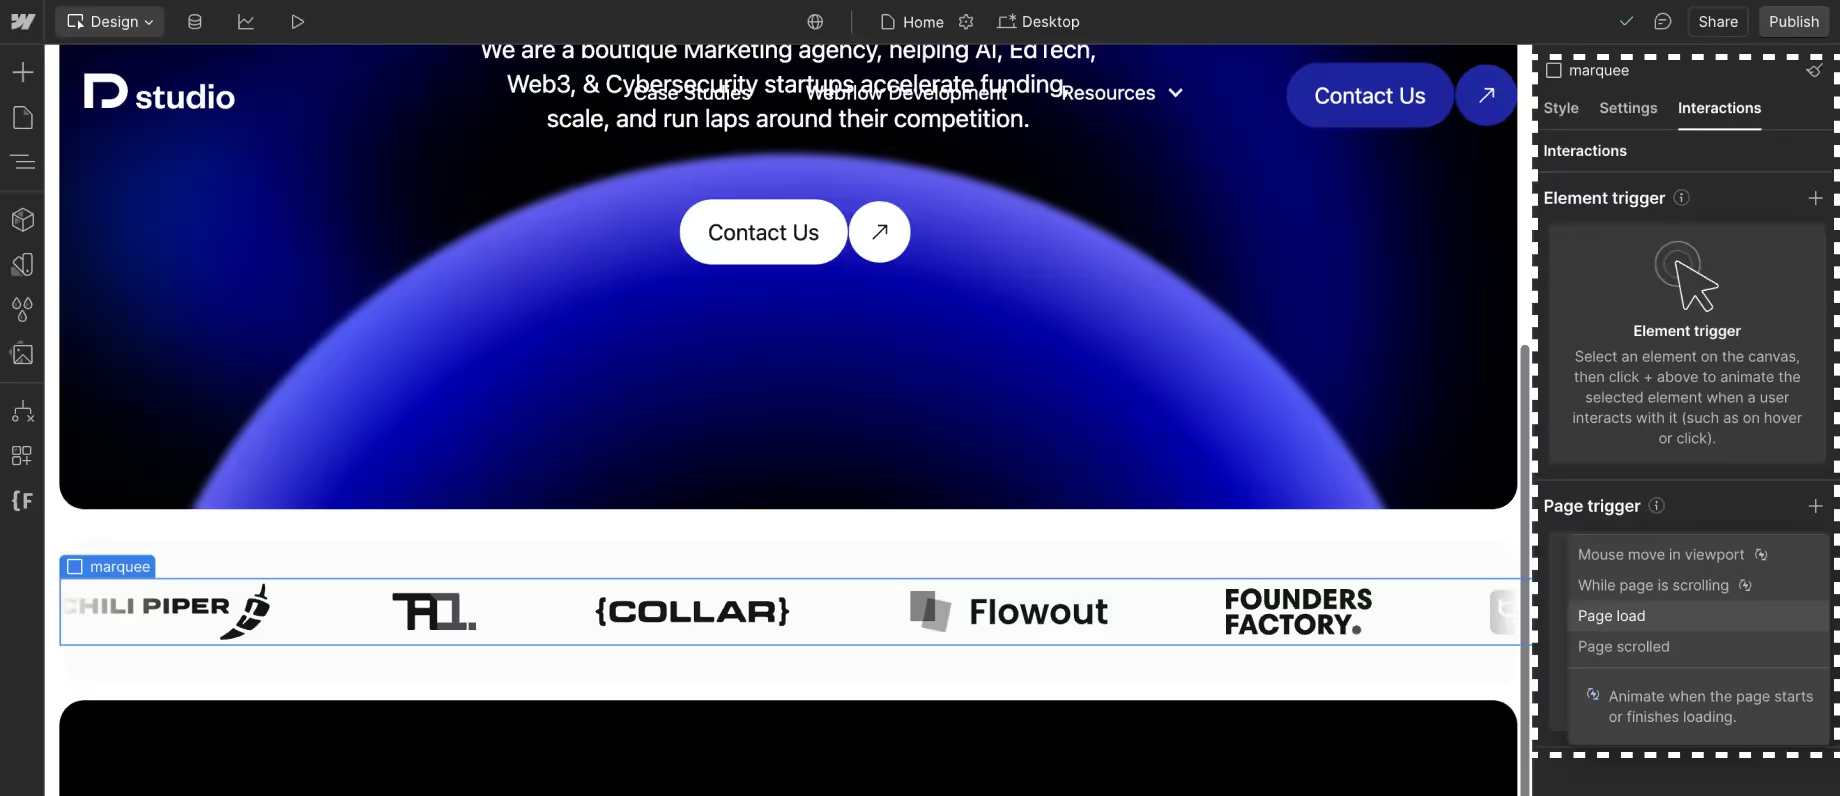
Step 7: Open the Interaction Panel
Navigate to the Interactions panel to set up the scrolling animation.
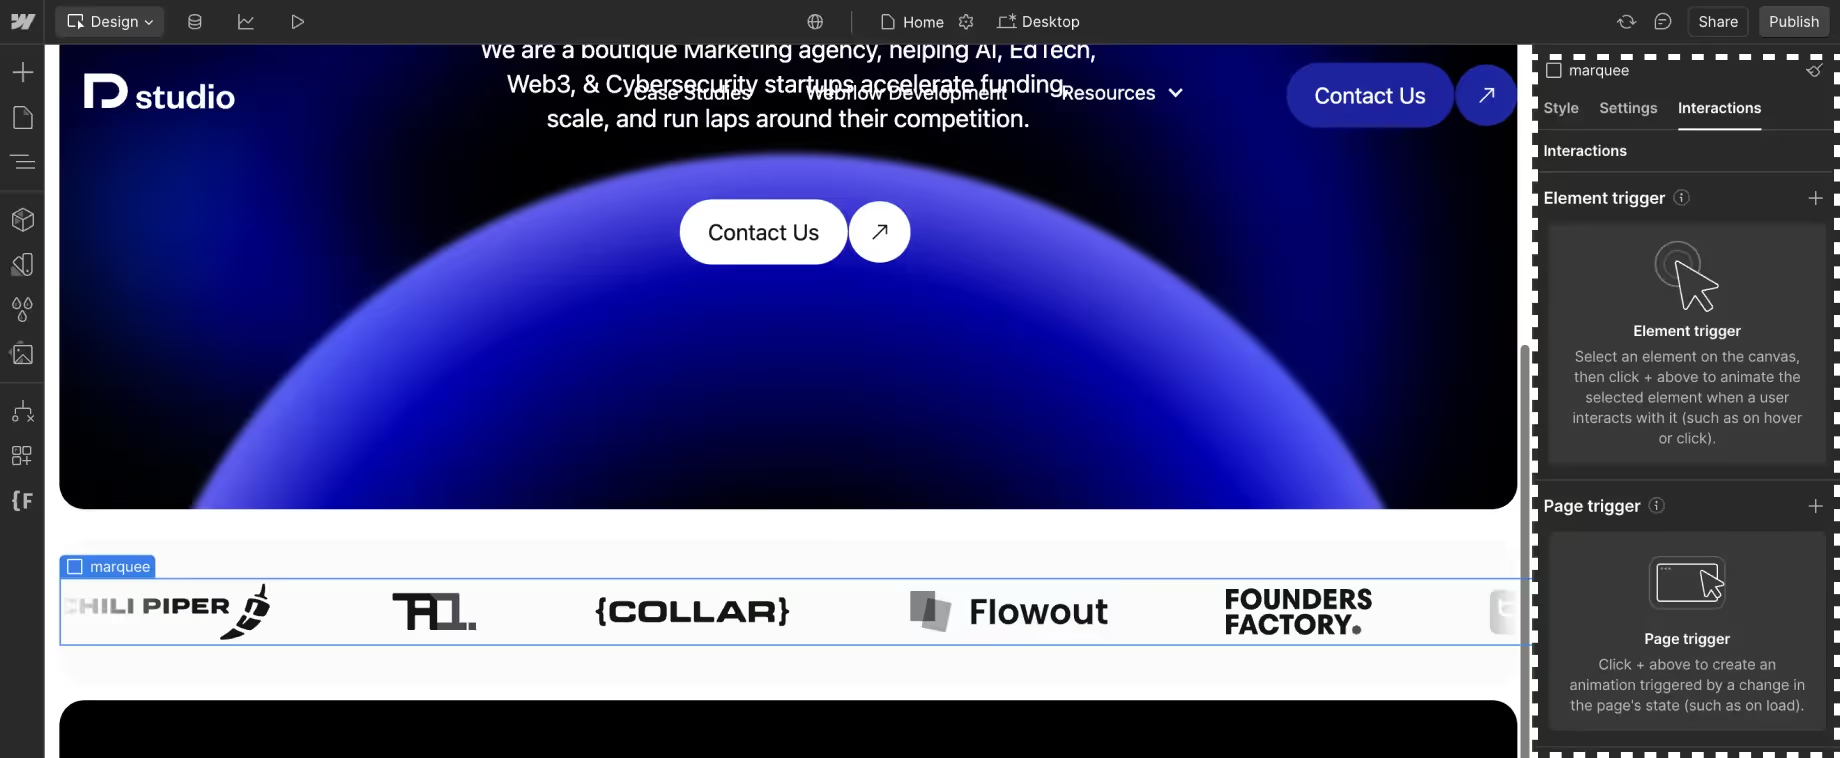
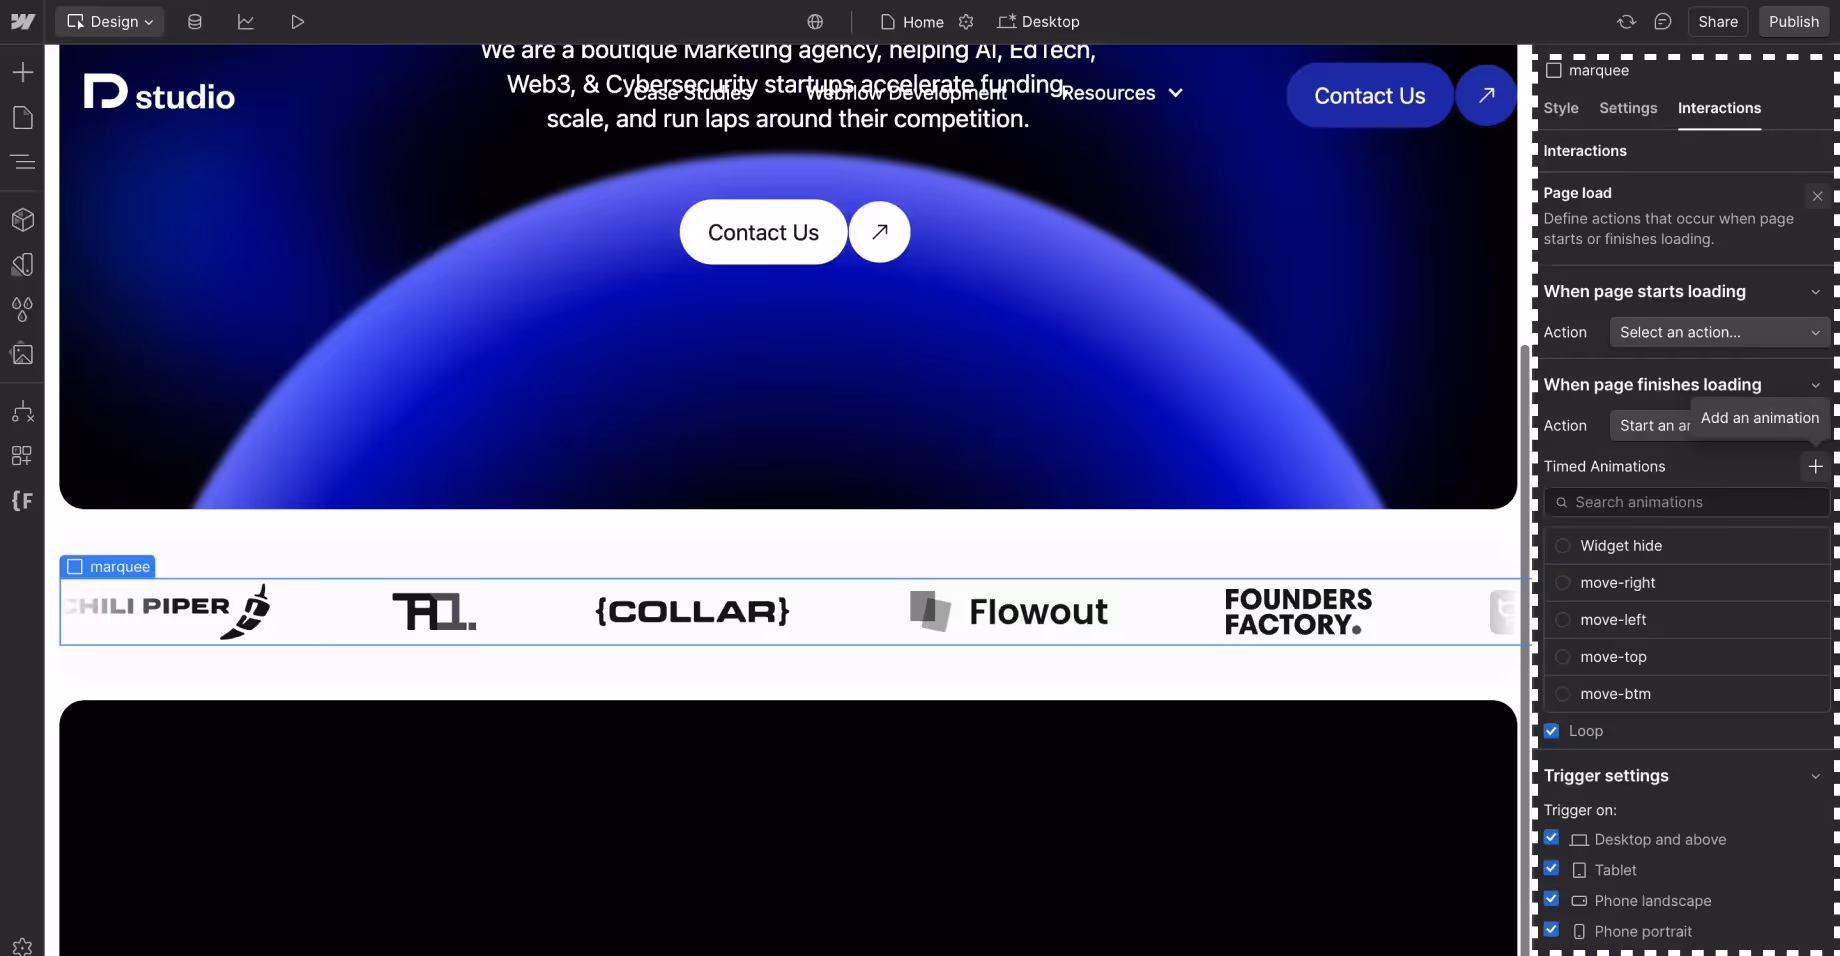
Step 8: Add a Page Trigger Animation
- Select Page Trigger and set it to Page Load.
Step 9: Create a New Animation
- Click to create a new animation.
- Ensure the animation is looped and applies to all breakpoints for consistency.
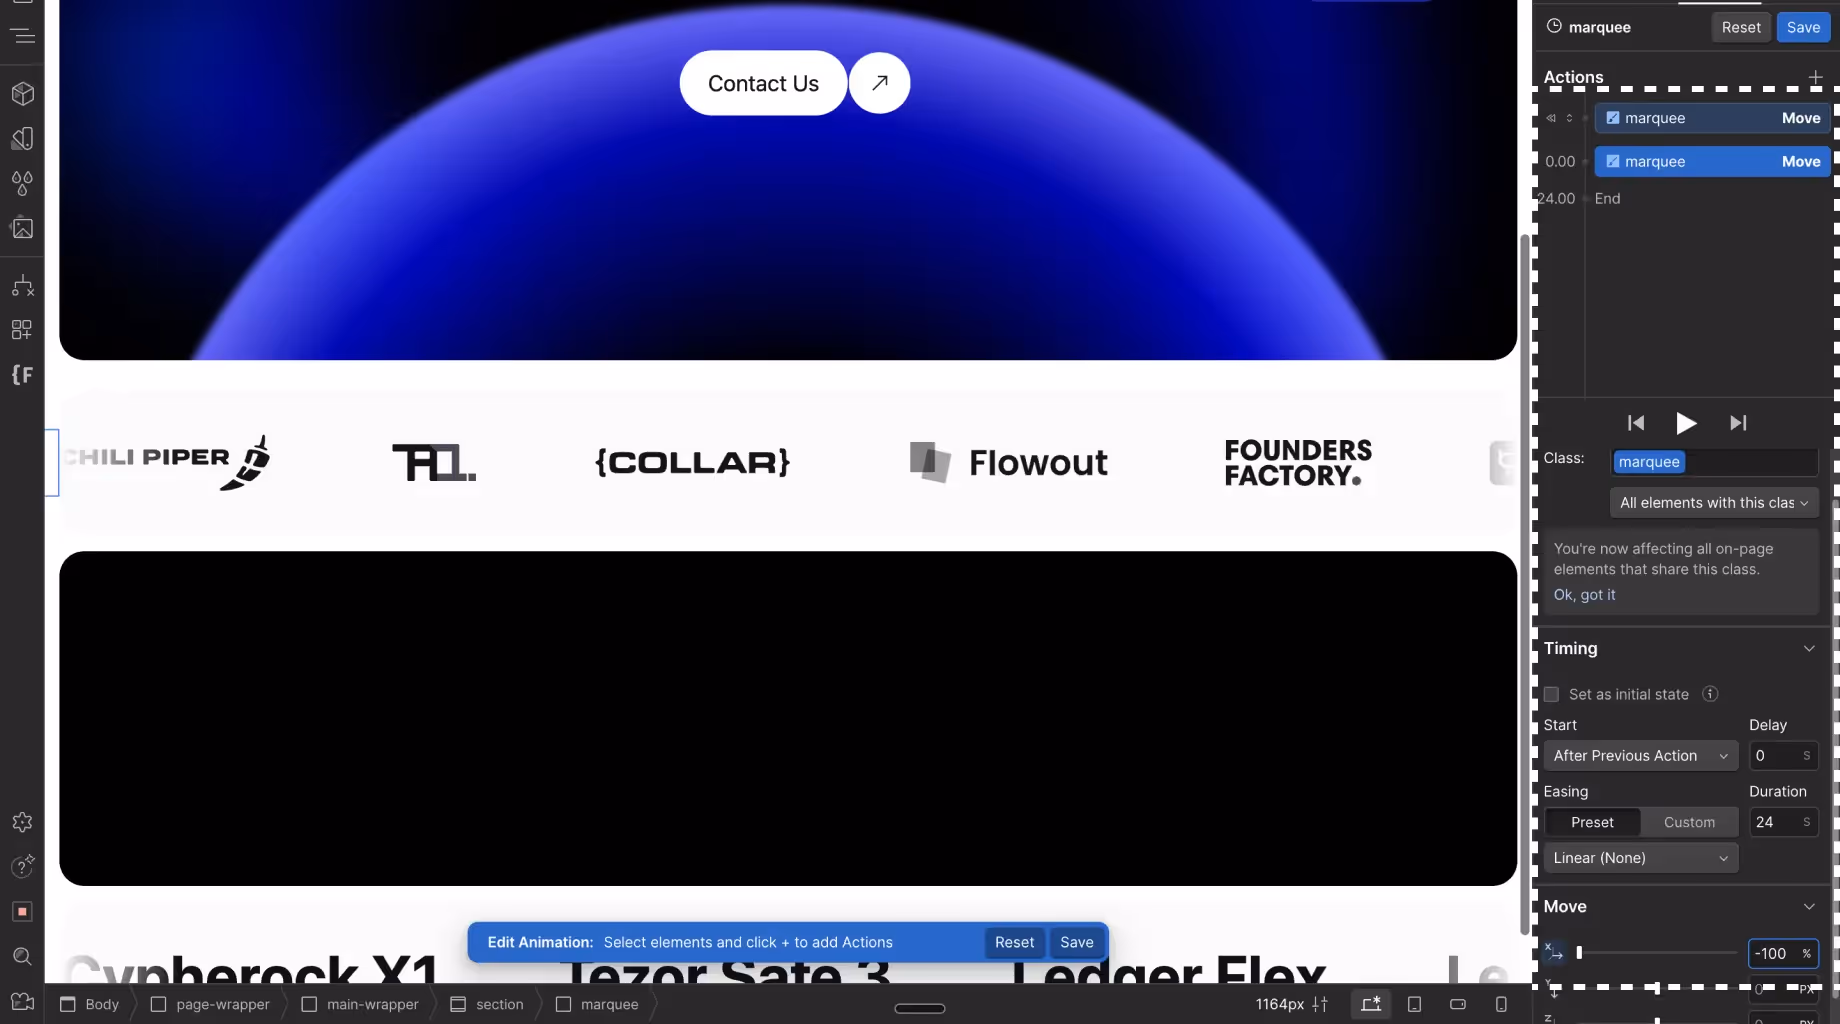
Step 10: Add Initial Keyframe for .marquee
- Set the initial keyframe:
- Property: Move X
- Value: 0%

Step 11: Add Second Keyframe for .marquee
- Set the second keyframe:
- Property: Move X
- Value: -100%
- Duration: Adjust based on the desired scrolling speed (e.g.,
24s). - Easing: Linear for smooth, continuous motion.
Step 12: Add Final Keyframe for .marquee
- Set the third keyframe:
- Property: Move X
- Value: 0%
- Duration:
0s

Step 13: Preview and Adjust
Test your marquee animation in Webflow’s preview mode. Adjust the duration and easing as needed for the best effect.
Using CMS Content in Your Marquee
To use dynamic content, follow the same steps but:
- Replace static content with a Collection List.
- Bind the items in the marquee to your CMS collection.
This setup ensures that your marquee will dynamically update as new CMS items are added.
If you find implementing this solution challenging or need tailored support for your project, our Webflow Development Agency is here to help. Explore our Webflow Development Services to get started.
Pros and Cons of Webflow Native Interactions for Marquees
Pros
- Ease of Use: No coding knowledge is required, making it accessible for non-developers.
- Design Integration: Seamlessly integrates with Webflow’s visual editor.
- Flexibility: Customizable animations for various content types.
Cons
- Performance: JavaScript-based animations may lag on resource-constrained devices. These animations rely on the browser’s main thread, which can create bottlenecks during rendering or event handling.
- Static Duration Issue: Once you set the duration on the animation, the timing remains fixed regardless of the number of items in the marquee. This can lead to animations that are too fast if there are many items or too slow if there are too few items.
- Complexity for CMS: Dynamic content setups require additional steps.
- Limited Scalability: Not ideal for very large or high-performance projects.
- Complexity for CMS: Dynamic content setups require additional steps.
- Limited Scalability: Not ideal for very large or high-performance projects.
Best Practices
- Optimize Performance: Keep the number of items in the marquee reasonable to avoid performance issues.
- Use Consistent Sizing: Ensure content elements are uniformly sized for smooth scrolling.
- Test on All Breakpoints: Verify that the marquee functions and looks good on all device sizes.
- Set Transforms to Percentages: To avoid customizations due to smallest content changes like in the example of the most popular infinite marquee "native setup", set the width on
.marqueeto "auto" and use "%" units when animating the the move transforms
Conclusion
An infinite marquee can add a touch of sophistication and interactivity to your Webflow projects. With native interactions, you can create a smooth, looping animation that’s easy to implement and customize. However, for high-performance needs, consider alternative methods such as CSS or GSAP for better results. Whether static or CMS-driven, this tutorial equips you with everything you need to make it happen. Ready to elevate your design? Start building your marquee today!
Grab our Infinite Marquee Clonable and implement this scrolling marquee functionality effortlessly!