


There are a few different ways to style elements on the web. You can apply styles directly to an element using inline styles, adjust styling through HTML attributes (like width or align), or — the most scalable method — apply classes to elements and define their visual properties in CSS.
Webflow brings this same structure into a visual interface. While you can technically style elements directly by using custom elements, the power of Webflow lies in using classes — reusable style containers that help keep your designs clean, consistent, and scalable.
In this article, we’ll walk through exactly how to use classes in Webflow to build better, faster, more scalable and maintainable websites.
What Are Classes in Webflow?
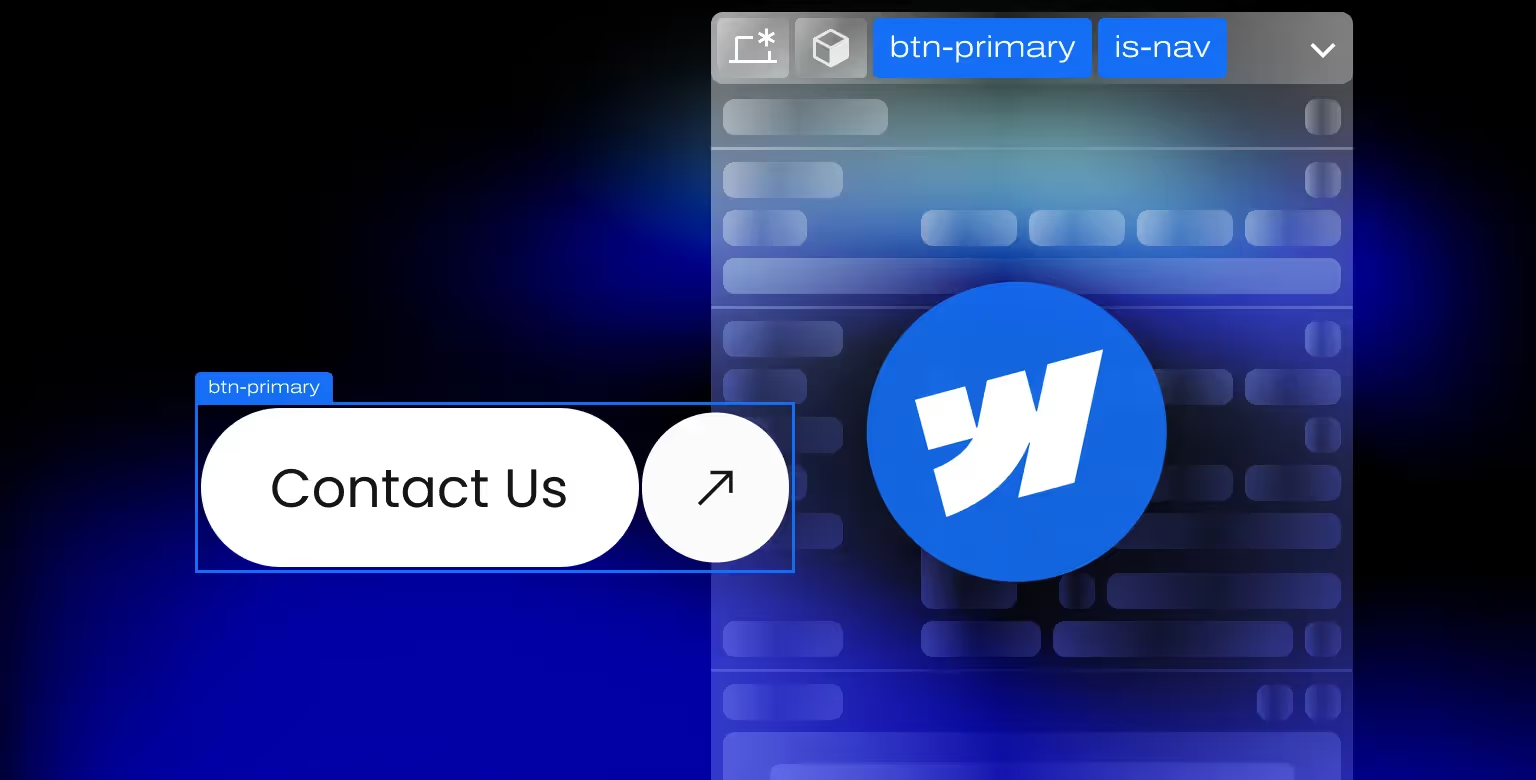
In Webflow, a class is a reusable set of style rules you can apply to elements. Think of it like a labeled container for CSS — when you apply a class like .btn-primary to a link, you’re saying: “Style this element the same way every time.”
Unlike inline styling, which applies styles one element at a time, classes let you style dozens of elements at once as long as this same class is applied to those elements. Webflow makes this process visual — but the logic is the same as traditional CSS.
All classes in Webflow are committed to a global CSS file. This means the more your site grows, the more value you get from a well-organized class system — updates cascade globally, and the design remains consistent.
But here’s the flip side: if you don’t reuse classes or rely too heavily on styling individual elements, your CSS file can become bloated. This both clutters your site and also hurts performance when it comes to page speed across all pages.
Why Webflow Classes Matter for B2B Web Design
Consistency is everything in B2B web design. From scalable style systems to fast development handoffs, classes are the foundation of clean and predictable workflows in Webflow.
If you're building a marketing site with 20+ pages, or if you’re handing off a site to a team of marketers or developers — structured classes become a must-have. Not only do they make edits easier down the line, but they also ensure performance stays strong and branding remains consistent across breakpoints.
This is especially important for B2B brands, where user trust and a clear visual hierarchy can influence buyer decisions. A well-structured class system gives your team leverage — and helps your Webflow site grow with your business.
Step-by-Step Guide: How to Use Classes in Webflow
Step 1 – Select Your Element
Click on any element (e.g., a heading, button, or section) in your Webflow canvas. This opens the style panel, where class management happens.

Step 2 – Create and Name Your Class
You can either click on the selector field or use Webflow shortcut — click Cmd + enter on mac or Ctrl + enter using Windows to drop into the selector field. Once you're inside the selector field, type a name for your class — something descriptive and scalable. For example, hero-section or button-secondary.
Pro tip: Use hyphens instead of spaces, and stay consistent with casing.
Step 3 – Apply and Style Your Class
Once named, the class is created. Style your element using the style panel — padding, font size, color, margin, object-fit, etc. Every change is saved to that class.

Step 4 – Reuse Across Elements
Select another element, click Cmd + enter / Ctrl + enter and apply the same class. It inherits all the original styling, saving you time and effort.
Step 5 – Modify with Combo Classes
Need a slight variation? Add a combo class like button-secondary is-hovered to tweak styles without affecting the base class.
Use these sparingly — excessive combo classes can get messy fast.

Step 6 – Preview and Test Responsiveness
Use Webflow’s responsive preview tools to ensure your class styles work across all devices. Adjust styles per breakpoint if needed, but keep base classes consistent.
How to Use Classes in Webflow Code Embed
When embedding custom code in Webflow — for example, to add JavaScript or external tools — you can still use Webflow classes.
Wrap your custom elements in <div class="your-class-name"> and style them visually in Webflow or via the embed. Ensure that the class naming follows your project’s naming conventions for consistency.

Pro Tips for Managing Webflow Classes Efficiently
- Stick to naming conventions. Use lowercase, hyphenated class names like card-primary or nav-link. An example of such class naming conventions is BEM.
- Limit combo classes. Use them for purposeful exceptions, not every variation.
- Use Webflow’s Style Manager. It helps clean up unused classes and keep things tidy.
This becomes increasingly important as the project scales and teams grow.
Common Mistakes to Avoid When Using Webflow Classes
- Inconsistent naming. A mix of capital letters and lower-case letters such as Card and card can create confusion and styling errors. Best practice is to use a single class naming system.
- Too many combo classes. They can quickly bloat your project and make global changes harder.
- Styling without classes. Inline styling or relying on tags (like All H2 Headings) leads to poor scalability.
- Not cleaning unused styles. Use the Style Manager regularly to prune unused classes.

When to Call in a Webflow Development Agency
If you’re managing a complex Webflow project, or planning to scale your site with multiple team members — partnering with a Webflow Development Agency is a smart move.
At Tilipman Digital, we specialize in scalable class systems, clean design structure, and Webflow performance. We help B2B brands build high-performing sites with maintainable class frameworks that don’t fall apart at scale.
FAQ: Webflow Classes for Beginners
What’s the difference between a tag and a class in Webflow?
A tag is an HTML element and styling tags means applying styles to all elements of a certain type (all H2 headlines for example), while a class applies styles only to elements you assign it to.
Can I rename a class in Webflow?
Yes — use the Style Manager to rename classes. Be careful though — this updates every instance.
What if I accidentally delete a class?
It’s removed from all elements using it. Use undo (Cmd + Z when using mac / Ctrl + Z when using Windows), retrieve a backup, or reapply styles as needed.