


Introduction
Building a website from scratch can be a challenging task, especially if you’re new to web development, design, or lack technical skills. This is where Webflow templates come to the rescue.
These pre-designed layouts offer a simple and effective way to create professional, responsive websites tailored to your needs. Webflow templates streamline the process, allowing you to focus on what matters most — your content and brand identity.
If you’re new to Webflow, check out our Webflow introduction guide to get started. In this article, we’ll walk you through everything you need to know about using Webflow templates, from selecting the right one to customizing and optimizing it for your goals. Let’s get started!
Webflow Templates - Explained
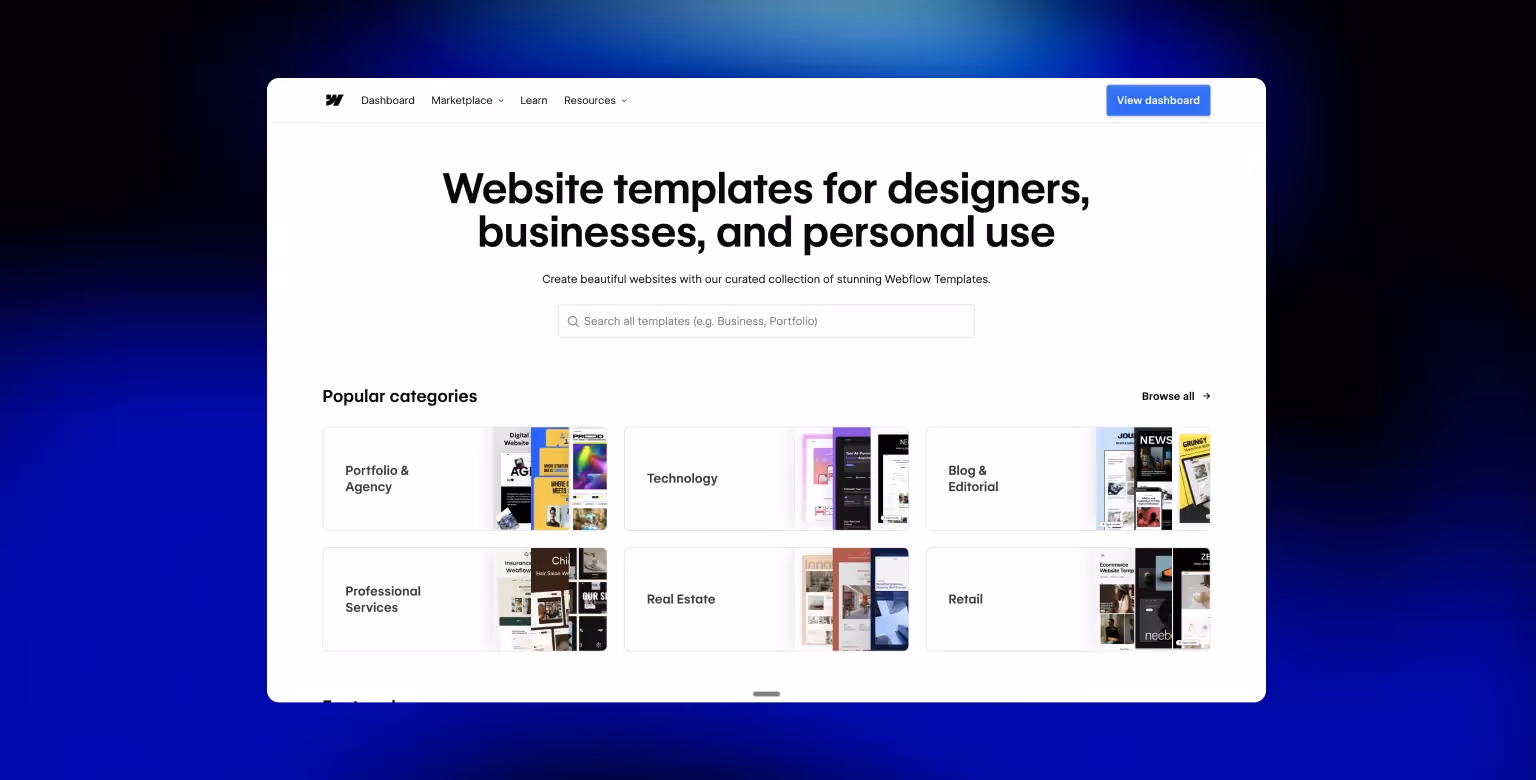
Webflow templates are pre-designed website layouts that act as a foundation for your project. Available in a variety of styles, these templates cater to different needs, including:
- Portfolios
- Business websites
- Blogs
- E-commerce stores
Templates feature pre-built sections such as headers, footers, and content blocks, making it easier to focus on customizing the design and creating content.
Using Webflow Templates vs. Building from Scratch
Advantages of Using Webflow Templates:
- Faster Development: Templates save significant time, especially for beginners, by providing a ready-to-use structure.
- Professional Design: Tap into pre-made layouts that follow modern trends and best practices in web design.
- Inspiration and Learning: Templates can inspire your design process and serve as a learning tool to explore Webflow’s features.
- SEO Boost: Some templates come with built-in SEO-friendly elements, giving you a head start on search engine optimization.
- Consistent Look: Templates ensure a cohesive design language that adheres to current web design standards.
Disadvantages of Using Templates:
- Limited Customization: While templates are flexible, certain design and layout constraints may limit creativity.
- Generic Appearance: A template-based design might lack the unique flair of a custom-built site.
- Dependence on Template Structure: Overhauling a template can be time-consuming if your needs evolve significantly.
- SEO Challenges: Templates can often lack semantic HTML structure, potentially affecting search engine rankings.
Vloxq’s challenges show how a poorly structured template can make scaling marketing efforts difficult to say the least.
Advantages of Building from Scratch:
- Creative Freedom: Craft your website without being limited by predefined structures or layouts.
- Unique Design: Your website will have a one-of-a-kind look that perfectly represents your brand identity.
- Full Accessibility Compliance: Building from scratch allows you to ensure complete compliance with accessibility guidelines. To better understand how your site can become compliant in terms of accessibility, check out our Webflow Accessibility article.
- Advanced Webflow Knowledge: Designing from the ground up helps you master Webflow’s capabilities.
Disadvantages of Building from Scratch:
- Time-Intensive: Building a site from scratch can take significantly longer compared to using a template.
- Steeper Learning Curve: Requires in-depth knowledge of Webflow’s tools and functionalities.
- Risk of Errors: Beginners might encounter design or functionality issues that require troubleshooting.
Choosing the Right Webflow Template: Tips
Cover these steps to make sure you pick the best possible option when it comes to your next website template.
1. Define Your Website’s Purpose
Clearly articulate the primary goal of your website, whether it's to showcase a portfolio, sell products, or provide information. Understanding your site's purpose will help you select a template that offers the necessary features and layout to support your objectives.
2. Consider Your Brand Identity
Choose a template that aligns with your brand's aesthetics, including color schemes, typography, and overall style. This ensures consistency across your marketing materials and helps in establishing a strong brand identity.
3. Prioritize User Experience (UX)
Opt for templates with intuitive navigation and a clean layout to enhance user engagement. A positive user experience can lead to longer site visits and higher conversion rates.
4. Ensure Mobile Responsiveness
With a significant number of users accessing websites via mobile devices, it's imperative to select a template that is fully responsive and provides a seamless experience across all screen sizes.
5. Look for SEO-Friendly Features
An SEO-optimized template can improve your site's visibility on search engines. Features to look for include clean code, fast loading times, and the ability to customize meta tags.
Building a Webflow Website with Templates
Activate the Coming Soon Page
Webflow templates offer a quick and efficient way to start building your website.
If working on a high-profile project, a crucial first step is activating the "Coming Soon" (Password) page to protect your work in progress from public access until you’re ready to launch.
To enable this feature, go to your Project Settings, navigate to the General Tab, and find the Website Password section. Turn it on and set a password to secure your project. This simple step ensures your work remains private and protected while you finalize your site.
Customize the Style Guide
Every Webflow template comes with a pre-built style guide that you can easily personalize to reflect your brand's colors, fonts, and styles.
Open the template folder, locate the Style Guide page, and make the necessary updates. Once you save your changes, your template will showcase your unique branding.
Webflow simplifies professional website creation, requiring no coding skills, and ensures your site looks cohesive and polished.
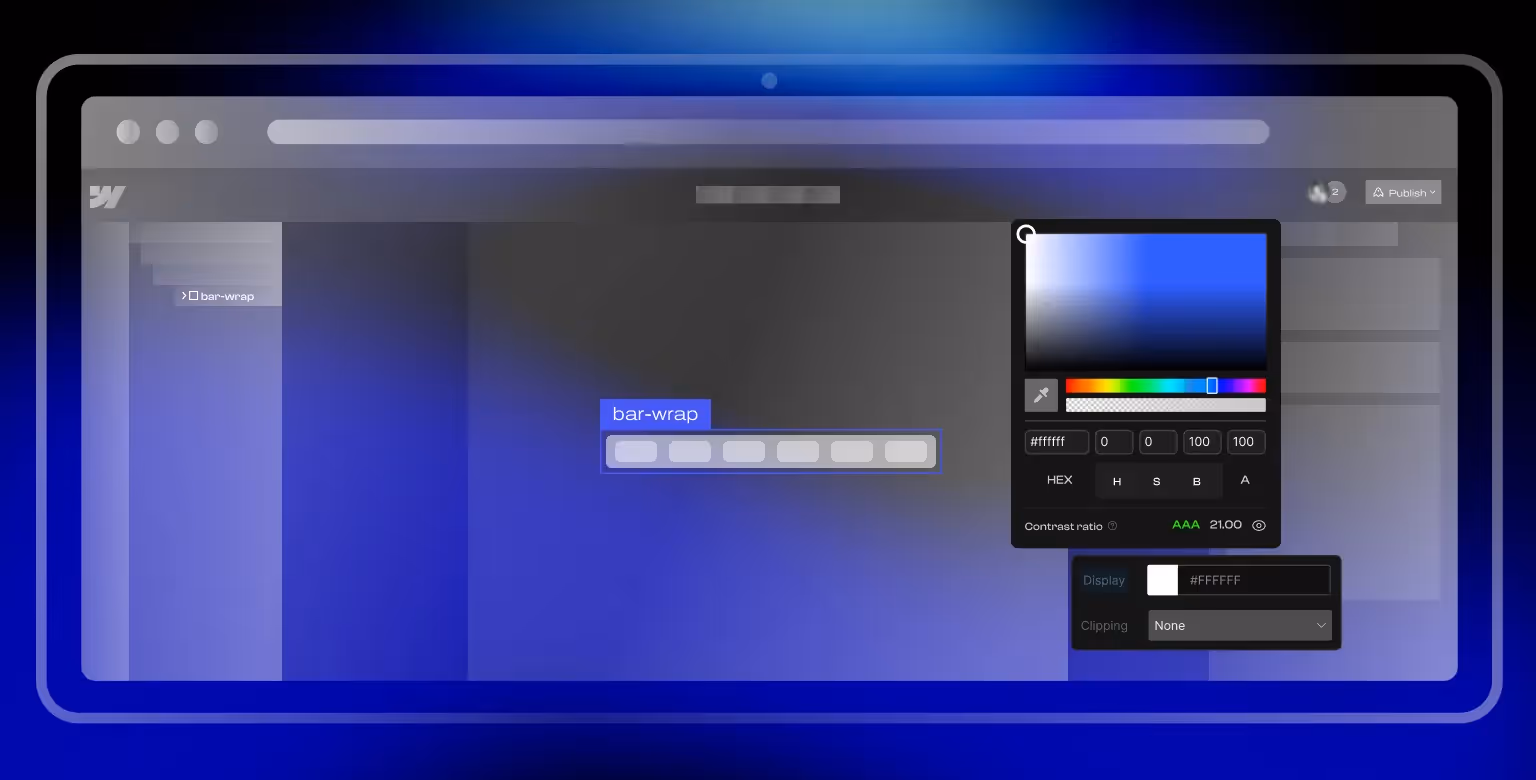
Update Template Colors
Adjusting your template’s colors to match your brand is straightforward with Webflow.
Click the edit icon on the color palette, select your preferred shades, or use the built-in hex color picker for precise customization.
After making your adjustments, save them so you can apply the changes site-wide. This ensures your website aligns with your brand identity with just a few clicks.
Add Custom Fonts
While Webflow provides a great selection of fonts, you might want to use a specific font not included in the default options.
To do this, go to Project Settings and navigate to the Fonts section. From there, you can connect to Google Fonts or upload your own font file.
Once uploaded, the custom font becomes available for use across all your Webflow projects. For consistency, ensure the font is applied globally by selecting the Body tag in the Navigator and updating the settings.
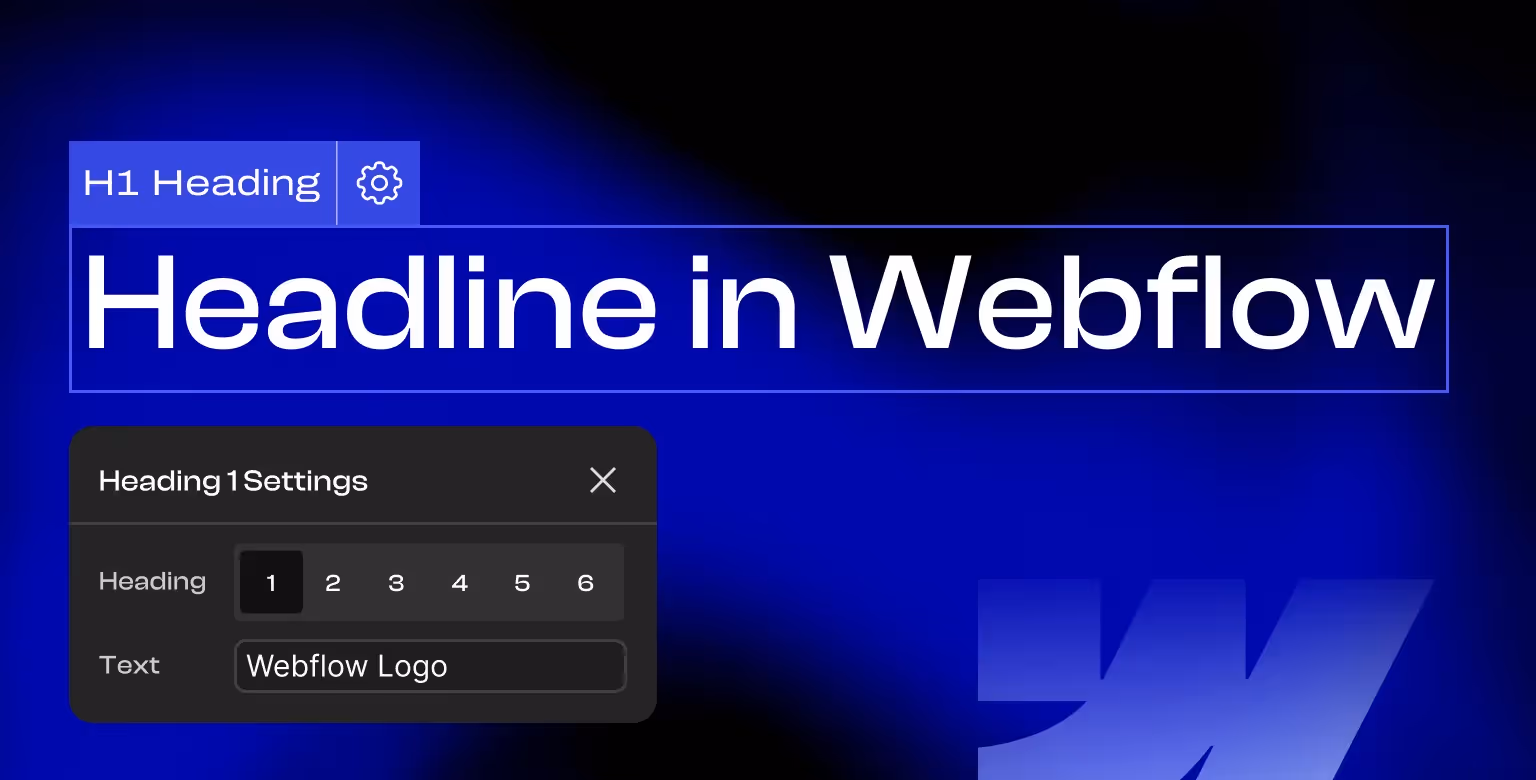
Customize Headings
Personalizing headings across your website is easy in Webflow. Click the “Select a Class or Tag” button, choose the root tag, and make your edits. Changes made to one heading are automatically applied site-wide, ensuring a consistent and professional look.
Remove or Hide Extra Pages
Not all template pages may be necessary for your website. Unlink unused pages from the main menu and remove references from other parts of your site.
To prevent these pages from being indexed by search engines, add a line of code in the Custom Code section of your page, indicating that the page should not be followed and indexed by google. This ensures a clean and optimized structure for your website.
And for any new pages you need beyond the template’s defaults, you don’t have to build from scratch, Webflow lets you duplicate an existing page in Webflow and then customize it, so your design stays consistent.
Replace Static Images
Updating static images in Webflow templates is a manual process but straightforward. Delete the placeholder images and upload your own. Remove any old URL links associated with the deleted images to prevent broken redirects.
Replace Static Texts
Editing static text in Webflow templates may require locating the specific layer in the Navigator. Once found, you can update the text to reflect your content. With patience, you can tailor the template to perfectly suit your needs, creating a polished and personalized website.
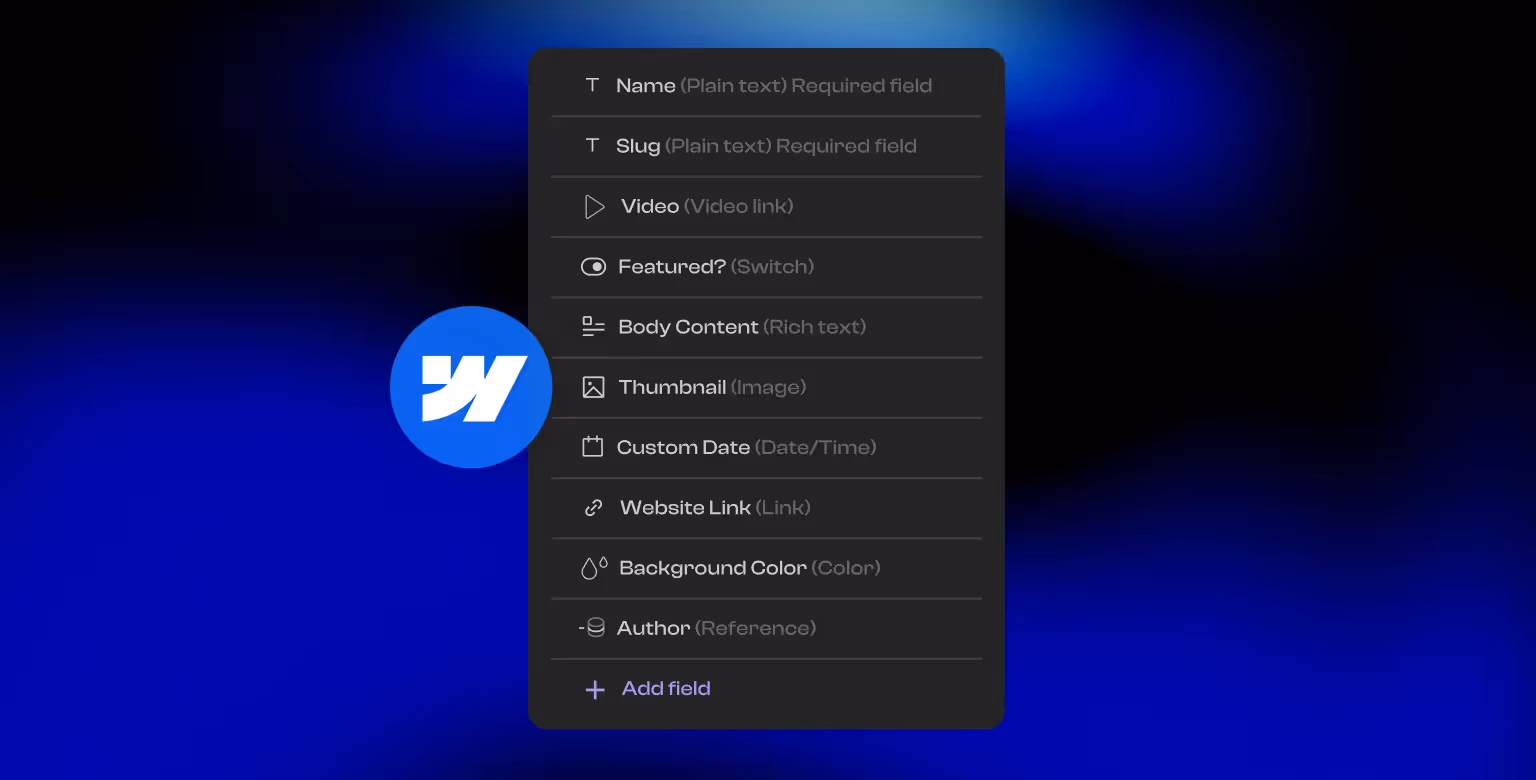
Add Dynamic Content Using the CMS
Many Webflow templates come with pre-configured dynamic content. Simply upload your content, and it will populate the linked pages.
If the template doesn’t have dynamic content, you can set up a CMS collection and connect it to your pages. This allows for seamless updates as new content is added.
Upload E-commerce Products & Collections
Webflow makes it simple to upload products and collections for your e-commerce site template. Go to the E-commerce tab, select Products or Categories, and drag and drop your files. You can also create custom templates for a consistent and professional display of your products.
Set Up SEO & Open Graph
Webflow templates come pre-configured with basic SEO features like title tags and meta descriptions. To maximize visibility, fill in the placeholders with relevant keywords and descriptions.
Additionally, Webflow’s Open Graph settings make it easy to optimize your site for sharing on social media platforms.
Set Up Hosting and Connect Your Domain
Before going live, you need to set up hosting and connect your domain. Webflow simplifies this process with templates that are pre-configured and ready to launch.
Choose the right template, input your domain details, and start sharing your content with the world.
Final Words
Webflow templates provide an excellent foundation for creating professional websites efficiently. Whether you’re a beginner or a seasoned designer, mastering how to choose, customize, and optimize templates will help you build a stunning, high-performing site.
Templates offer a great starting point, but the real magic happens when you make them uniquely yours. With some effort and attention to detail, you can transform any template into a website that truly reflects your brand and vision.
So if you need either a fully customized website or guidance on maximizing the potential of Webflow templates, our team is here to help. Contact us today!