


Want your emails to look like evgenii@tilipmandigital.com instead of something generic like firstname@gmail.com?
A professional email address linked to your domain helps you stand out — it builds trust, improves deliverability, and positions your brand more seriously.
Now, as opposed to the title, you actually cannot setup a custom email in Webflow, as it is a platform where sites are hosted. It doesn’t actually offer email hosting — and it doesn’t serve as your DNS host either. Instead, Webflow gives you DNS records specifically for connecting your site to your domain.
The actual DNS setup — including the records needed to connect an email provider — happens inside your domain registrar's dashboard (like GoDaddy, Namecheap, or Google Domains). That's where you'll add MX, SPF, and DKIM records from your email provider (such as Google Workspace or Zoho Mail).
So while Webflow isn’t directly involved in your email setup, it plays a supporting role in the bigger picture.
In this guide, we’ll walk you through exactly how to choose an email provider, configure your domain correctly, and test your setup — all in a way that makes your email look sharp and stay out of spam.
Why Use a Custom Email for Your Webflow Website?
A branded email address like team@yourdomain.com is more than a nice-to-have — it signals trust and professionalism. Whether you're a startup or scaling business, a custom domain email:
- Builds credibility with clients and partners
- Strengthens your brand identity
- Increases open rates by looking more legitimate
- Helps organize communications under one domain
Choosing an Email Provider for Your Webflow Domain
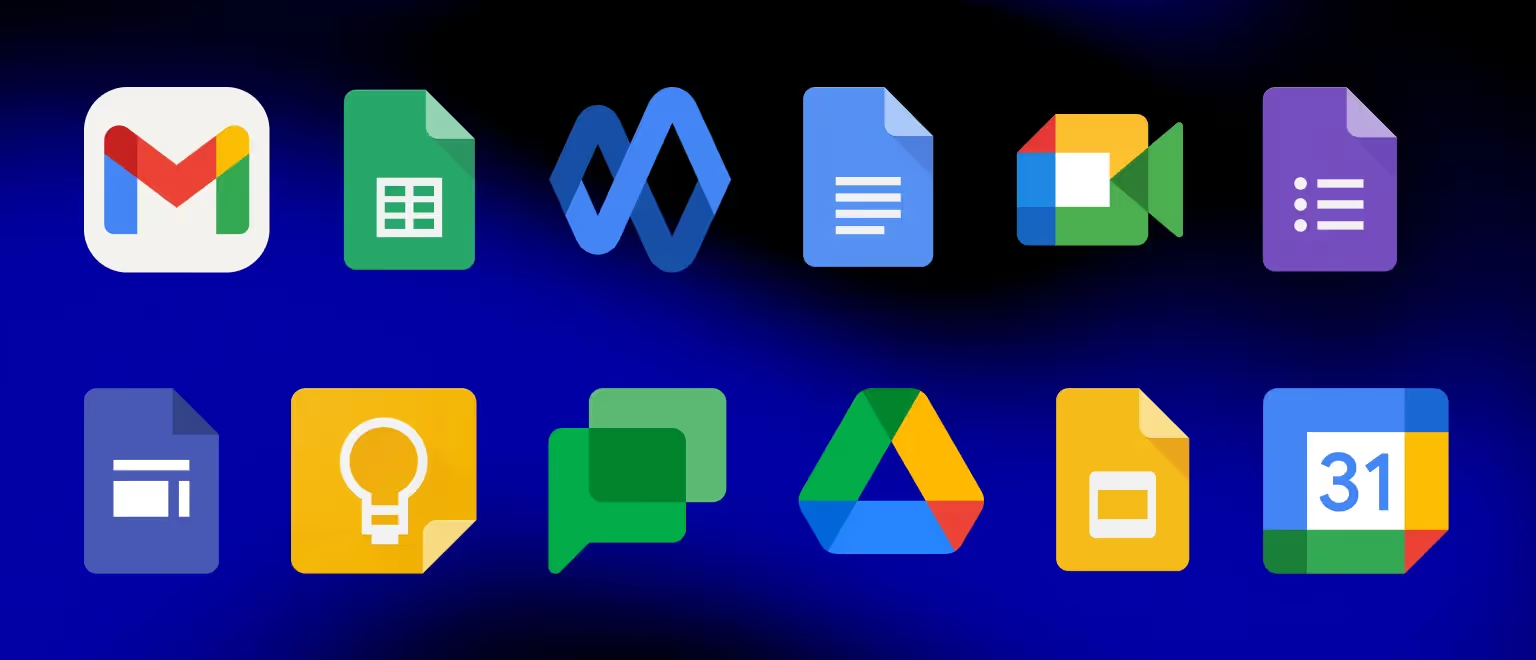
There are several reliable email hosts that integrate well with Webflow’s DNS:
Pro tip: If you're already using one of these for productivity tools, sticking with the same ecosystem keeps things simple.
Step-by-Step Guide to Setting Up a Custom Email in Webflow
Connecting Your Domain to an Email Provider
Think of your domain registrar (like GoDaddy or Namecheap) as your master control panel. This is where you manage how your domain connects to:
- Your website (via Webflow)
- Your business email (via your email provider)
We have written a separate article about how to choose a business domain that should help you manage everything on the website side of things. When you complete domain's connection to your site, you'll need to connect the domain to your email.
Here’s how it works:
- Purchase a custom email plan from a provider like Google Workspace, Zoho Mail, or Microsoft 365.
- Log into their dashboard to find your unique MX, SPF, and DKIM records.
- Log into your domain registrar (e.g., GoDaddy or Namecheap) — this is where you originally bought your domain.
- Paste the DNS records provided by your email service into your registrar’s DNS settings.
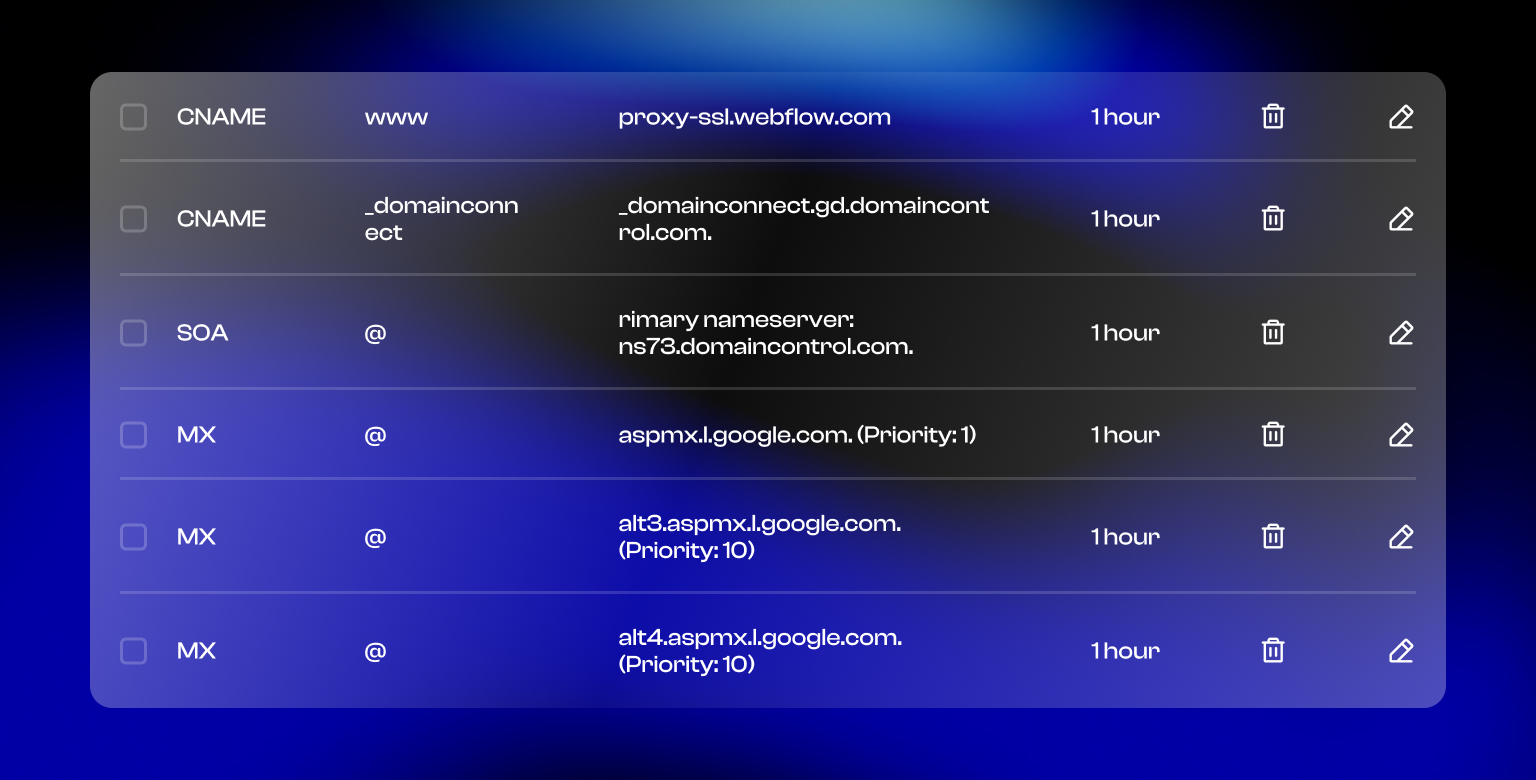
Once this is done, your Webflow hosts your site that is connected to your domain, and your business email is connected to the same domain. Essentially, you can now use your custom Email in Webflow.
💡 Note: DNS changes can take up to 48 hours to fully propagate.
Verifying Your Email Configuration
- Send a test email to and from your new address to confirm it works.
- Use tools like MXToolbox to check if your DNS records are active.
- Make sure SPF/DKIM/DMARC are verified to prevent your messages from landing in spam.
How to Change or Update Your Email in Webflow
As mentioned before, Webflow doesn't really have much to do with the process, but switching providers email providers is a big pain. We went through it, switching from Microsoft 365 to a Google Workspace. You can migrate your email or update the email's settings in the following way:
- Back up important emails with your current provider.
- Remove the old MX records from your domain registrar's DNS settings.
- Add the new provider’s MX, SPF, and DKIM records.
- Test thoroughly before deactivating the old provider to avoid email downtime.
If you need a more visual way to understand this process, here's a video outlining such a migration.
Troubleshooting Common Issues with Webflow Email Setup
Having issues? Here are some quick fixes:
- Emails not sending or receiving? Check that all DNS records are correctly input and saved.
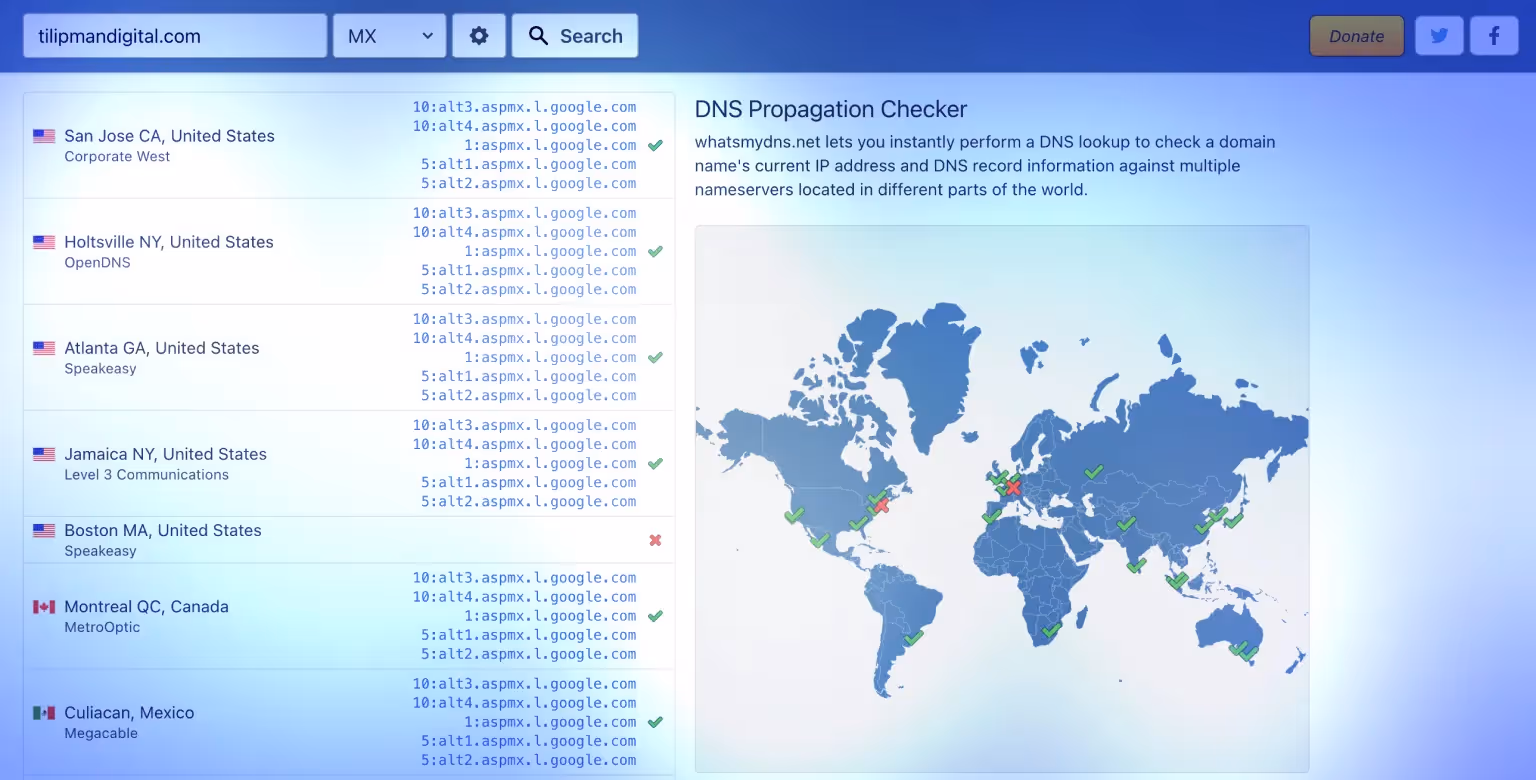
- Experiencing delays? DNS propagation can take time — use whatsmydns.net to check global status.
- Getting flagged as spam? Ensure authentication protocols (SPF, DKIM) are properly set.
Final Thoughts and Best Practices
Setting up a custom email in Webflow is a straightforward way to boost your site’s credibility.
Remember to:
- Choose a reliable email host
- Carefully configure DNS records in your domain registrar
- Test your email thoroughly
- Use aliases or forwarding for better inbox management
- Monitor spam filters with domain authentication tools
Need help configuring your setup? Contact our Webflow development agency and we'll help your brand create such a setup with Webflow.