


Sliders can be implemented in various ways, including using libraries like Splide, Swiper, or even custom-coded solutions. However, in this article, we will focus on the simplest implementation using Webflow's native slider component.
Sliders are a popular and dynamic way to showcase content on a website, and Webflow’s native slider component provides a powerful tool for creating them. In this guide, we’ll explore how to develop three types of sliders using Webflow’s slider component: static, semi-dynamic, and fully dynamic sliders. Follow along for step-by-step instructions to implement each slider.
Static Slider
Steps:
Step 1: Add a Section and a Container
Start by adding a section to your Webflow project and placing a container inside it for layout consistency.
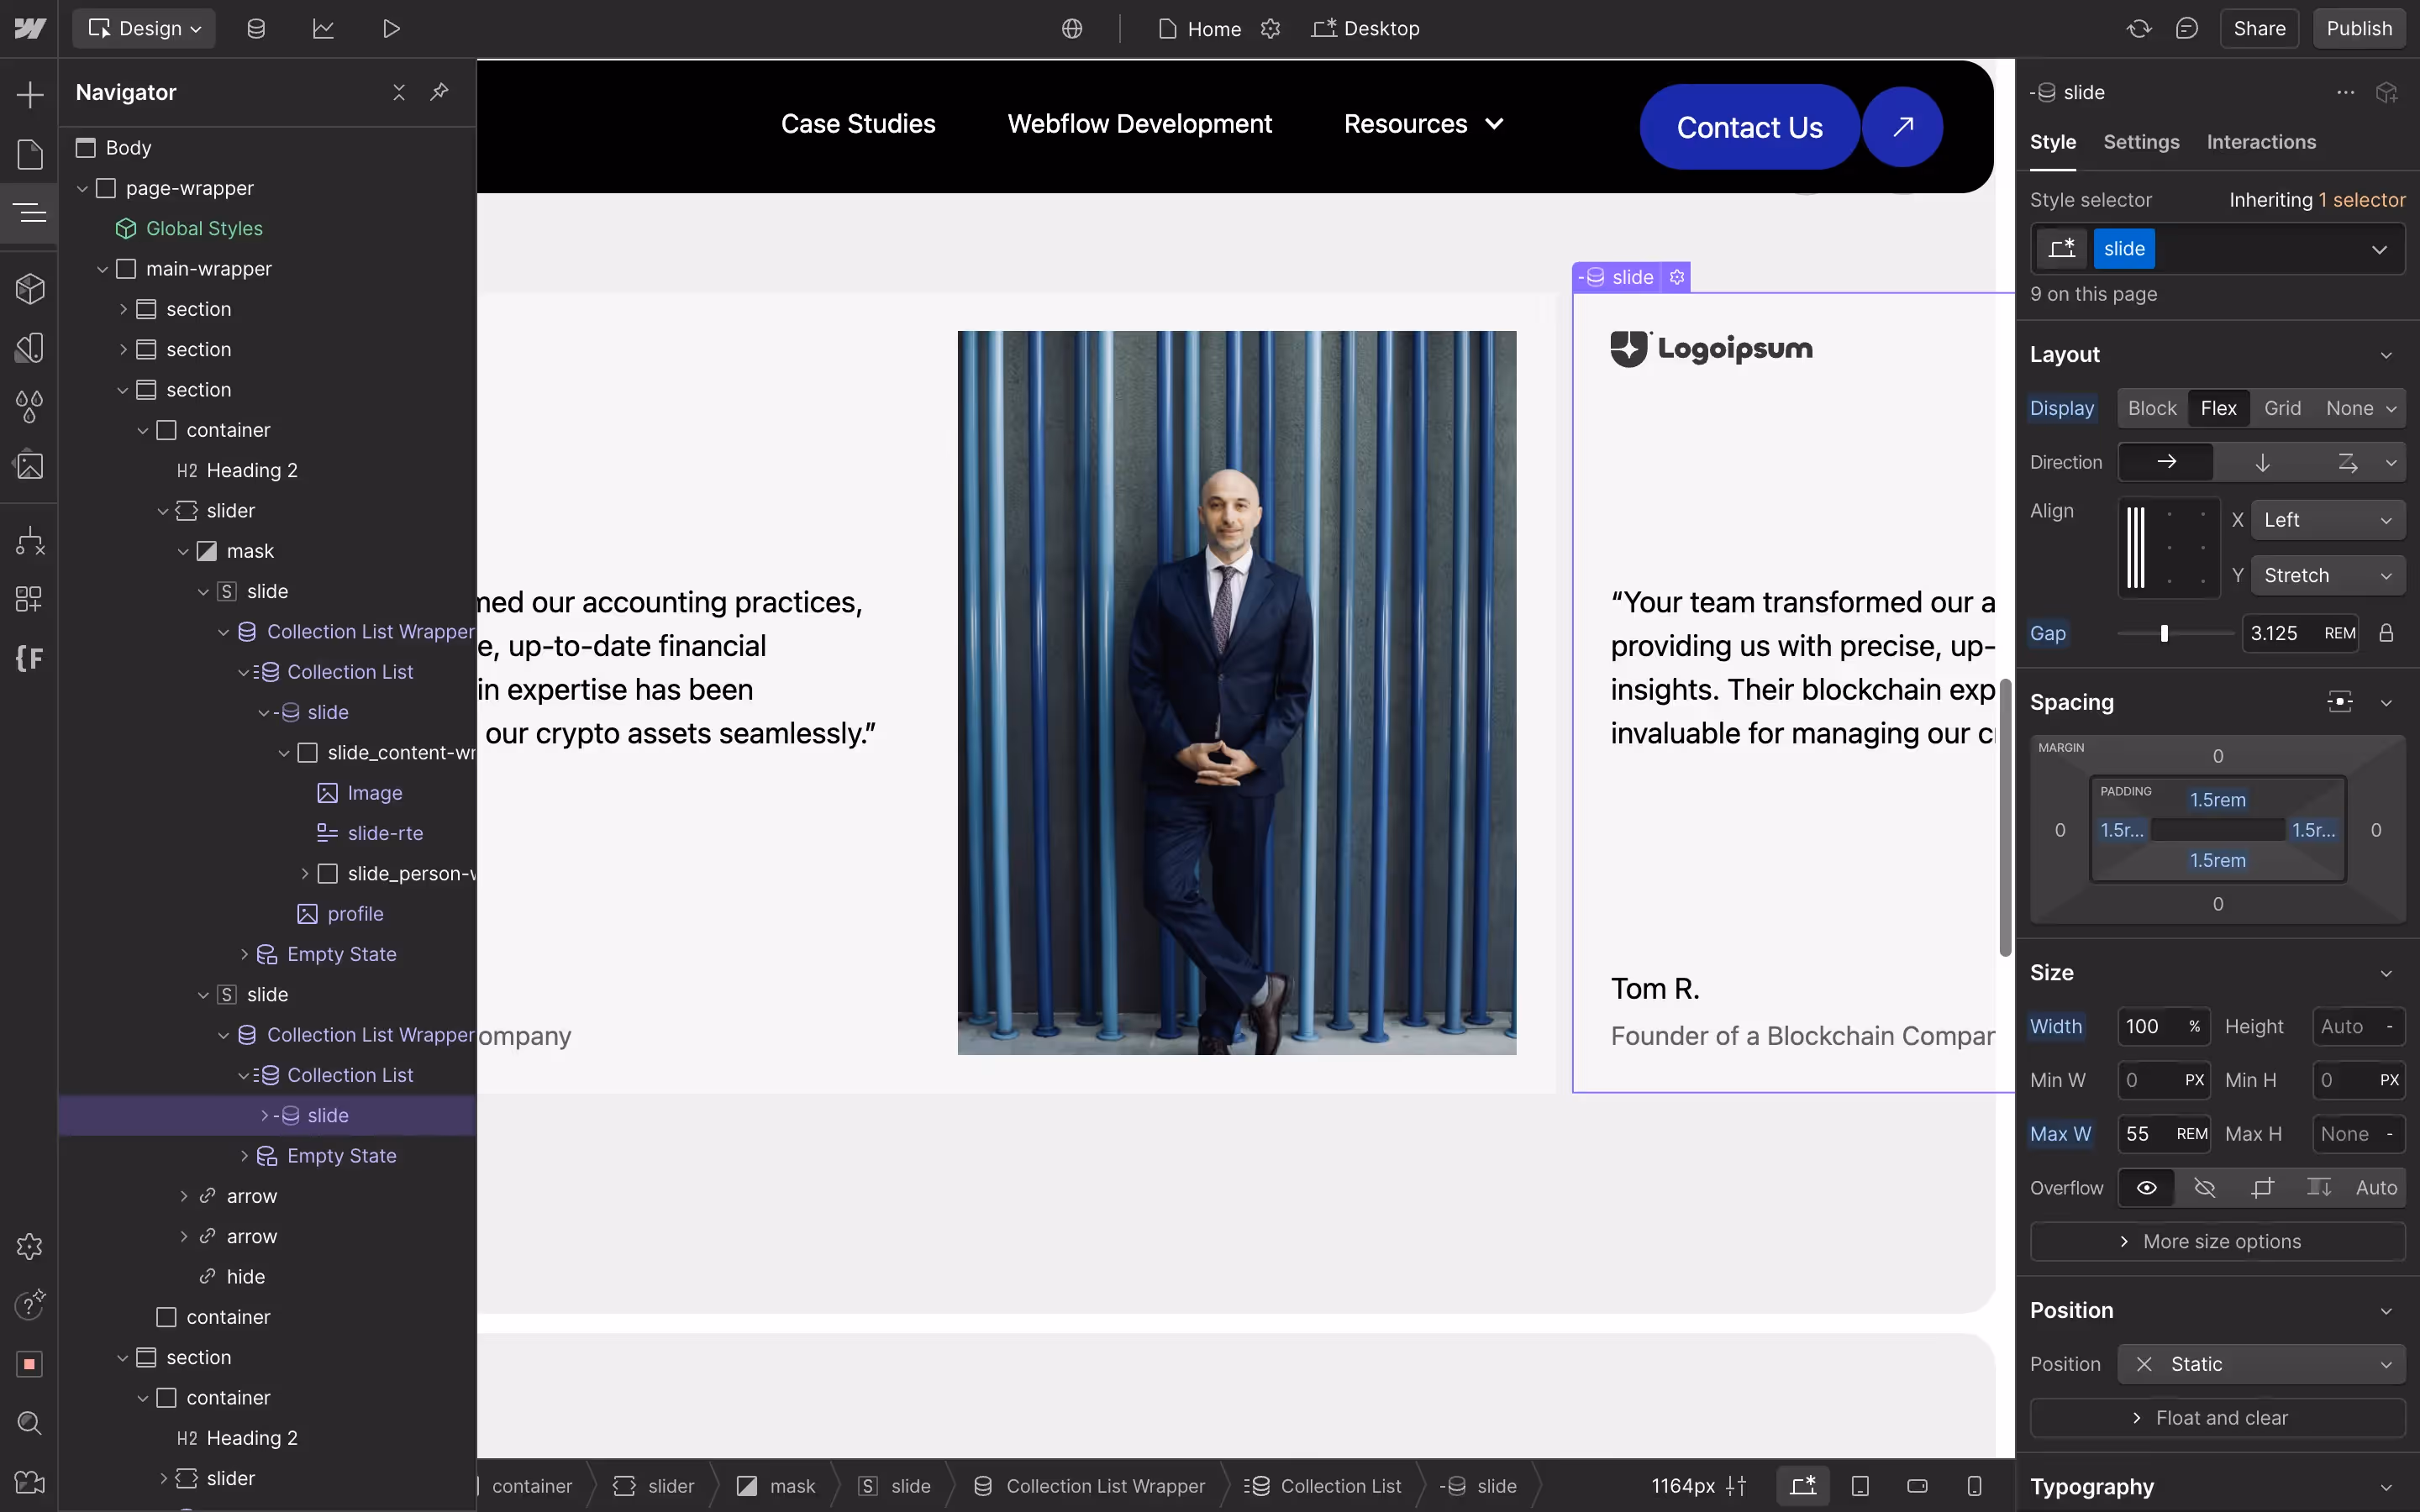
Step 2: Add a Slider Element
Drag a slider element into the container. This will include the slider, mask, slides, arrows, and pagination.
Step 3: Style the Slider
If you're not sure how to manage styles in Webflow, we wrote a beginner guide teaching you how to use classes in Webflow.
If you already know how to do so, then continue by giving the slider a class .slider and style it with:
1height: auto;
2padding: 3.75rem;
3background: transparent;
Step 4: Style the Mask
Create a random div and give it a class .mask with the following styles:
1display: flex;
2gap: 1rem;
3overflow: auto;
4max-width: 55rem; //(the size of the first slide)
Delete the random div and apply the .mask class to the slider’s mask element.
Step 5: Style the Arrows
Assign a class .arrow-btn to both arrow buttons and add a combo class .is-prev to a button that should move the slider to the previous slide. Style .arrow-btn as follows:
1display: flex;
2justify-content: center;
3align-items: center;
4width: 3.125rem;
5height: 3.125rem;
6border-radius: 50%;
7border: rgba(0, 0, 0, 0.2);
8color: black;
9transition: all 300ms ease-out;
10top: -3.125rem;
11margin: 0rem;
Style the .arrow-btn.is-prev button:
1top: -3.125rem;
2right: 3.75rem;
3margin-left: auto;
4transform: rotate(180deg);
Step 6: Adjust Slider Settings
- In the slider settings, disable infinite repeat slides.
- Hide Pagination
- Give the pagination element a class
.display-noneand style it to hide.
- Give the pagination element a class
Step 7: Style the Slides
- Create a random div, assign it a class
.slide, and style it as:
1display: flex;
2gap: 3.125rem;
3padding: 1.5rem;
4width: 100%;
5background: #f5f5f5;
6flex-basis: auto;
7flex-shrink: 0;
8flex-grow: 0;- Delete the random div and assign the
.slideclass to the slide elements.
Step 8: Populate and Style the Slides
- Add content to the first slide and style it as needed.
Step 9: Duplicate Slides
- Copy the first slide as many times as necessary and replace the content in each duplicate.
Semi-Dynamic Slider
Building a static slider is a prerequisite to creating both semi-dynamic and dynamic sliders. Ensure you have a fully functional static slider before proceeding with the steps below.
Steps:
- Copy the Static Slider Section
- Duplicate the section containing the static slider.
- Adjust Slides
- Delete all but one slide and add a combo class to remove padding from the remaining slide.
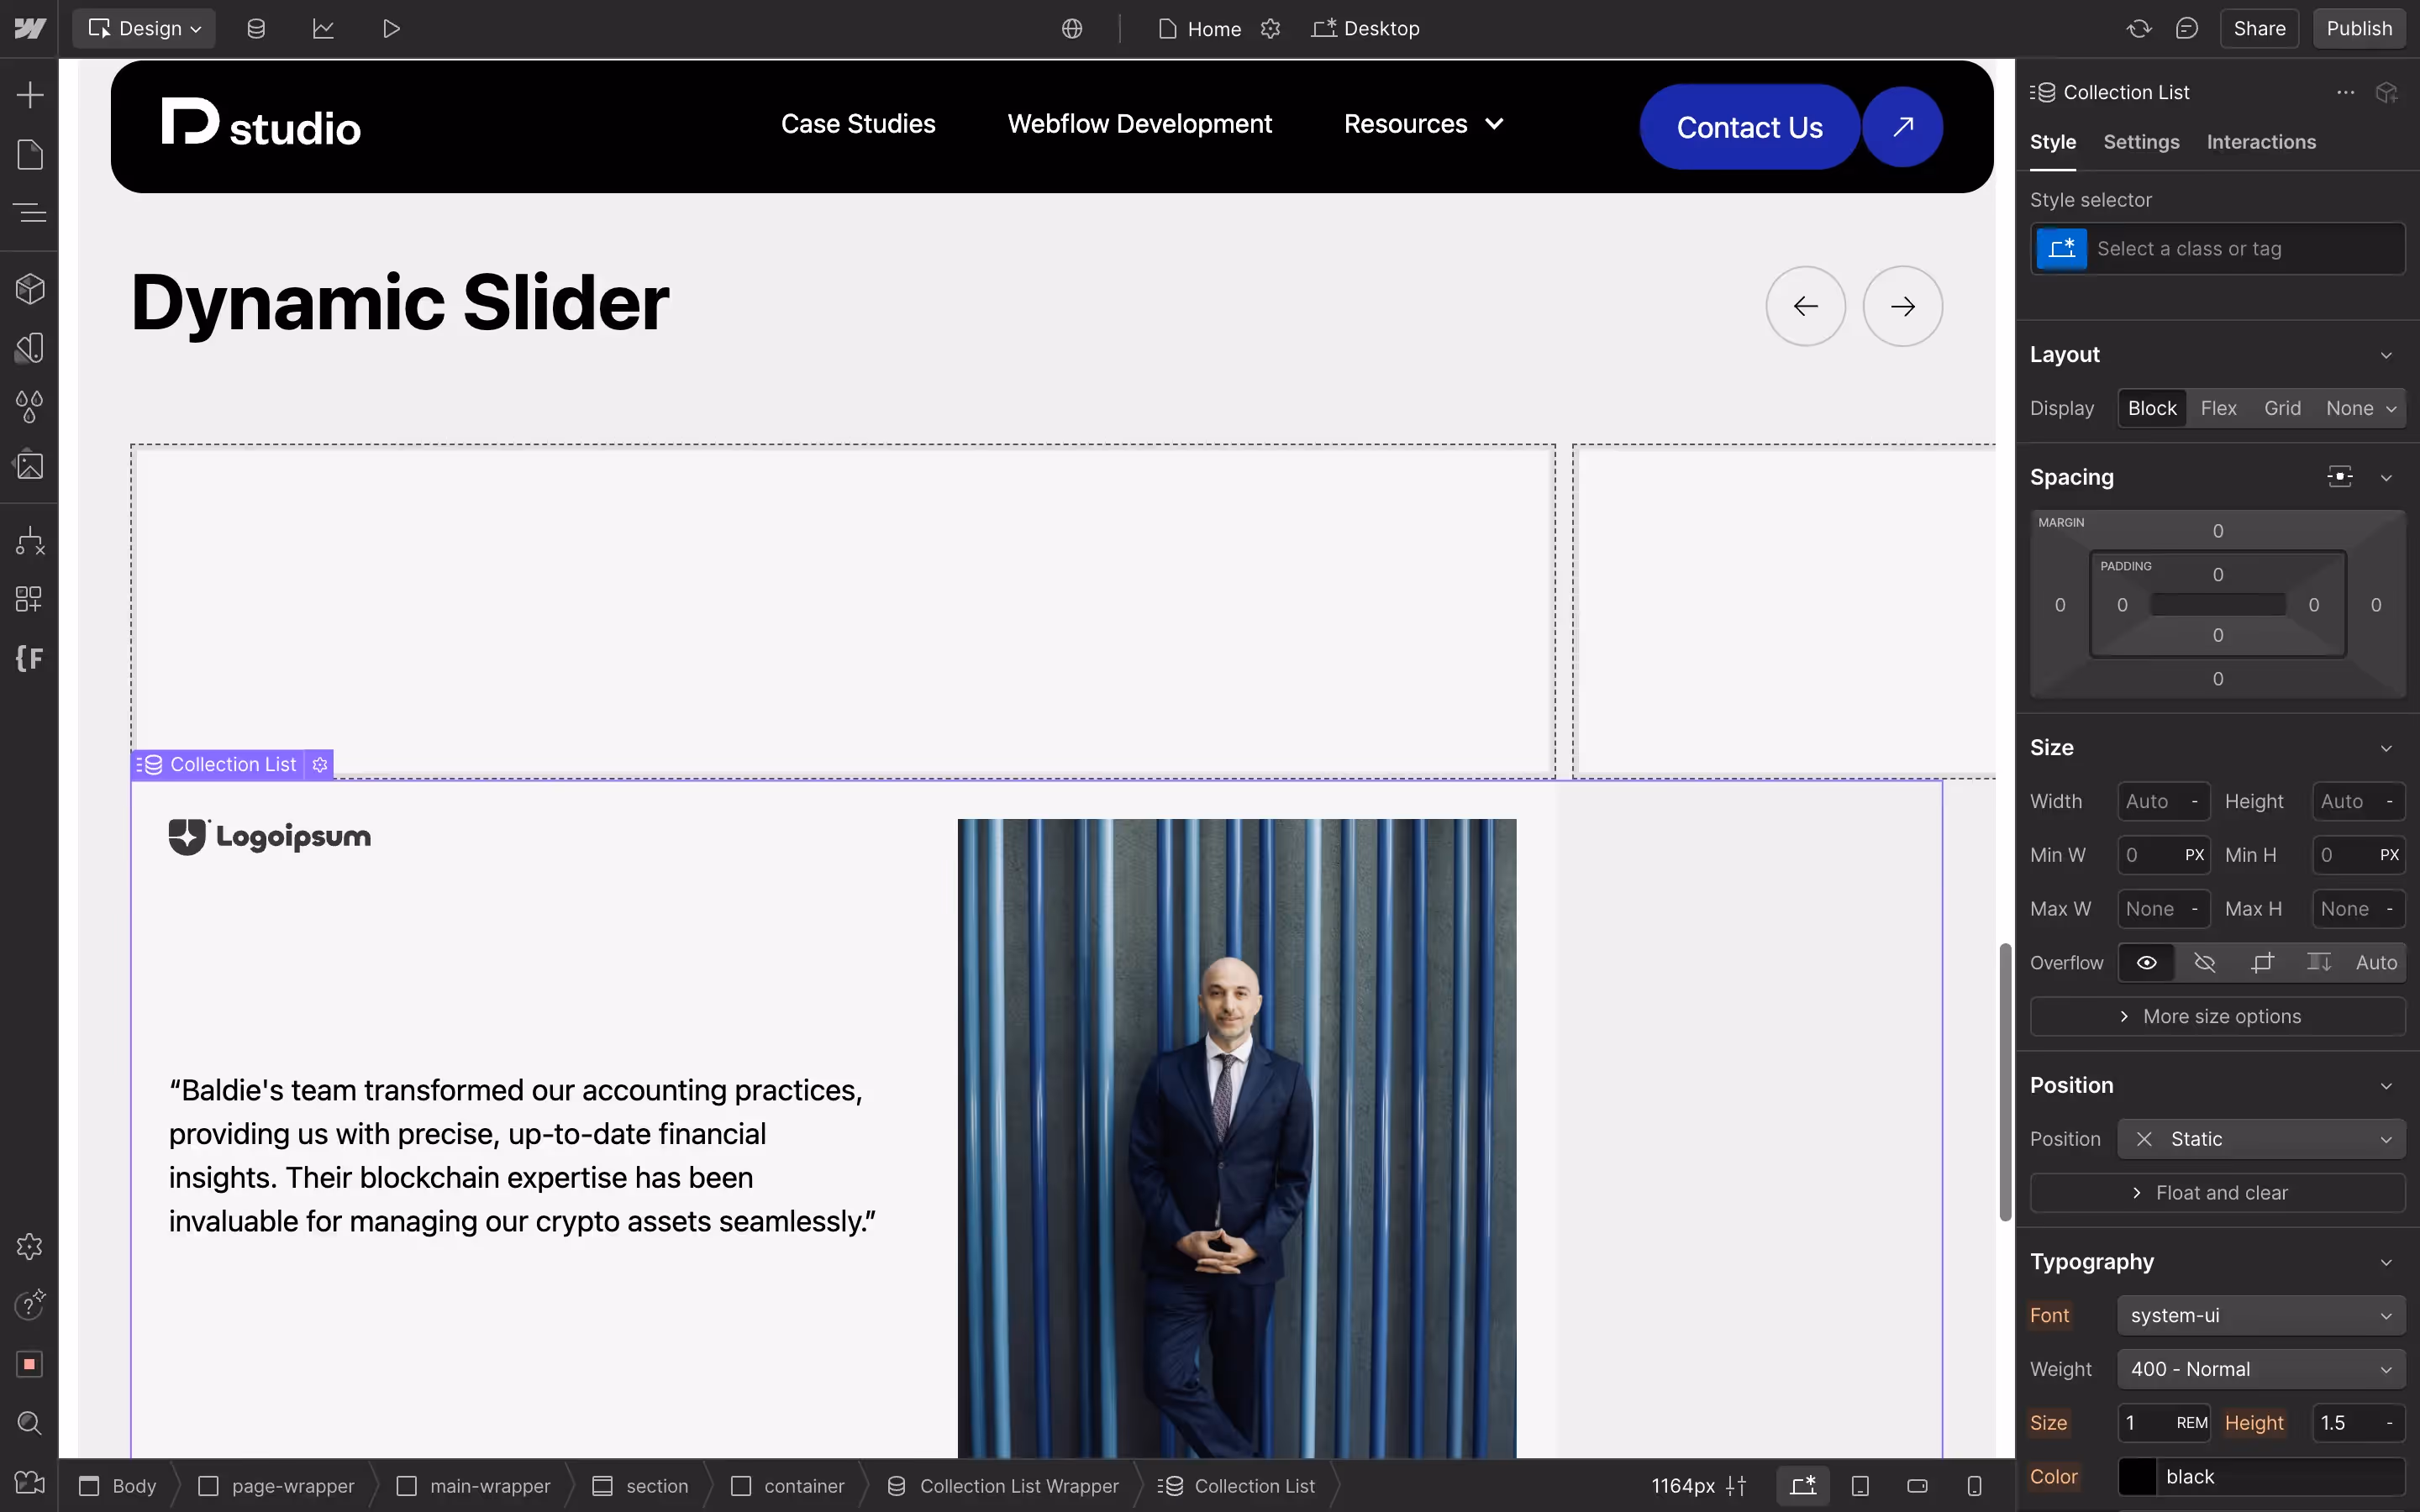
- Add a Collection List
- Add a collection list to the first slide with a limit set to
1and start at1.
- Add a collection list to the first slide with a limit set to
- Style the Collection Items
- Assign a class
.slideto the collection item.
- Assign a class
- Connect Content
- Copy over content from the static slide and link it to dynamic fields within the CMS.
- Duplicate Slides
- Copy the first slide and update the collection list to:
- Limit:
1 - Start at the next collection item (e.g.,
2for the second slide).
- Limit:
- Copy the first slide and update the collection list to:
- Repeat for Additional Slides
- Repeat the above steps for as many slides as required.
Dynamic Slider
A functional static slider is required before moving to a dynamic implementation. Complete the static slider setup and follow these steps for a fully dynamic slider.
Steps:
- Copy the Static Slider Section
- Duplicate the section containing the static slider.
- Remove Extra Slides
- Delete all but one slide and add a combo class to remove padding from the remaining slide.
- Add a Collection List
- Place a collection list below the slider component and assign a class
.slideto the collection items.
- Place a collection list below the slider component and assign a class
- Connect Content
- Copy content from the static slide and link it to dynamic fields within the CMS.
- Integrate Finsweet’s CMS Slider Attributes
- Open a new browser tab and navigate to Finsweet Attributes, searching for the CMS Slider solution.
- Embed the CDN Script
- Copy the CDN script provided on Finsweet’s page and add it to the page’s head section in Webflow settings.
- Add Attributes
- Add the following attributes:
fs-cmsslider-element="slider"to the slider element.fs-cmsslider-element="list"to the collection list.
- Add the following attributes:
- Publish the Site
- Publish your project and enjoy your fully dynamic slider.
Conclusion
Creating sliders in Webflow using the slider component is versatile and efficient. Whether you’re building a static, semi-dynamic, or fully dynamic slider, following these steps will help you craft engaging and interactive experiences for your website visitors.
For more advanced sliders, consider exploring third-party libraries like Splide or Swiper.js, which provide additional flexibility beyond Webflow’s built-in slider. If your goal is to create a smooth, infinite vertical scrolling experience, we’ve outlined a full implementation using Swiper.js in our Vertical Slideshow Guide.
To explore other advanced Webflow features, like dynamic filtering and pagination — see our guide on building an accessible filter and pagination system in Webflow with Finsweet Attributes.
For even more advanced sliders, consider exploring third-party libraries like Splide or Swiper, but Webflow’s native tools are powerful enough to meet basic needs. And if you can't seem to implement this or a more complex slider solution yourself, or team of Webflow development experts is here to help.