


What Is Google Search Console?
Google Search Console (GSC) is a free tool made by Google. It is used to gather insights on your site's performance in Google search. It does that by showing you the keywords people use to find you, the traffic that is landing on your pages, and some of the technical issues that are critical to your site.
Why Integrate Webflow with Google Search Console?
Google doesn't access your site by default. You first need to you integrate it with Search Console to feed it your site's information. By helping Google crawl and index your pages properly, you also get data on search traffic, queries, and indexing problems. This data is commonly used to make incremental improvements on websites.
Integration Challenges
Even when people try to set it up, they often use the wrong domain format, forget to publish changes, or miss DNS steps. That leads to failed verifications and lost time.
On the other hand, skipping integrating your Webflow site with GSC as a whole carries its own risks. There is a chance Google may miss indexing some or all of your pages. That means your pages won’t show up in search engine result pages (SERP), even if it’s live. In other words, you won’t know which pages are indexed, what people are searching to find you, or if Google is running into problems.
We include Google Search Console setup as part of our Webflow development services, so everything is configured correctly from the start.
How to Integrate Google Search Console with Webflow
Connecting your Webflow site to GSC is by no means difficult. You need to register your site in it and prove you own the site. It's possible to do so using various methods (more on that in the following section). When that verification is complete, you can start submitting your for indexation. And once they are indexed, Google will show you how your site shows up in search.
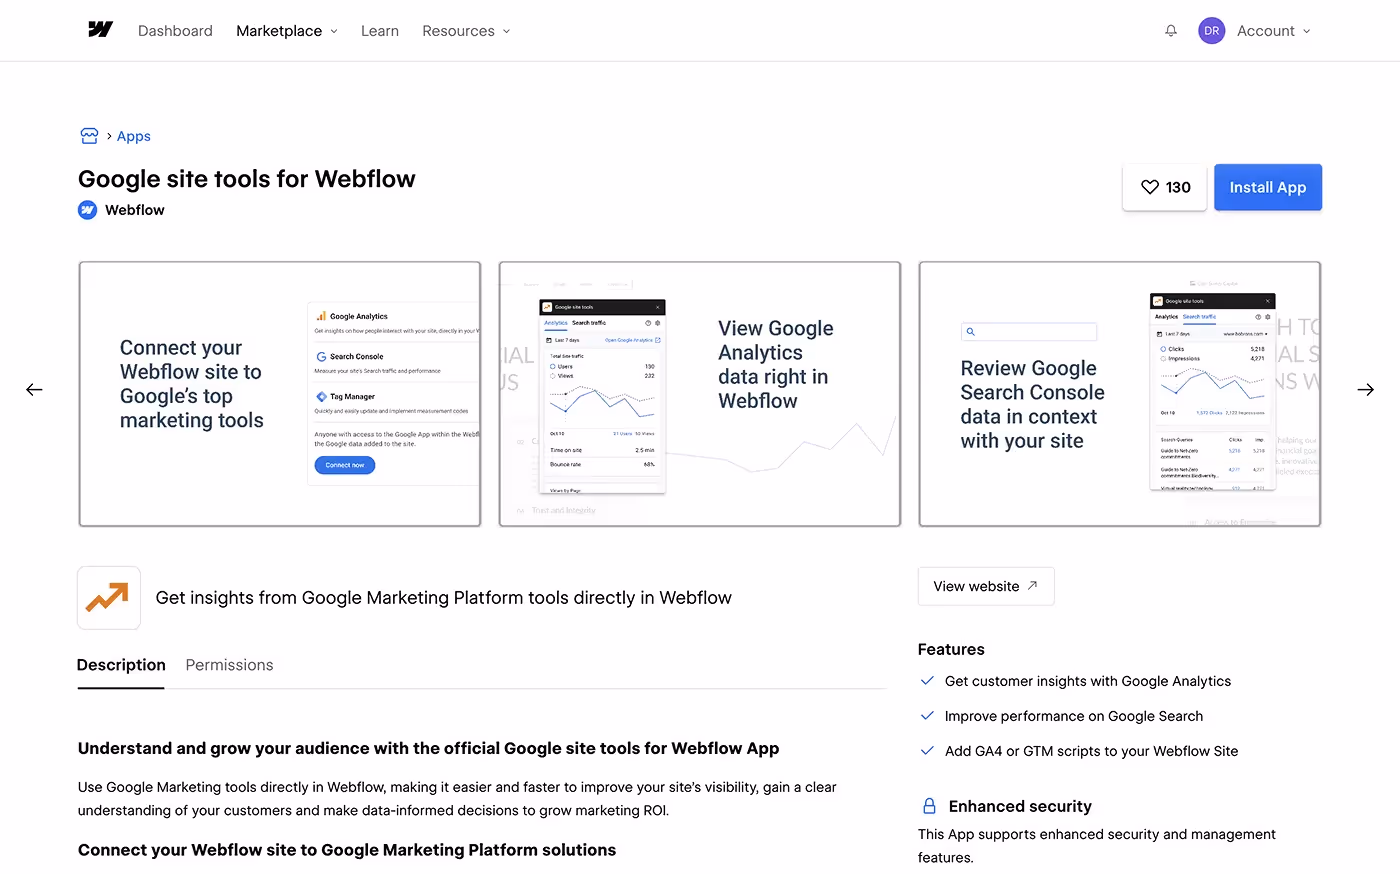
Option 1: Use Webflow’s Google Site Tools App (Easiest)
This is the fastest way. No copying or pasting any types of ids or code snippets is required.
- Open your Webflow dashboard
- Go to Apps & Integrations
- Install the Google Site Tools app
- Log into your Google account
- Allow access
- Pick your Webflow project
- Publish your site
The app adds the verification code and links everything for you.
Option 2: Use an HTML Tag (Manual Setup)
This is the most common integration method.
- Go to Google Search Console
- Click Add Property and select URL prefix
- Enter your site’s full URL (with
https://) - Pick the HTML tag method
- Copy the verification code
- In Webflow, go to Site Settings > SEO tab
- Paste the code in the Google Site Verification ID field
- Save and publish
- Go back to GSC and click Verify

Option 3: Use DNS Verification (Best for Full Domain Coverage)
This is the best option if you want one property to cover www, non-www and both http and https versions.
- In GSC, select Domain instead of URL prefix
- Enter your root domain (like
yourdomain.com) - Copy the
TXTrecord Google gives you - Go to your domain registrar's DNS settings (i.e. Namecheap)
- Add a TXT record:
- Host:
@ - Value: paste the code
- Host:
- Save the record and wait a bit
- Return to GSC and click Verify
Once it’s verified, Google will start gathering data. If you’re not sure which method to use, as an SEO agency we handle all of this.
Tip: Never Use More Than One
Pick a method and stick with it. If you verify using multiple ways, it can cause confusion later. Webflow's tools and SEO tab cover everything you need.
Once verified, Google will start tracking your site. You’ll start seeing data in between 24 and 48 hours.
Submitting Your Webflow Sitemap to Google Search Console
When you verify ownership over your site, it's time to help Google discover your pages. There are a few ways to do that. The required one is submitting your sitemap. It tells Google where everything is located within your site.
Webflow can create a sitemap for you automatically, or you can write one manually. Not sure how to do either? We wrote a guide on generating a Webflow sitemap.
Once sitemap is generated, you can access it by using the following url structure:
https://yourdomain.com/sitemap.xml
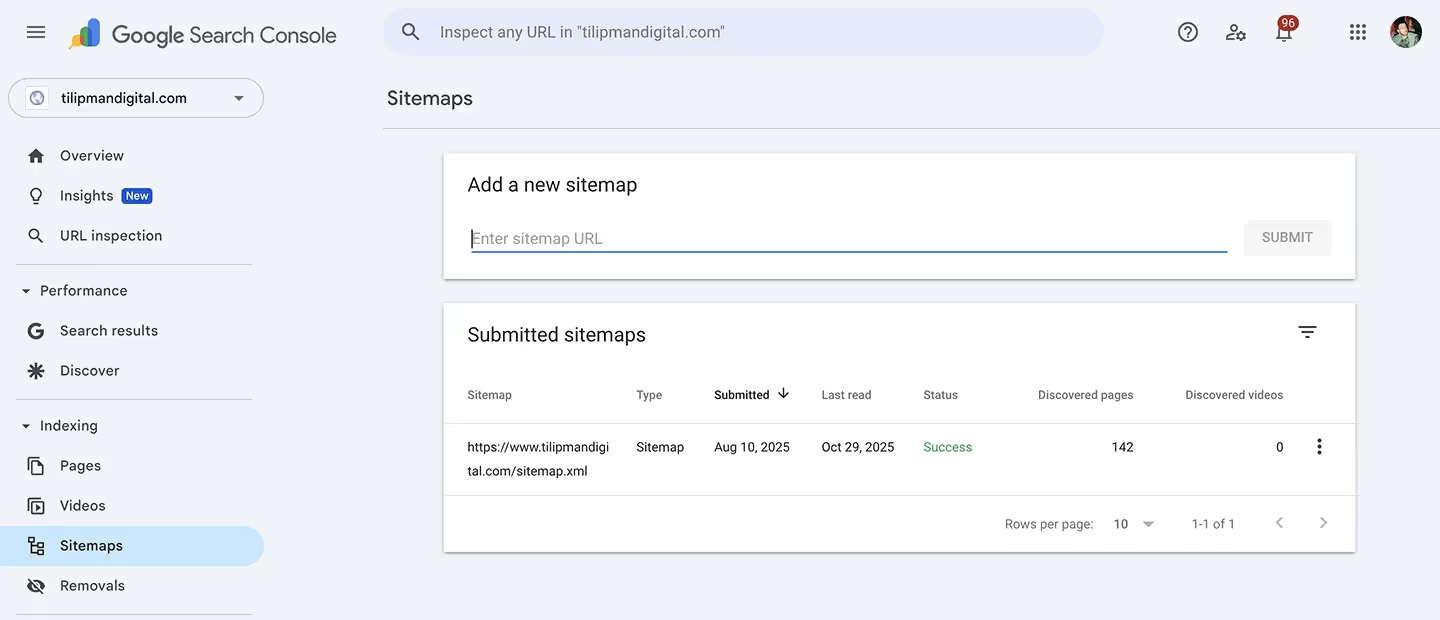
How to Submit Your Sitemap with Google Search Console
- Open Google Search Console
- In the sidebar, click "Sitemaps"
- Under "Add a new sitemap," type:
sitemap.xml - Click Submit
- You’ll see a confirmation if it worked
That’s it. Google will now use your sitemap to crawl and index your site more efficiently.
What Happens Next
- Google fetches the sitemap
- It lists the pages it finds
- If pages are excluded or blocked, you’ll see alerts
- You can return here anytime to check indexing status
Why It Matters
The goal of every SEO is to drive revenue to your business by bringing traffic to your site. To do that, Google first needs to find your pages and index them. Submitting a sitemap is one of the ways one can use to help Google do that.
Without submitting a sitemap for Google bots to follow and indexing pages manually, your site will be crawled randomly, random order in random dates (if at all). That's why you hand Google a map. It decreases the chances of pages being omitted. And a boost in indexation speed is a bonus.
Remember, the more context you give Google, the better it will rank your site.
Next Steps
Setting up Google Search Console is just a single piece of making your Webflow site work harder and smarter.
- Use Webflow Google Analytics Integration to track user behavior and traffic sources. It gives you the needed insights to boost conversions.
- Explore other Webflow integrations to connect forms, CRMs, marketing tools and many other tools, helping your site pull it's weight and ensure ROI.
FAQs on Webflow and Google Search Console
Is Google Search Console free?
Yes. There’s no cost to use it. Anyone with a Google account can sign up and connect a website.
Does setting up Search Console help my SEO?
Not directly. GSC shows you what’s working and what’s not. These insight help you make incremental improvements, leading to better Google performance over time.
Where do I paste the Google verification code in Webflow?
Once you're in your Webflow dashboard, hover on your project and click three dots. You will access site Settings, from where you have to navigate to the SEO tab in the left sidebar. Scroll down the page until you find Google Site Verification ID. That's where you'll want to paste the code. Once that's done, save and publish your site.
What’s the difference between HTML tag and DNS verification?
HTML tag is easier, just paste the code in Webflow. DNS verification is better if you want to verify the whole domain (including subdomains). It needs access to your domain registrar.
Can I use more than one verification method?
Technically, yes, but it's not recommended. Stick to a single method to avoid any issues down the line.
Why would I hire someone to set it up if it’s free?
Want to do it right? An expert can set it up and show you how to read the reports. Instead of wasting time with the learning curve you get to allocate your time growing your business. Experienced agencies use GSC to monitor SEO on a daily basis.

