


Efficiency is everything when you're designing and building websites in Webflow. Whether you're a marketer, designer, or Webflow beginner, learning Webflow shortcuts can drastically cut down your build time and make you feel like a true power user.
In this guide, we'll walk through the essential Webflow shortcuts that will help you work smarter, not harder — including some pro tips to optimize your workflow even further.
Why Learn Webflow Shortcuts?
Mastering all Webflow shortcuts isn't needed to become great at Webflow. You need to follow the Pareto principle by focusing on the 20% key shortcuts first.
This way you're doing more just about saving a few clicks. You're checking all the important boxes:
- Building sites faster
- Reducing fatigue and repetitive strain
- Improving project turnaround times
- Boosting overall creativity and flow
Plus, the more fluid your workflow, the more focus you can give to the actual design and strategy rather than wrestling with the interface.
Essential Webflow Shortcuts You Need to Know
Webflow is packed with shortcuts that can dramatically speed up your workflow — but every team builds differently. Some designers prioritize layout shortcuts, others focus on faster styling. In this video, Arnau Ross shares his favorite Webflow shortcuts based on his workflow.
With that said, the list below highlights the most useful shortcuts we've found based on our experience building sites for clients every day.
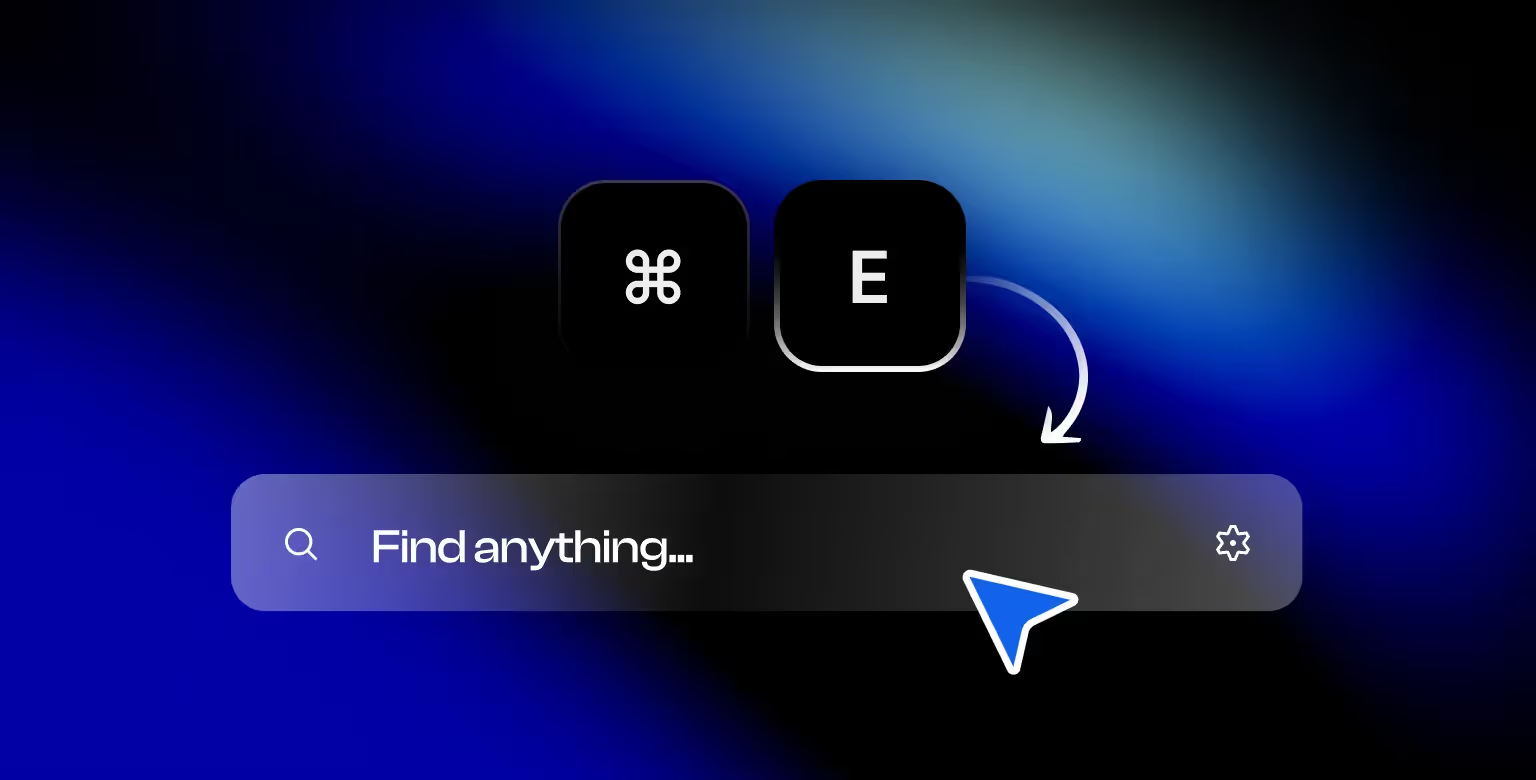
1. Quick Find (Cmd + E / Ctrl + E)
The Quick Find command is your best friend. Press Cmd + E (Mac) or Ctrl + E (Windows) to quickly search for any element, page, or setting without clicking through menus.
Pro Tip: Get in the habit of opening Quick Find every time you need to add a div block, section, or button. It'll shave off so much time compared to manual dragging.
Bonus: Use Quick Find to quickly add a Div Block — just type "Div Block" after pressing Cmd + E and hit Enter.
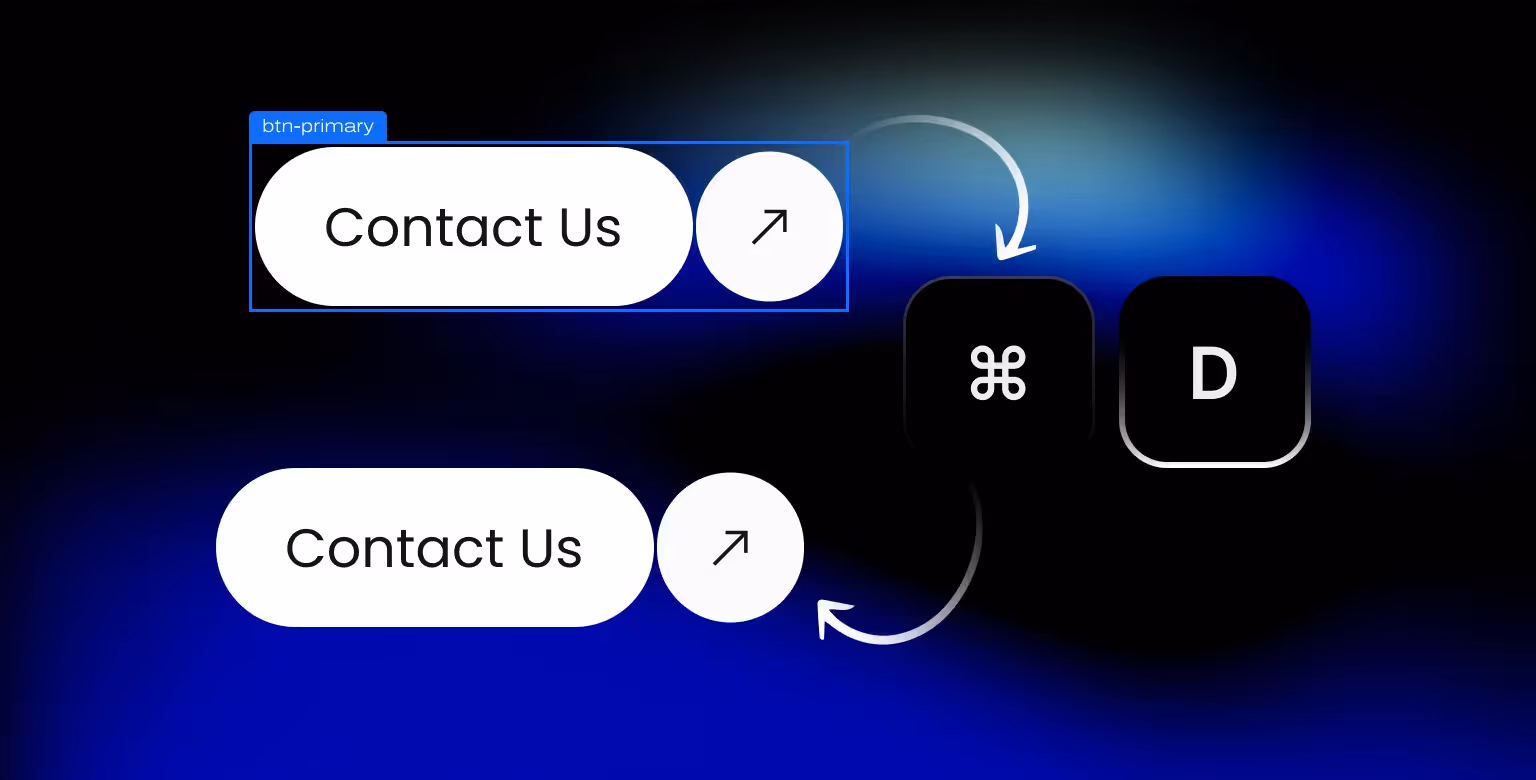
2. Duplicating Elements Quickly
Need to duplicate a block, button, or any element?
- Use Cmd + D (Mac) / Ctrl + D (Windows) to duplicate an element quickly.
- Hold Option (Alt) and drag the element.
- Alternatively, use Cmd + C / Cmd + V (Mac) or Ctrl + C / Ctrl + V (Windows) to copy and paste.
Efficiency Hack: Especially useful for building repetitive layouts like pricing cards or feature lists.
3. Adding Elements Fast
Beyond Quick Find, here are specific shortcuts to add new elements:
- A key: Open Add Elements Panel
- Then type "Div Block" or "Container" into the search bar.
Pro Tip: Keep your non-dominant hand near the "A" and "E" keys to speed up navigation while you design.
4. Undo and Redo (Cmd + Z / Shift + Cmd + Z)
Made a mistake? Instantly correct it:
- Undo: Cmd + Z (Mac) / Ctrl + Z (Windows)
- Redo: Shift + Cmd + Z (Mac) / Shift + Ctrl + Z (Windows)
Efficiency Hack: Webflow's multi-level undo/redo system means you can experiment freely without fear of breaking something.

5. Quickly Adding and Managing Classes (Cmd + Enter)
Efficient class management is crucial for clean builds and scalable styling.
- Add or Edit Class: Press Cmd + Enter (Mac) or Ctrl + Enter (Windows) with an element selected.
- Create New Class: Type a new class name directly after hitting the shortcut.
- Remove Class: Select the element, open the class field with Cmd + Enter, and click the "Remove Class" icon or clear the input.
Pro Tip: When duplicating elements, always check and adjust classes immediately using this shortcut to avoid messy or duplicated styles later.
Efficiency Hack: Rapid class management keeps your builds lightweight and organized — and helps avoid technical debt as projects scale.

6. Moving Through Elements with Arrow Keys
Navigating between elements without using your mouse is a major time-saver.
- Left/Right Arrow: Move between sibling elements.
- Up Arrow: Move up to the parent element.
- Down Arrow: Move down to the first child element.
Pro Tip: Use this constantly while building sections and reorganizing layouts without leaving the keyboard.
7. Navigating Between Breakpoints (Numbers 1-4)
Switching between Desktop, Tablet, and Mobile views?
Usually developers click on breakpoint button, but there are two better ways:
- Use numbers 1 to 4 to switch between breakpoints (1 = Desktop, 4 = Mobile).
- Shift + E toggles breakpoints instantly.
Pro Tip: Rapidly toggling breakpoints while adjusting layout saves tons of time compared to using the mouse.

8. Previewing Live Changes (Cmd + Shift + P)
See how your site behaves in real time without publishing.
- Preview Mode: Cmd + Shift + P (Mac) / Ctrl + Shift + P (Windows)
Use this often to catch responsiveness or animation errors early!

9. Wrapping Elements into a Div Block (Cmd + Option + A)
Keeping your layouts clean and structured often means wrapping elements inside a Div Block. Webflow makes this incredibly easy with a native shortcut:
- Wrap with Div Block: Select the element, then press
Cmd + Option + ACtrl + Alt + A(Windows).
This instantly wraps the selected element inside a new Div Block — no dragging or manual nesting required.
Pro Tip: Wrapping elements is crucial when you want more styling control — like applying margins, padding, background colors, or custom positioning — without affecting the child elements.
10. Enabling Responsive Images Efficiently
Since 2016, Responsive images have become a big part of Webflow’s optimization workflow — but many users don't realize you can handle this quickly without digging through endless settings.
After adding an image element, select it.
- Press D on your keyboard to open the Settings Panel instantly.
- In the panel, ensure the Disable Responsiveness checkbox is toggled off.
Pro Tip: You usually don’t have to worry about this setting during regular Webflow builds. But when working on projects we didn’t originally develop — especially during our Webflow Maintenance projects — we always inspect this setting to make sure the site remains lightweight and properly optimized.
Advanced Pro Tips for Webflow Efficiency
- Use Class Naming Consistently: Press
Cmd + Enterto open the class selector and rename quickly. - Hide/Show Elements (H key): Select an element and press
Hto quickly toggle visibility. - Tab Between Style Panels: Press
Fto toggle between the Style Panel and the Navigator Panel. - Pull up shortcut cheat sheet: Press
Shift + ?to open up the shortcut cheat sheet in Webflow.
When Webflow Shortcuts Aren't Enough
If your Webflow project has grown massive or you're handling multiple complex interactions, sometimes knowing shortcuts isn't enough. That's where professional help can save you dozens of hours.
Looking to scale your Webflow projects even faster? Our Webflow Development Agency specializes in clean, scalable builds — so you can focus on what matters: launching and growing.
Frequently Asked Questions (FAQ)
What is the shortcut to duplicate elements in Webflow?
Press Option (Alt) + Drag an element to quickly duplicate it. You can also use Cmd + C to copy and Cmd + V to paste. With that said, while there is a shortcut to copy elements, there isn't one for cloning an entire page. With that said, the platform did make duplicating pages in Webflow easy via the Pages panel, our guide walks you through copying a full page safely without breaking links or SEO.
How do I quickly add a div block using a shortcut in Webflow?
You can quickly add a div block by pressing Cmd + E (Mac) or Ctrl + E (Windows) to open Quick Find, typing “Div Block,” and hitting Enter.
What’s the shortcut for undoing and redoing actions in Webflow?
- Undo: Press Cmd + Z (Mac) or Ctrl + Z (Windows).
- Redo: Press Shift + Cmd + Z (Mac) or Shift + Ctrl + Z (Windows).
How do you quickly add classes in Webflow?
You can add Webflow classes quickly by using Cmd + enter / Ctrl + enter shortcut.
Conclusion
Learning Webflow shortcuts isn't just about speeding up — it's about creating better work with less effort. The sooner you master these keystrokes and tricks, the more intuitive and efficient your builds will become.
Want to level up even further? Explore more of our Webflow Development Guides — packed with practical tips to help you build cleaner, faster, and more professional Webflow sites.