


Smooth scrolling enhances website navigation by providing fluid motion when users scroll through content. Unlike traditional scrolling, which moves in rigid steps, smooth scrolling creates a continuous, natural flow.
Webflow’s built-in scrolling behavior is functional, but it lacks fine control. That’s where Lenis comes in—a lightweight JavaScript library designed to optimize scrolling performance with smooth acceleration and deceleration effects.
In this guide, we’ll walk through why smooth scrolling matters, the pros and cons of different methods, and a step-by-step approach to adding Lenis to Webflow.
Why Use Smooth Scrolling?
Pros of Smooth Scrolling:
- Enhanced User Experience – Improves readability and creates a seamless browsing experience.
- More Engaging Visuals – Works well with animations, creating dynamic effects.
- Professional Look & Feel – Gives a polished touch to websites.
Cons of Smooth Scrolling:
- Can Impact Accessibility – Some users prefer standard scrolling.
- Requires JavaScript – Adding extra scripts may slightly increase page load time.
Lenis vs. Other Smooth Scrolling Libraries
There are multiple ways to implement smooth scrolling in Webflow, but not all solutions are optimal. Here’s how Lenis compares to two popular alternatives:

Why Choose Lenis?
- Simple setup compared to GSAP or Locomotive Scroll
- Provides better performance and less overhead
- Works seamlessly with Webflow animations and supports
position: sticky;
Prerequisites for Lenis Smooth Scrolling in Webflow
Before starting, ensure you have:
- A Webflow project with custom code capabilities
- Basic understanding of JavaScript & Webflow interactions
- Lenis library (which we’ll add manually in Webflow)
Step-by-Step Guide to Adding Lenis Smooth Scrolling in Webflow
Implementing Lenis library n Webflow can be slightly confusing. Lenis team has changed documentation and there are quite a few outdated resources. If you are a visual person, you can follow Timothy Rick's implementation video.
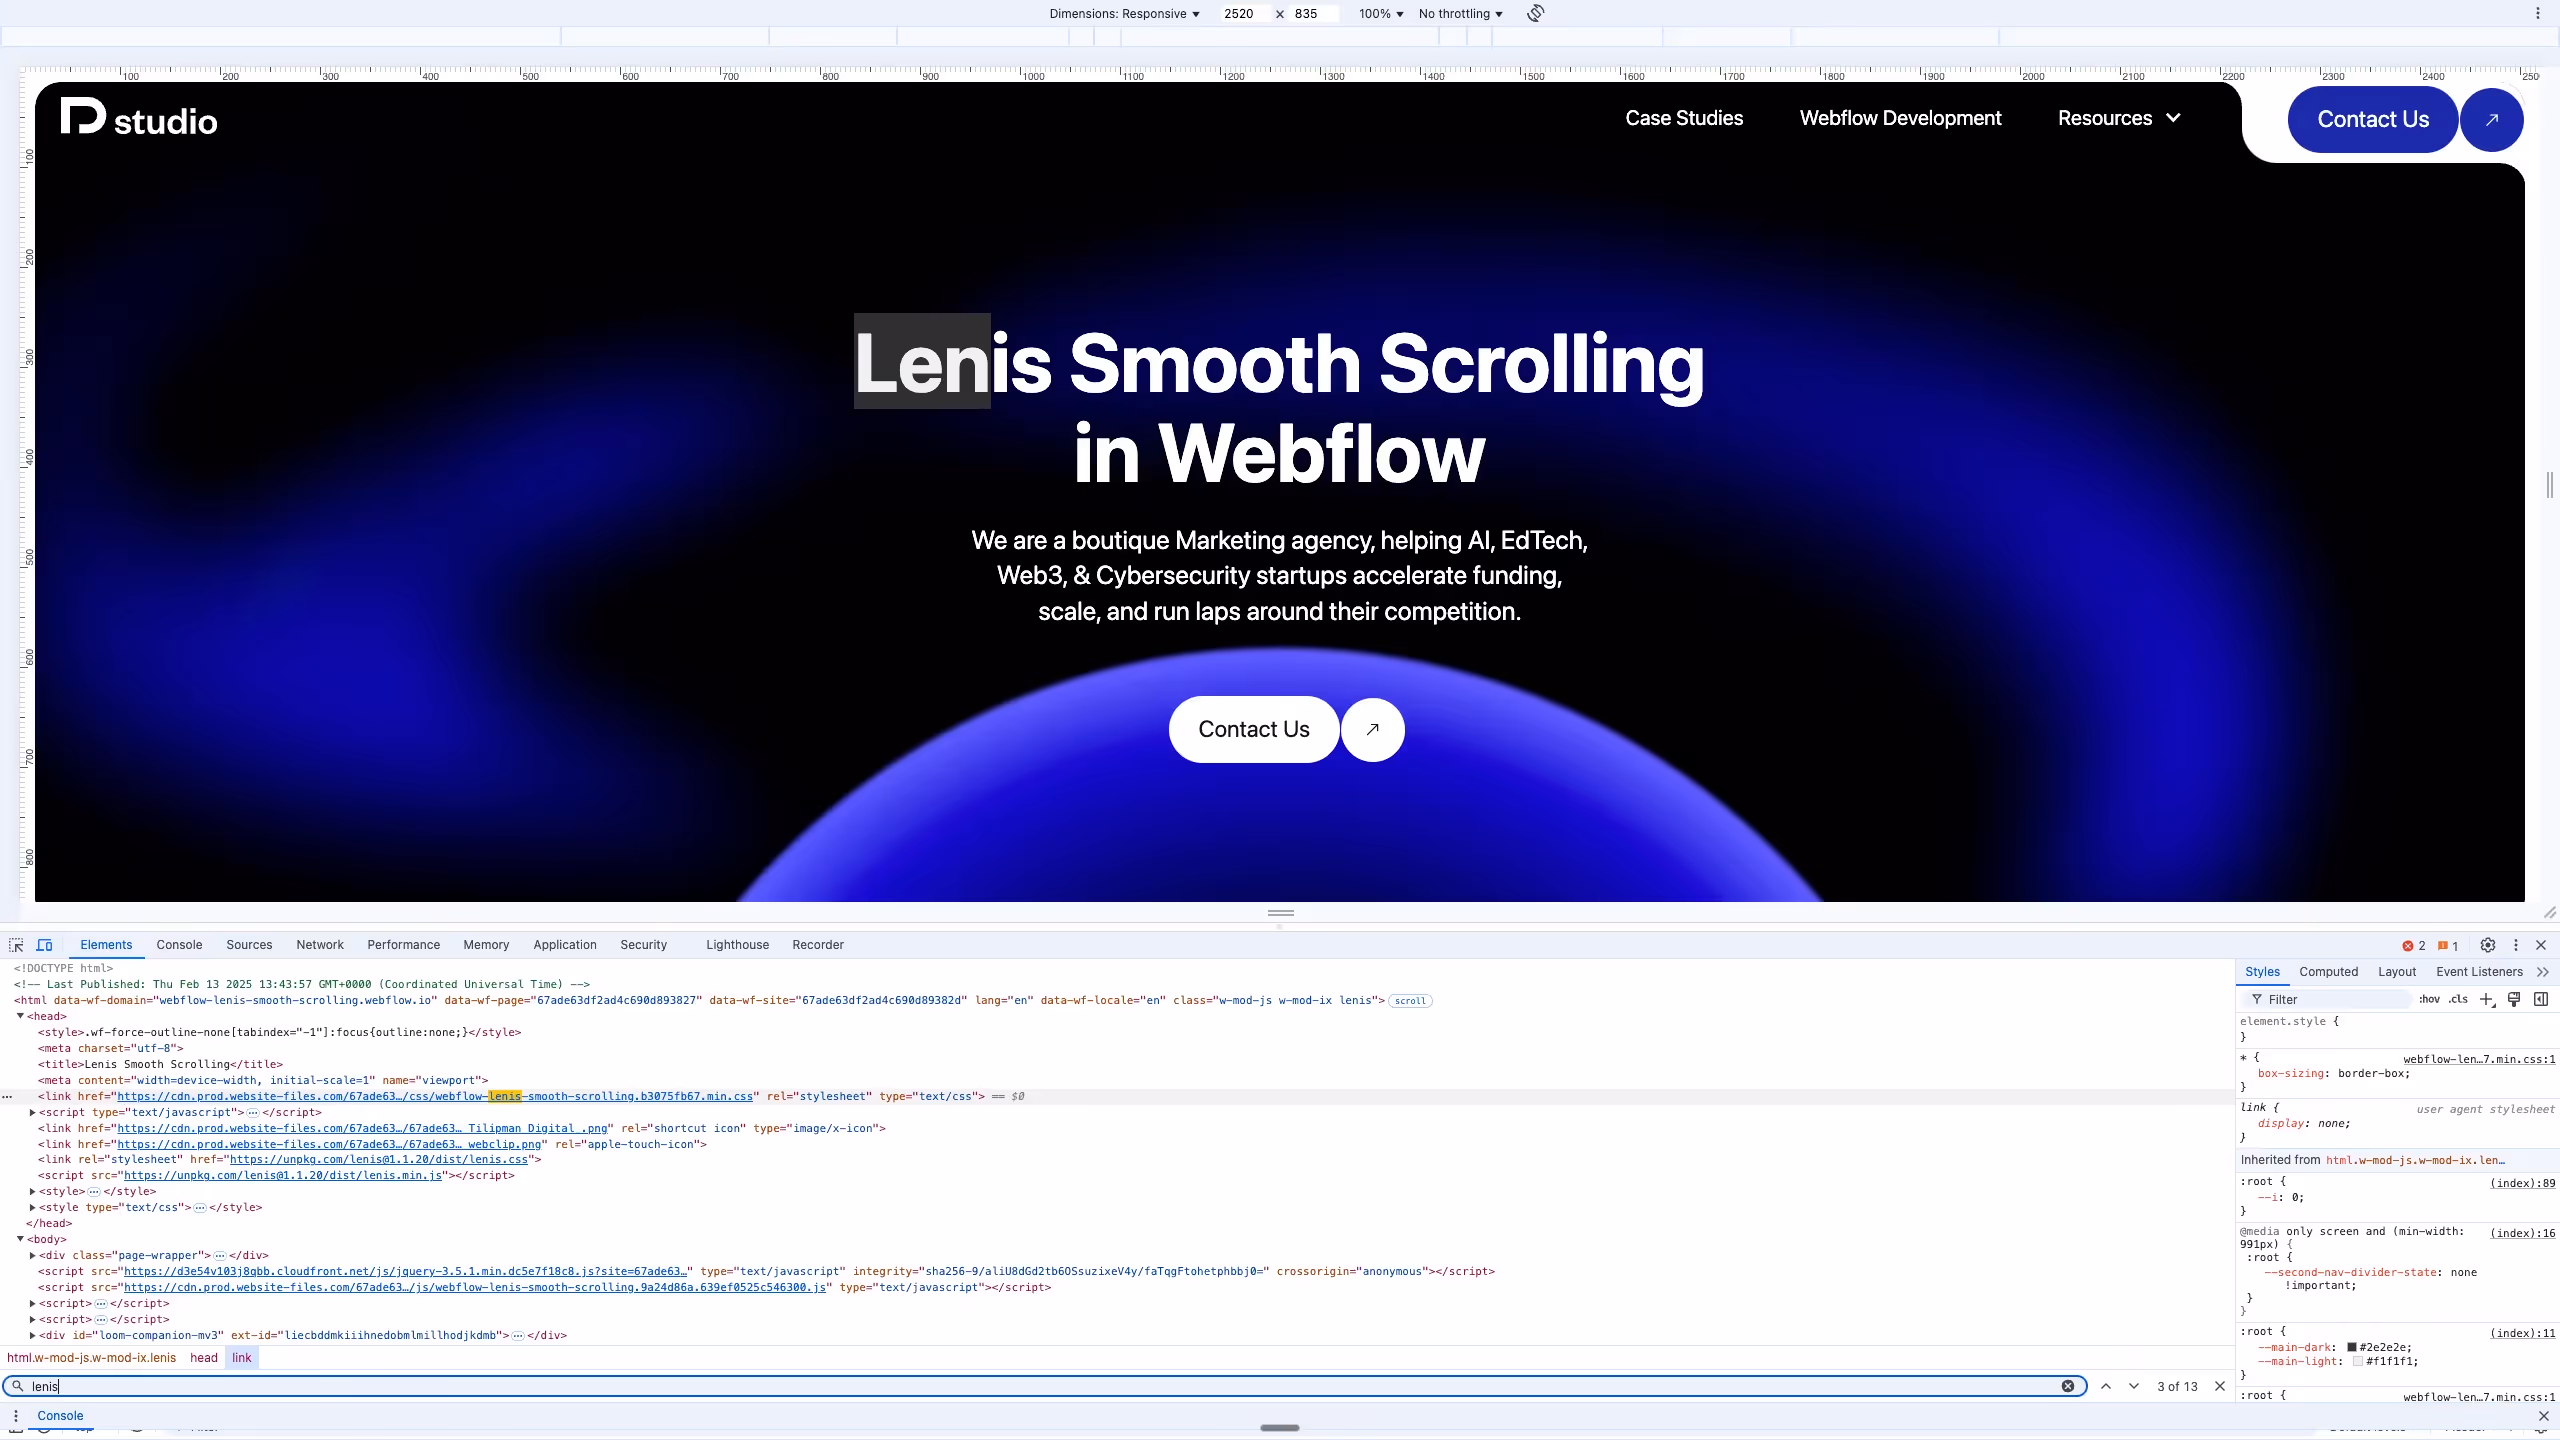
Step 1: Add Lenis Script and Stylesheet to Webflow
- Open Webflow Designer → Page Settings.
- Scroll to the Custom Code section under
<head>and add:
1<link rel="stylesheet" href="https://unpkg.com/lenis@1.1.20/dist/lenis.css">
2<script src="https://unpkg.com/lenis@1.1.20/dist/lenis.min.js"></script> - Save and publish your Webflow site.
Step 2: Initialize Lenis in Webflow’s Custom Code Section
- Go to Page Settings → Scroll to Custom Code → Before
</body>. - Paste the following script:
1<script>
2  const lenis = new Lenis({
3    smooth: true,
4    lerp: 0.1,
5    wheelMultiplier: 1,
6    infinite: false
7  });
8  function raf(time) {
9    lenis.raf(time);
10    requestAnimationFrame(raf);
11  }
12  requestAnimationFrame(raf);
13</script>- Save and publish the site.
Step 3: Disable Webflow’s Default Smooth Scrolling
To prevent conflicts with Lenis, disable Webflow’s built-in smooth scrolling:
- Select the Body (All Pages) element.
- Under Scroll Behavior, set it to Auto (not Smooth).
Step 4: Test the Smooth Scrolling Effect
- Open the published Webflow site.
- Scroll up and down—Lenis should now create a fluid movement effect.
- If scrolling feels too slow or fast, adjust
lerpandwheelMultipliervalues in the script.
To get a better understanding of how you can edit your smooth scroll effect, there are two key terms you should be familiar with:
Lenis Lerp
The lerp value controls how smoothly Lenis interpolates between scroll positions. A lower value (e.g., 0.1) results in slower, smoother motion, while a higher value (e.g., 0.5) makes scrolling feel more direct and responsive.
Lenis wheelMultiplier
The wheelMultiplier adjusts the sensitivity of the scroll wheel. Increasing the value makes scrolling faster, while decreasing it slows down the response for finer control.
Enhancing Lenis with Additional Features
Creating an Infinite Scroll Effect with Lenis
Infinite scrolling loops content seamlessly, preventing users from reaching the end of a page. Here’s how you can achieve this effect with Lenis:
- Wrap all your page content inside a
divwith a class of.scroll-container. - Modify the Lenis script to detect when users reach the bottom and loop them back:
1<script>
2  const lenis = new Lenis({
3    smooth: true,
4    lerp: 0.1,
5    wheelMultiplier: 1,
6    infinite: true
7  });
8  function raf(time) {
9    lenis.raf(time);
10    requestAnimationFrame(raf);
11  }
12  requestAnimationFrame(raf);
13</script>
This ensures users continuously scroll through content without interruptions. Adjust the script for custom loop behaviors.
If you're looking to introduce infinite scrolling into your page, but Lenis doesn't seem to be a fitting solution, we have written a guide on using Swiper to turn your page into an infinite slideshow.
Enhancing Lenis Scroll Experience
To get the most out of any smooth scrolling library, it is a good idea to combine it with other scroll effects, especially if you are looking to create an award winning experience. An example of such animations are parallax scroll effects, which we have written an article on.
Another great way to enhance your smooth scrolling experience is to create other scroll trigger animations. There is a section on that in our guide on how you can add Lottie Animations in Webflow.
Troubleshooting and Common Issues
Lenis Not Working? Here’s How to Fix It:
- Ensure the script is inside Webflow’s Custom Code (
</body>). - Ensure the stylesheet is inside Webflow’s Custom Code (
</body>). - Disable Webflow’s built-in smooth scrolling in the
Bodyelement settings. - Test on a live published site (not Webflow preview mode).
- Check Developer Tools (F12) for JavaScript errors.
- Compare your implementation with Lenis documentation.
Conclusion
Lenis is one of the best ways to add smooth scrolling in Webflow. Compared to Locomotive Scroll and GSAP ScrollSmoother, Lenis is lightweight, simple to implement, and highly performant.
By following this guide, you can enhance user experience, improve animations, and create a more polished Webflow site. For custom Webflow development, our Webflow Development Agency can assist with implementing similar smooth scrolling features, animations, and even advanced interactions.
Would you like to see Lenis in action? Download our Webflow clonable to try it yourself!