


One of the most effective ways to increase user engagement is to introduce simple animations. Parallax effects are a type of such animations. The goal of using them is to create depth by moving background elements at a different speed than the content that's in the foreground.
There are two type of parallax effect triggers, being on scroll and on mouse hover. While Webflow's animation interface can help the users create both types of parallax interactions, in this article, we will be covering only the on scroll parallax effects.
The main issue with Webflow interactions is the granular control one can get from implementing external JavaScript libraries. In other words, while the animation might look good on one breakpoint, it might provide the website visitor a completely different experience in a different screen size.
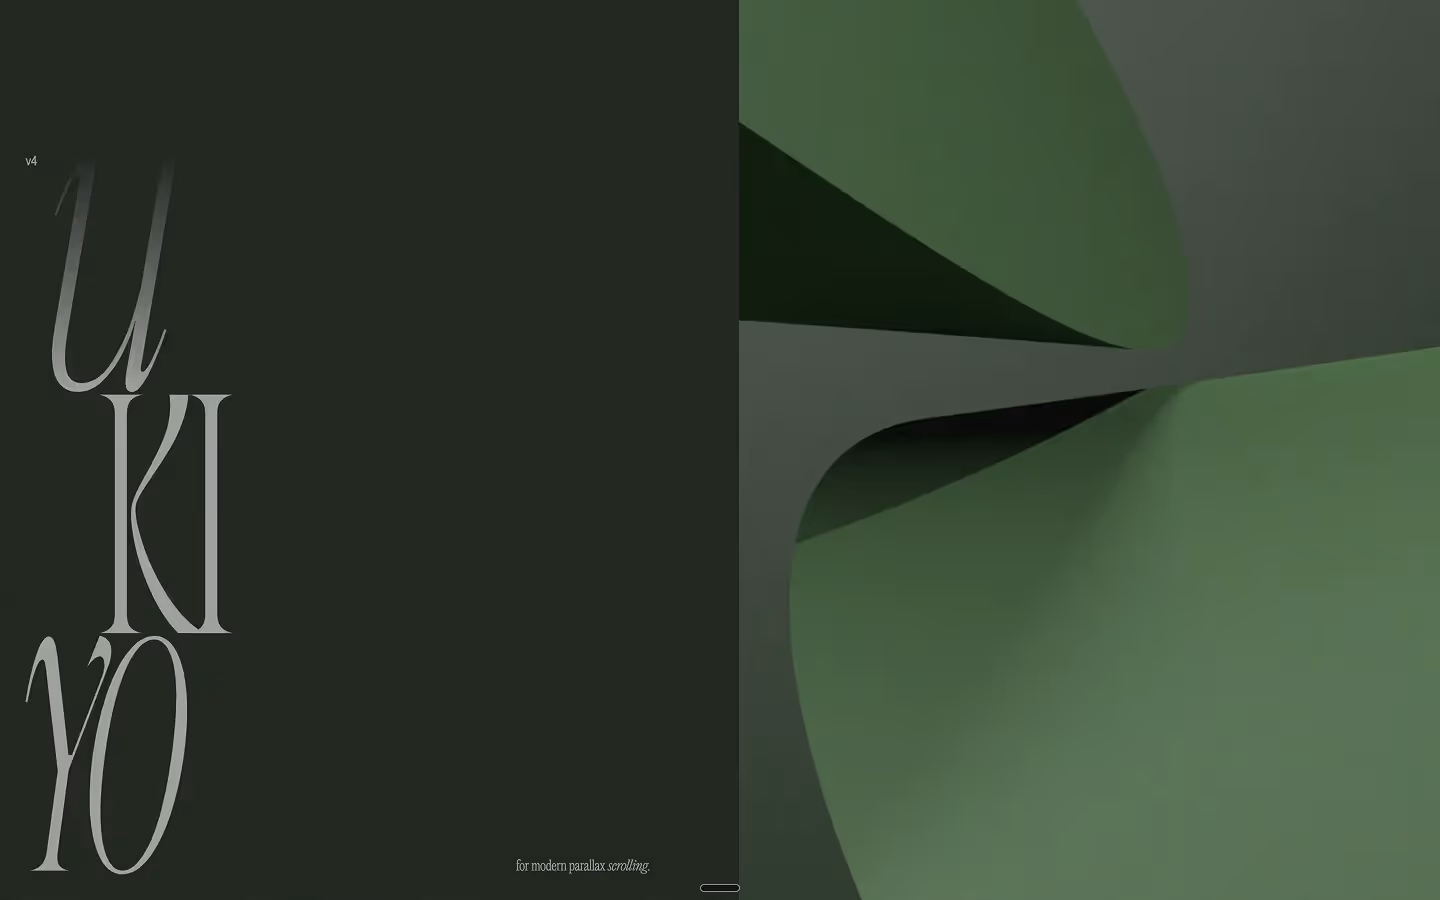
Ukiyo.js is one of many JavaScript libraries that provides a solution to the said issue. It is quite lightweight and is designed specifically to handle parallax scrolling. Unlike Webflow’s native solutions, Ukiyo.js offers better performance, simpler setup, and more precise control over animation behavior.
In this guide, we will walk you through the implementation of Ukiyo.js in Webflow.
Why Use Ukiyo.js Instead of Webflow’s Built-In Interactions?
Webflow provides interaction tools that allow users to create basic parallax effects. However, these interactions rely on CSS transforms and are often limited by Webflow’s UI constraints. Creating a smooth effect that adjusts dynamically based on scroll position requires custom scripting, which is where libraries such as GSAP and Ukiyo.js excel.
Ukiyo.js is designed specifically for parallax animations, making it lightweight and easy to integrate. It ensures smooth motion without performance drops, especially on image-heavy pages. Unlike Webflow’s interactions, which apply movement in fixed increments, Ukiyo.js continuously updates the position based on scroll position, resulting in a more natural motion.
Implementing Ukiyo.js in Webflow
Step 1: Add Ukiyo.js to Webflow
The first step is to import Ukiyo.js in Webflow. For that, press "P" while in "designer mode", hover onto the page you want to import the library to, click onto the gear icon, from were you will drop into the page settings. From there, add the following code into the </body> custom code:
1<script src="https://cdn.jsdelivr.net/npm/ukiyojs@4.1.2/dist/ukiyo.min.js"></script>This ensures the script loads only on the page where the effect is needed. And in case you need it on every page, go to the Site Settings. Drop into Custom Code tab, and add the snippet into the before body closing tag.

Step 2: Set Up Webflow Elements
Instead of applying parallax to a hero section, we will add the effect to images throughout the page. In Webflow, create an image block inside a div wrapper. Assign a class to the image, such as .parallax-image. This class will be used to target the element with Ukiyo.js.
The recommended structure in Webflow:
- A div block (container)
- An image element inside the container
- Assign the
.parallax-imageclass to the image - Style the image with the appropriate object-fit settings such as Cover or Fill.
This setup allows Ukiyo.js to target and animate multiple images independently.
Step 3: Initialize Ukiyo.js in Webflow
Once the page structure is ready, the next step is initializing Ukiyo.js. Add the following script to Page Settings > Footer, or place it in an Embed Block inside Webflow:
1<script>
2let ukiyo = new Ukiyo{'.parallax-img', {
3	scale: 1.3,
4	speed: 1.5,
5	willChange: true,
6	wrapperClass: 'interface-wrap',
7	externalRAF: false,
8})
9</script>
This script selects all elements with the .parallax-image class and applies the Ukiyo.js parallax effect. The scale parameter controls how much the image expands when scrolling, while speed adjusts the animation intensity. The willChange property improves rendering performance by optimizing GPU usage.
Customizing the Effect
Ukiyo.js allows for further customization based on design requirements. Adjusting the scale parameter changes how much the image enlarges during the animation. Increasing speed makes the effect more pronounced, while lowering it creates a subtle movement.
In specific cases when the user is concerned about mobile performance, the animations can be disabled on smaller screens by implementing some conditional logic:
1<script>
2if ( $(window).width() < 768) {
3  let ukiyo = new Ukiyo{'.parallax-img', {
4	scale: 1.3,
5	speed: 1.5,
6	willChange: true,
7	wrapperClass: 'interface-wrap',
8	externalRAF: false,
9  })
10}
11</script>
This additional code is a logical statement that makes the script run only if the viewport width is smaller than 768px wide. In other words, it runs on larger screens, while shuts down on smaller devices to avoid performance issues.
If you've done everything correctly, you should now have scroll animations that are boosting on page engagement. And if you want to find other types of animations that should boost your site's engagement, you should check out our guide on adding Lottie animations in Webflow.
Combining Parallax with Smooth Scrolling Libraries
Parallax effects become even more engaging when paired with smooth scrolling libraries. By integrating a solution such as Locomotive Scroll or any other smooth scrolling libraries, you can unify your site’s transitions to create fluid motion throughout the page.
We've covered the use of Lenis smooth scrolling library in another article. If you're aiming to push your scrolling animations to the next level, we invite you to explore that guide as well.
Troubleshooting Common Issues
- Script Placement – Ensure that the Ukiyo.js script is loaded in the
</body>before initialization. - Class Name – The script targets elements with
.parallax-image, so confirm that this class is correctly assigned in Webflow. - Conflicting Interactions – Webflow’s native animations might interfere with Ukiyo.js. Disable Webflow interactions on elements using Ukiyo.js.
- Mobile Responsiveness – If the effect looks too aggressive on touch devices, consider reducing the speed or disabling it entirely on mobile per the described method.
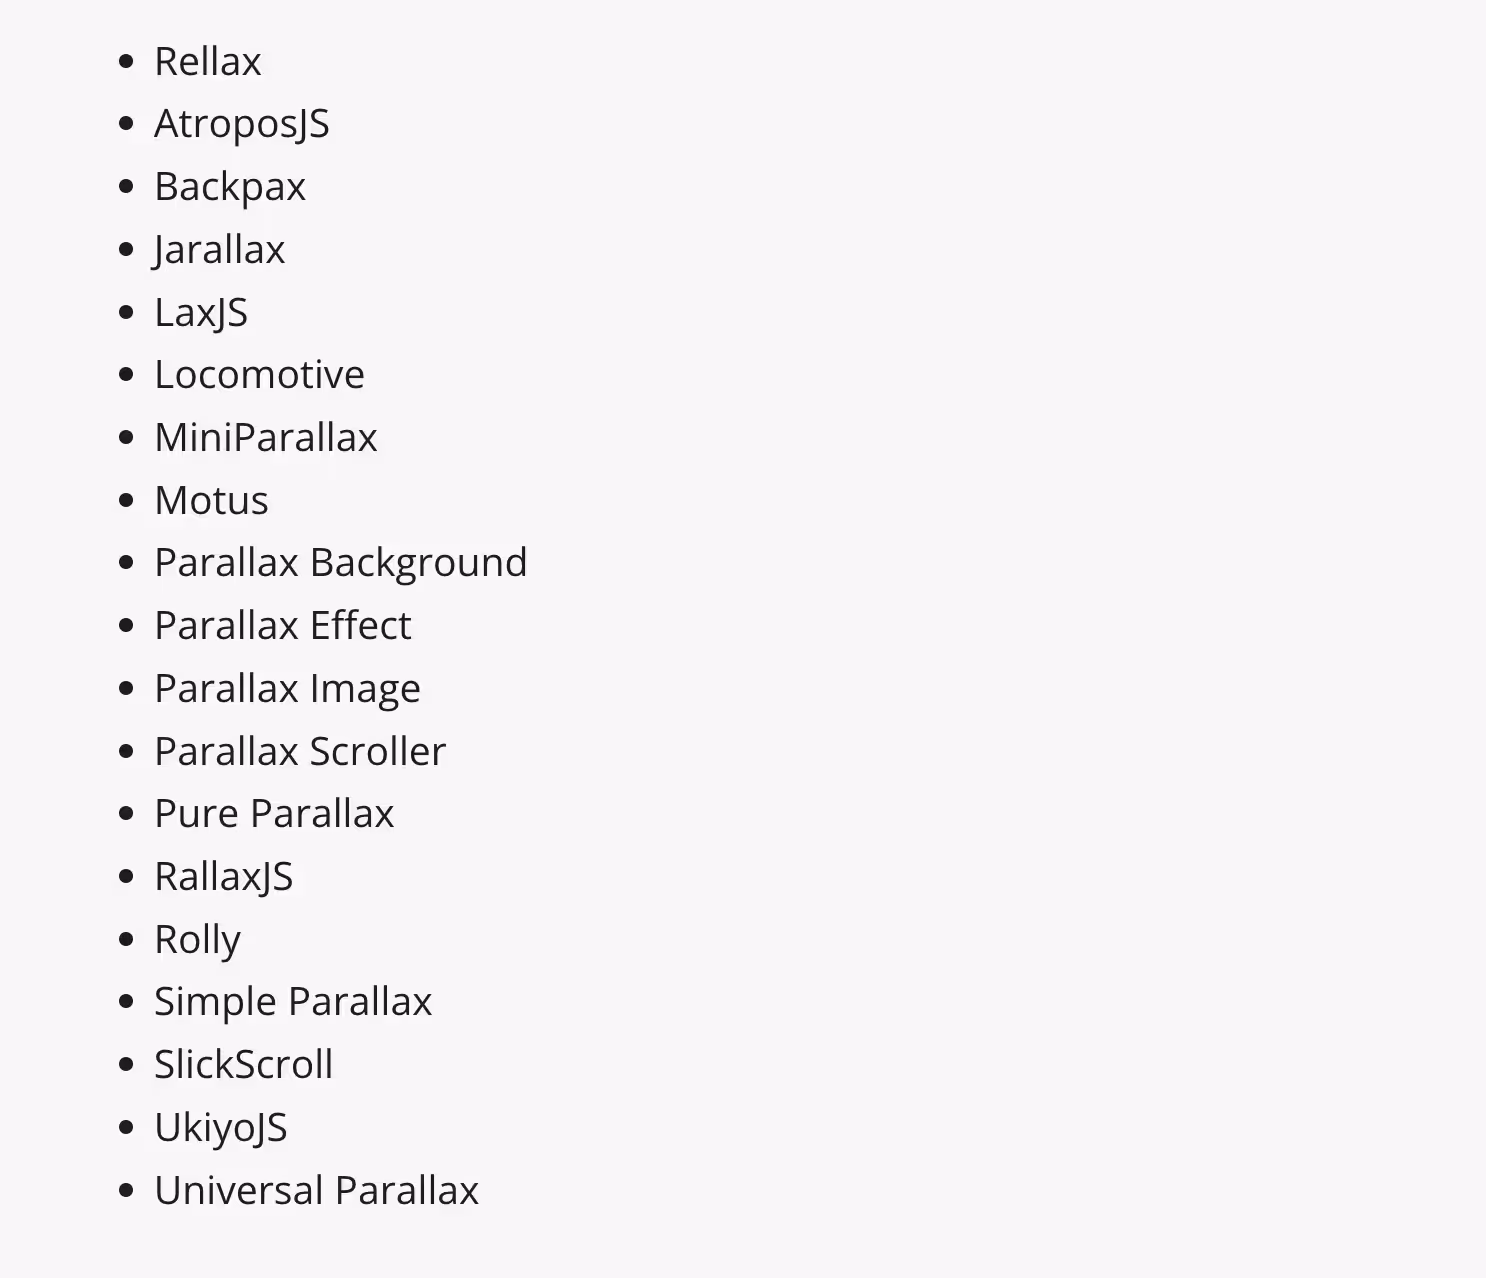
And if you want more control over your parallax effects that Ukiyo does not provide, here's a list of other parallax libraries that is worth exploring:
Conclusion
Integrating Ukiyo.js in Webflow allows for smooth, scalable parallax animations that go beyond the limitations of Webflow’s built-in interactions. By targeting images throughout a page rather than a hero section, the effect can be applied in a way that enhances user engagement without overwhelming the design.
If you want to implement this quickly, download our free Webflow clonable with Ukiyo.js preconfigured and ready to use.
With that being said, there are multiple different background effects that can help you increase user engagement on site. You can learn more by reading our article on how you can change background in Webflow.
If you run into any challenges or prefer professional assistance, our Webflow development agency can handle the implementation process for you. We'll make sure your website is both stunning and optimized for performance, no matter how big your project is.