Integrating Webflow with Xano gives you a designed front end backed by a scalable database and API layer. This guide shows when to use Direct API, Wized, or MCP, how to connect a Webflow form to Xano in minutes, and which patterns fit common use cases like memberships, marketplaces, and dashboards. You’ll also learn key security steps and how to decide when a specialist team should step in.
Why Use Xano as a Backend for Webflow
Webflow is a powerful tool for building and designing websites, but when projects require more than static content or light CMS work, its limitations become clear. This is where Xano becomes valuable as a backend solution.
Benefits of Using Xano
- Scalability: Xano can handle complex queries and large amounts of data without slowing down your site.
- Database Management: It provides a relational database that allows you to structure and connect data beyond what Webflow’s CMS can support.
- APIs: Xano automatically generates secure APIs for any database you create, making it straightforward to connect with Webflow.
- Authentication: User authentication, roles, and permissions can be managed directly in Xano.
Why Pair Webflow and Xano
When combined, Webflow takes care of design and frontend presentation, while Xano powers the backend. This creates opportunities to build apps and websites that go beyond static marketing sites, such as membership platforms, SaaS products, and marketplaces. Read Xano documentation to learn about the key concepts in using this no-code backend.
Core Xano Integrations You Should Know
Beyond connecting to Webflow, Xano integrates with a range of automation tools that can expand what your application can do. Understanding these core integrations helps you design workflows that go beyond the basics.
Stripe for Payments
Stripe can be integrated with Xano to handle secure transactions, subscriptions, and credit management. This is useful for Webflow sites that need ecommerce or SaaS payment flows.
For simpler Stripe use cases, refer to our guide on how to hook up Webflow to Stripe.
JetAdmin for Dashboards
With JetAdmin, you can create dashboards powered by Xano’s database, giving teams or customers real-time insights into their data.
Make.com for Automation
Make.com (formerly Integromat) connects Xano to thousands of other apps, helping automate workflows such as email notifications, CRM updates, or lead routing.
Another popular automation tool used with both Webflow and Xano is Zapier. We wrote a Some Xano integration projects are complex and require expert helpguide, teaching you how to integrate Webflow with Zapier, but before finalizing your tech stack, read our Make vs Zapier guide comparing the two automation tools.
Connecting Webflow and Xano: Your Options
There are several ways to connect Webflow and Xano, depending on the complexity of your project and the tools you prefer. Choosing the right method ensures your application runs smoothly and scales with your needs.
Direct API Setup Between Webflow & Xano
Connecting Webflow directly to Xano via APIs is the most straightforward approach. This method is suitable for teams with some technical expertise and projects that do not require advanced middleware.
- Use Webflow forms or custom code to call Xano’s auto-generated REST APIs.
- Handle data retrieval, updates, and authentication directly.
- Suitable for projects with simple requirements or teams comfortable with APIs.
Mini Walkthrough: Connecting a Webflow Form to Xano
One of the most common integrations between Webflow and Xano is sending form submissions directly into a Xano database. This setup works well for capturing leads, user signups, or any structured data.
Step 1: Create a Xano account and log in
- Go to Database and create a new one
- Choose Enter data manually so you can define your own structure
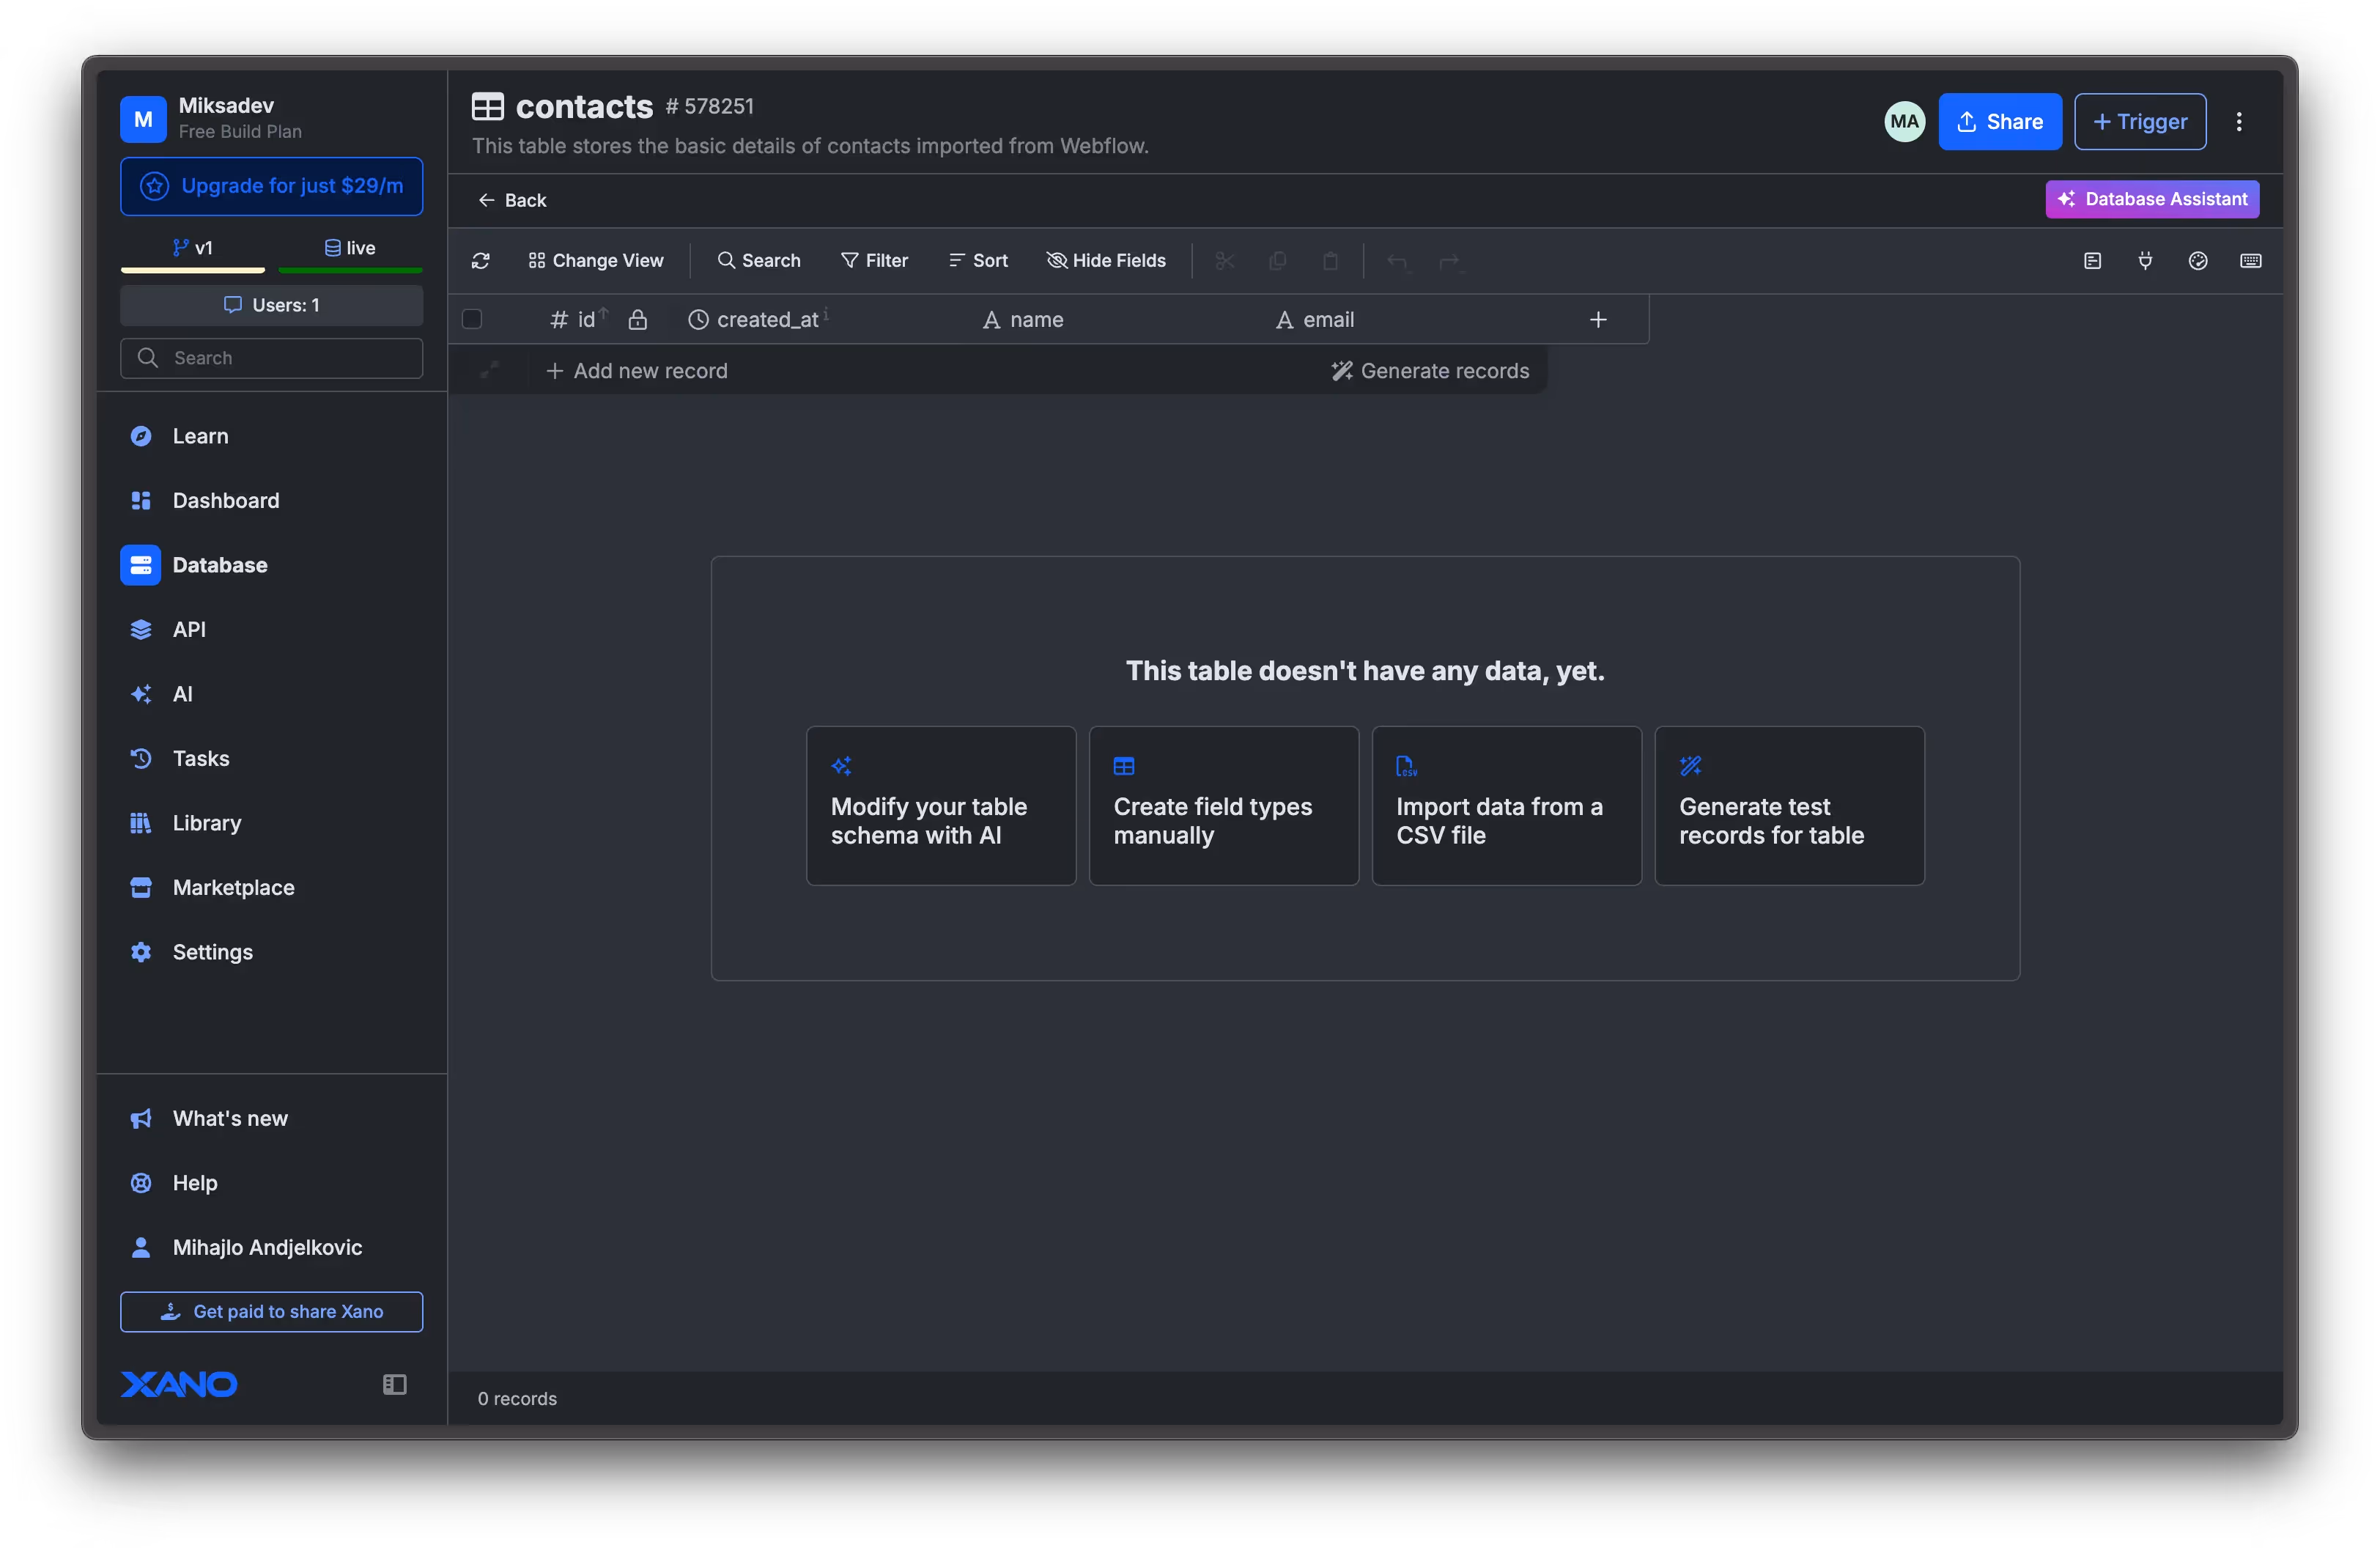
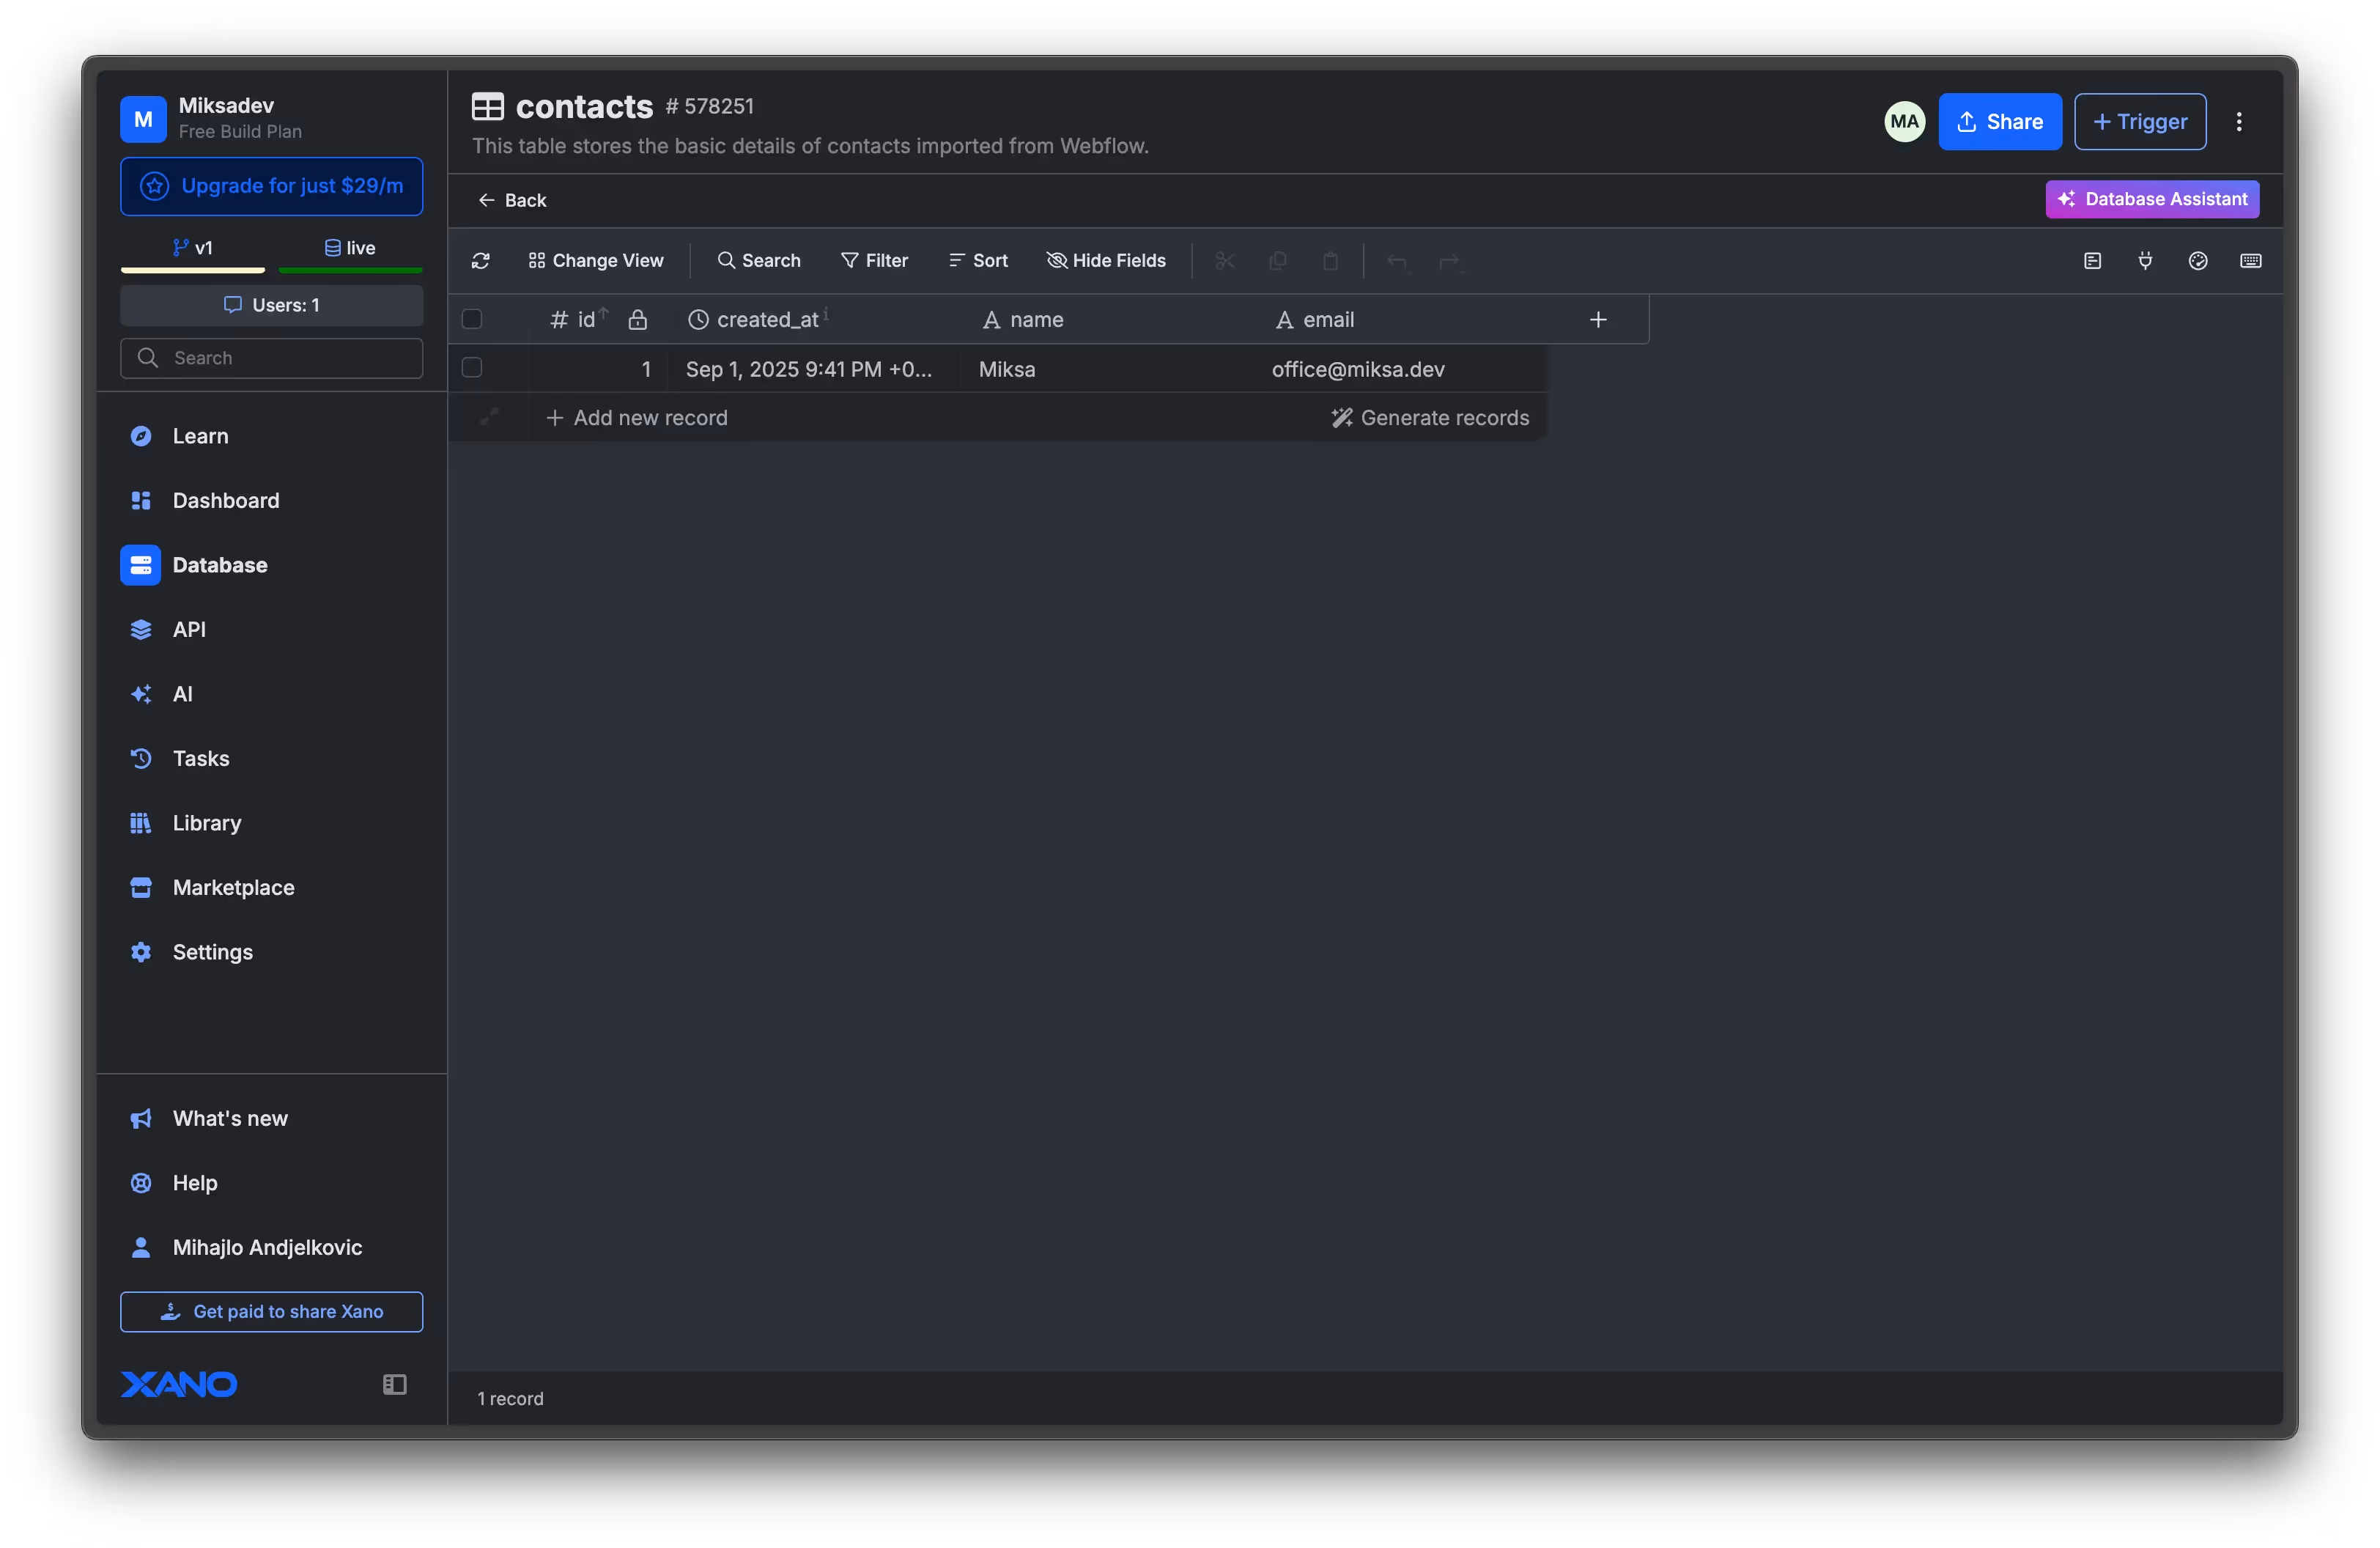
Step 2: Add a contacts table with two columns
- Column 1: name → add rule trim (cleans extra spaces)
- Column 2: email → add rules trim + lowercase (ensures all emails are stored in lowercase)
Step 3: Go to the API tab and create a new API group
- Click Add API Group → name and describe it however you like
- Select Custom so you have full control
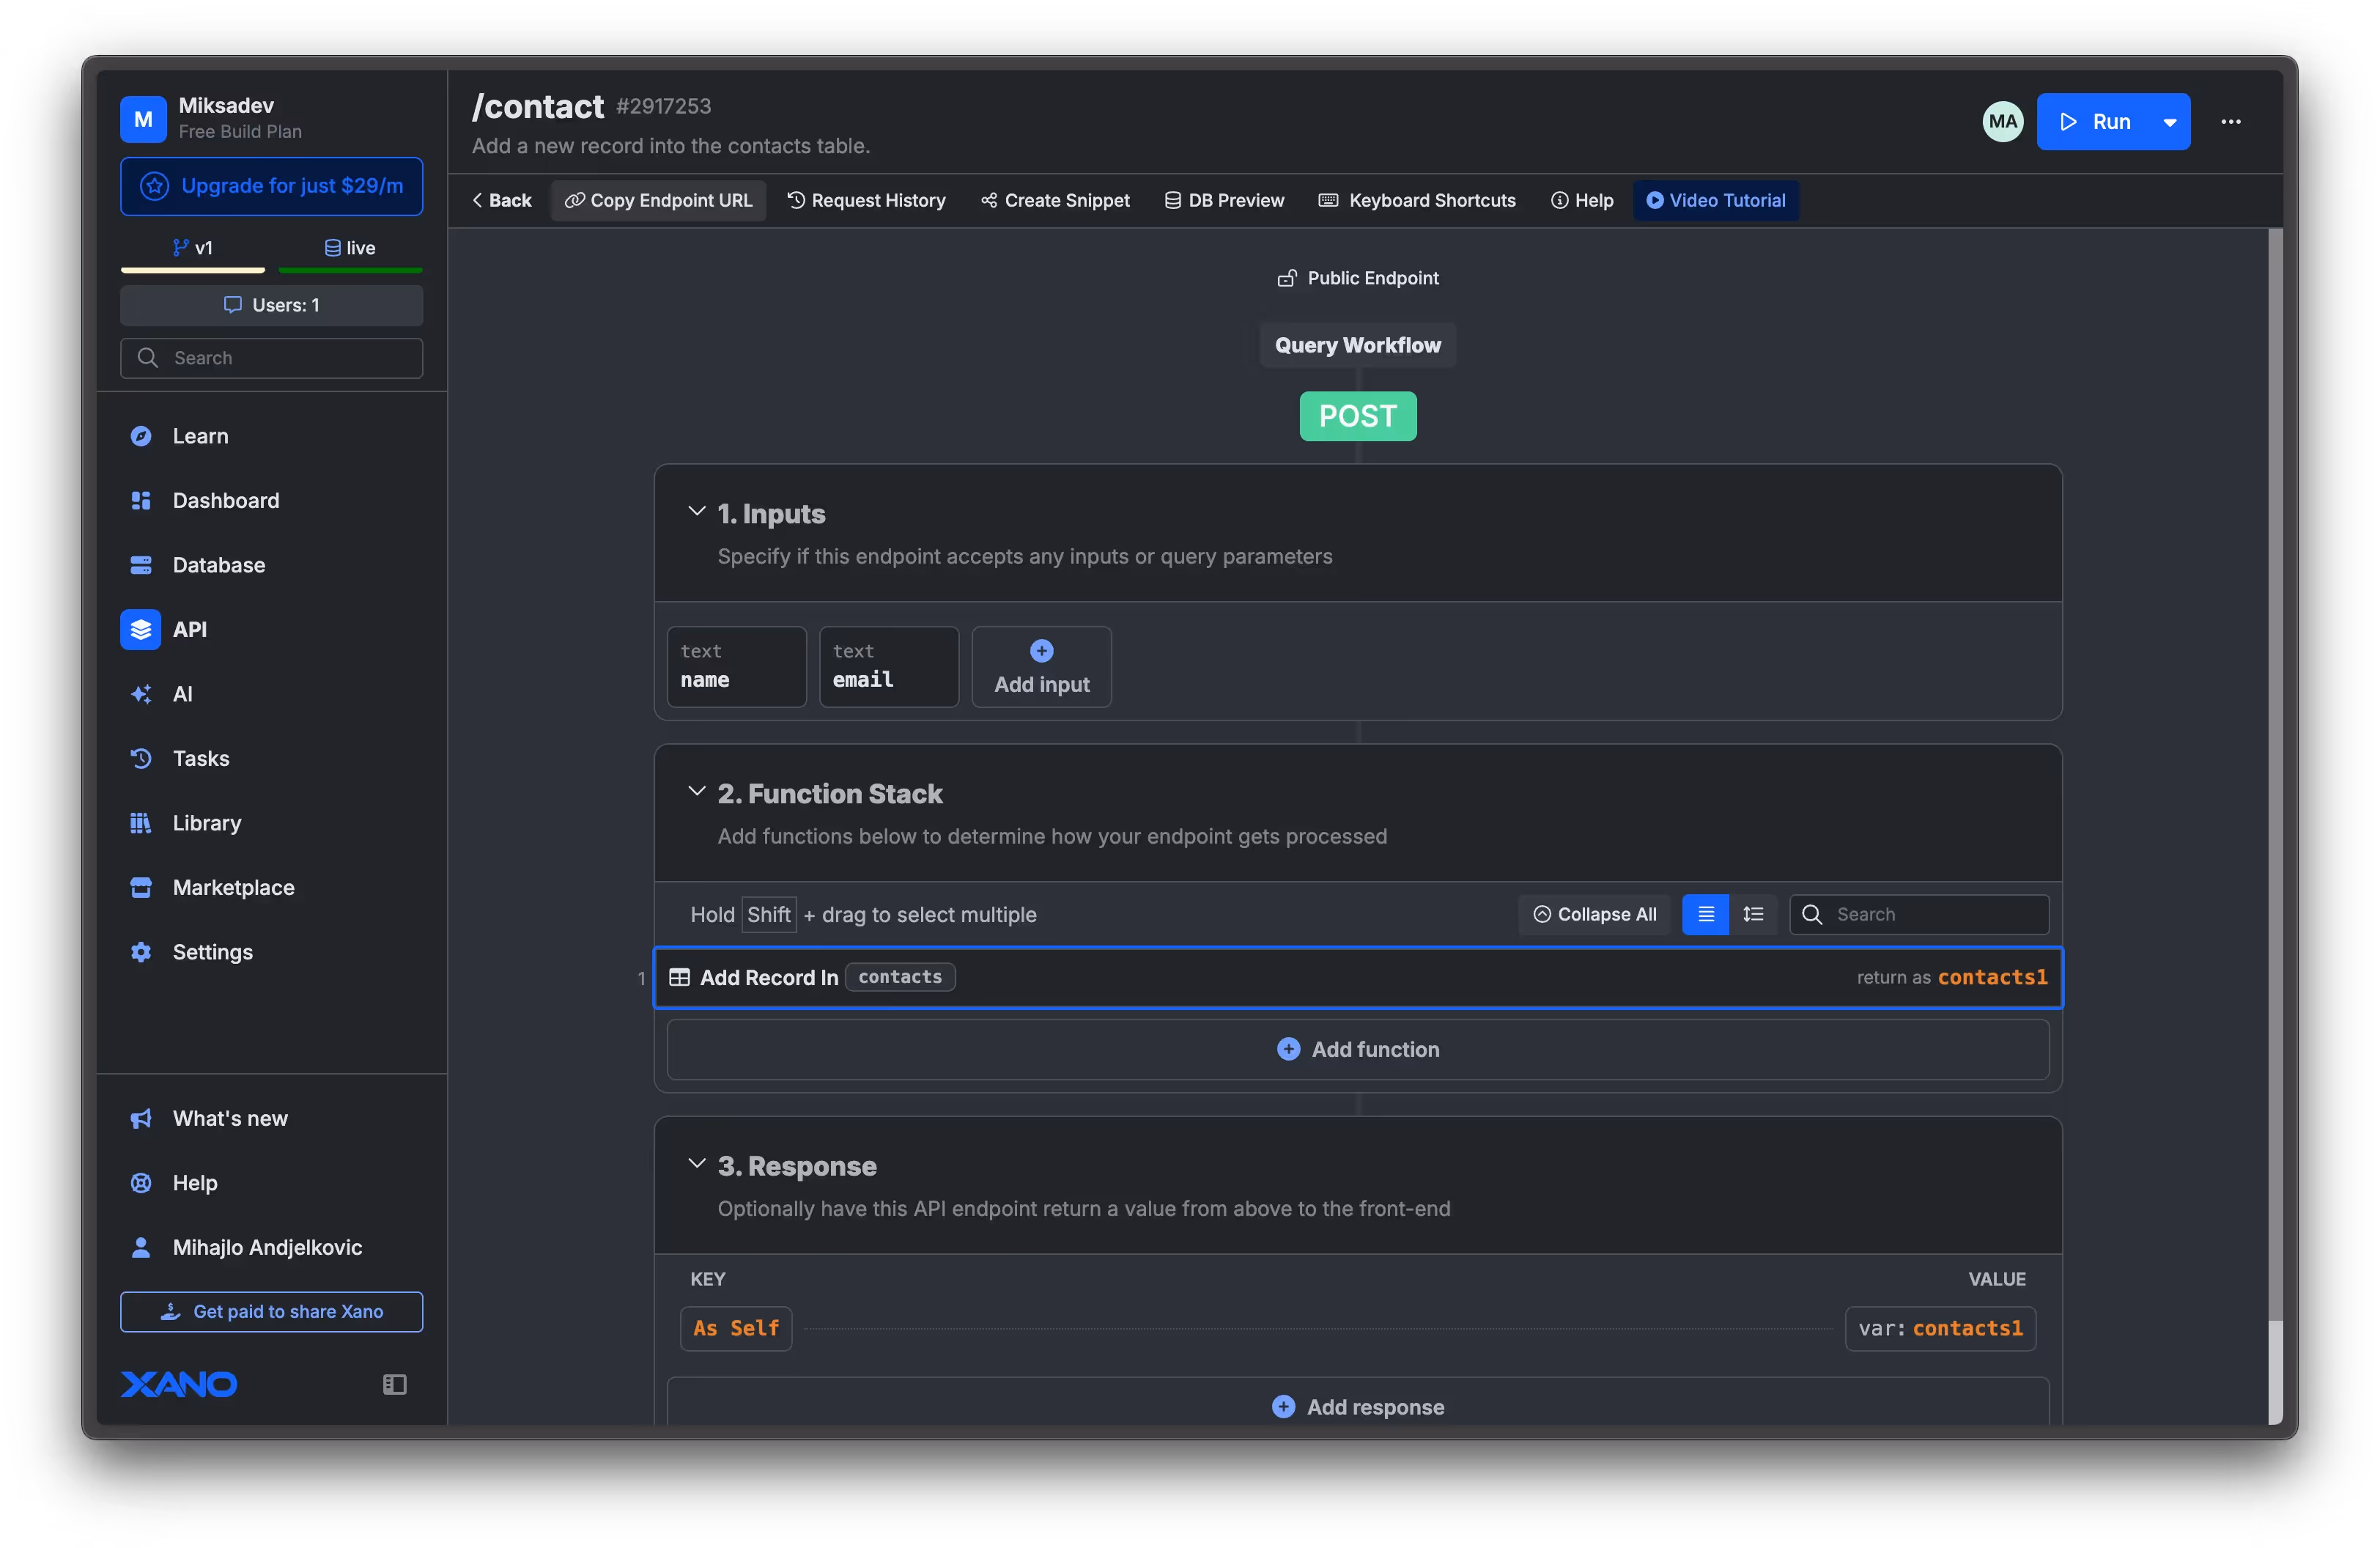
Step 4: Inside the group, add a new API endpoint
- Click Add API Endpoint → Custom endpoint
- Give it a name, set verb to POST (we’re sending data)
- Disable authentication so the form can call it directly
Step 5: Add inputs for the endpoint
- Input 1: name
- Input 2: email
- These will be passed from the form to your database
Step 6: In the Function Stack, add the Add Record function
- It connects your inputs to the table columns
- If the fields don’t auto-link, type them in manually (they’ll turn orange when correct)
Step 7: Publish the endpoint
- You can add a message or skip it
- Copy the generated endpoint URL — this is what Webflow will use
Step 8: Go to Webflow and create a simple form
- Add fields for name and email
- Make sure the name attributes are exactly name and email (lowercase)
- Set a form ID (e.g.,
email-form) → you’ll need it for the script
Step 9: Add the custom script to your Webflow page
- form variable must match your form ID
- submitButton.value sets the loading text when submitting
- Paste the copied endpoint URL into the variable
r
Step 10: Publish your Webflow site and test it
- When the form is submitted, you should see Webflow’s native success message
- In Xano, open the contacts table → a new record with name + email should appear
Security tip: Protect your endpoint by enabling authentication in Xano or using reCAPTCHA in Webflow to prevent spam.
Webflow + Wized + Xano
Wized acts as a bridge between Webflow and Xano, offering more control and flexibility for dynamic applications. It is ideal when projects require complex logic, gated content, or real-time user interactions.
- Wized acts as a bridge between Webflow and Xano.
- Ideal for membership sites, SaaS apps, or gated content.
- Handles authentication flows, dynamic data binding, and secure API requests.
To get a better understanding of use cases where you can use Wized + Webflow + Xano as a tech stack, see Wized docs.
Integration Options Compared
Here’s a comparison of the main integration methods available when connecting Webflow and Xano. This table helps clarify when each approach makes sense and what to watch out for.
Practical Use Cases for Webflow + Xano
Pairing Webflow’s design flexibility with Xano’s backend power opens the door to building applications that go far beyond static sites. Here are some of the most practical scenarios where this combination shines.
Membership Sites
Membership sites benefit from having secure authentication and gated content. Xano provides the backend logic to manage roles and permissions, while Webflow delivers the front-end experience.
- Use Xano to manage user authentication, permissions, and gated content.
- Use Xano to display data of protected users securely.
While Xano is a no-code backend development tool, membership functionalities is only one of many use cases. To avoid building the whole membership boilerplate, many Webflow developers refer to specialized tools like Outseta or Memberstack. To learn how to bring Membership functionalities to Webflow websites, see our Memberstack Webflow integration guide.
Marketplaces
Marketplaces often involve buyers, sellers, and multiple transactions. Xano’s database manages complex interactions while Webflow creates a polished user interface.
- Store product listings, user data, and transaction records in Xano.
- Allow buyers and sellers to interact in real-time through Webflow’s frontend.
SaaS Dashboards
SaaS dashboards require dynamic data that is personalized for each user. Xano handles the heavy lifting in the backend, while Webflow presents the information in a user-friendly way.
- Display user-specific data by pulling from Xano’s database.
- Manage dynamic reporting, analytics, or account management inside Webflow.
I was unsure about Xano coming from native code. It’s proven faster to iterate and more cost-efficient—issues get fixed, tested, and pushed to production quickly.
— WeiJi Zhang, Founder & COO @EcoBeam GmbH

Community Platforms
Communities thrive on interaction and shared content. Xano provides the database and role management to support these interactions, and Webflow ensures a smooth design and navigation.
- Build forums, event listings, or social spaces powered by Xano.
- Control visibility and access rights through authentication and role logic.
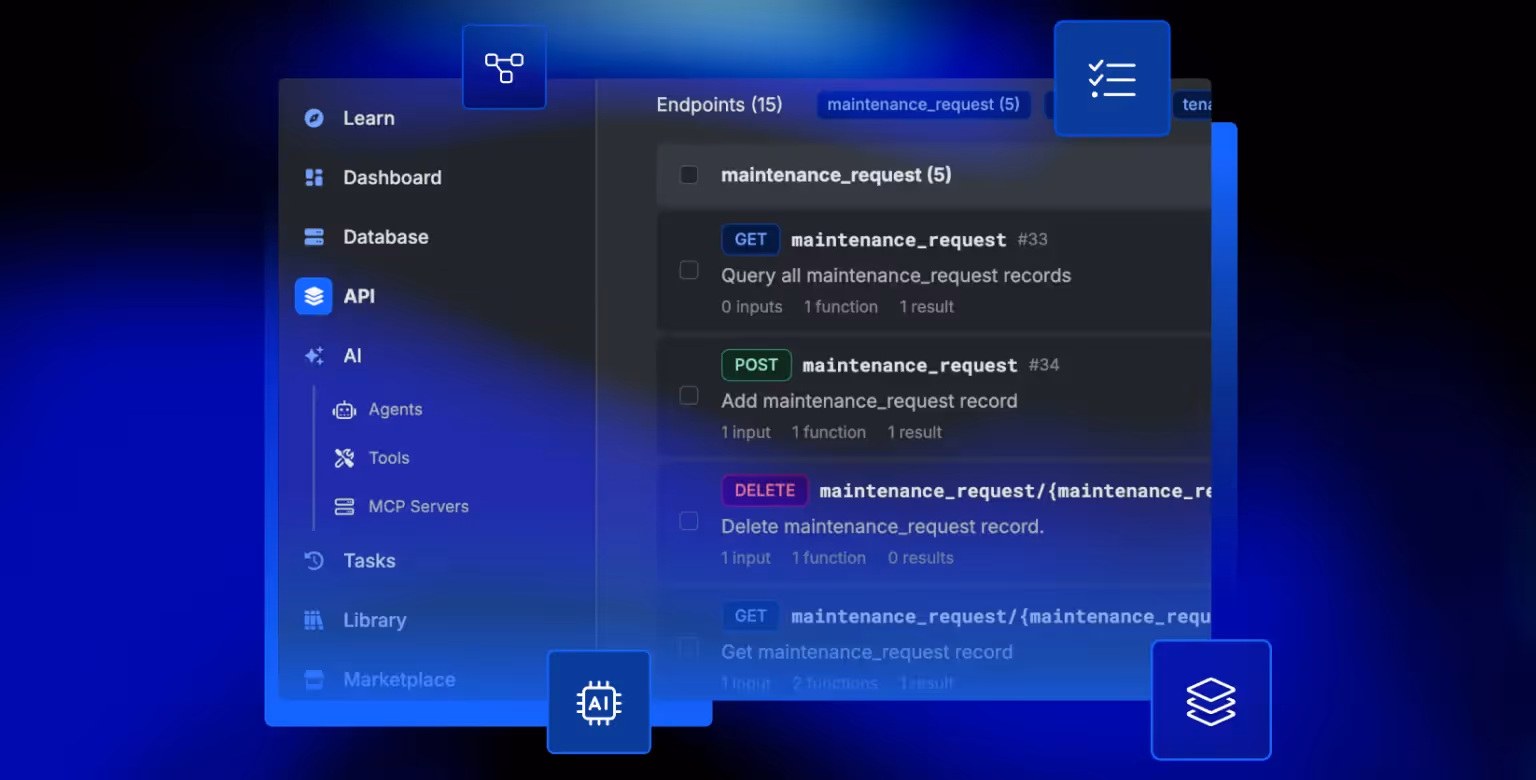
Using Webflow MCP Alongside Xano
After walking through today’s practical use cases, it’s worth highlighting how Webflow’s new Model Context Protocol (MCP) adds another layer to this stack. MCP allows AI agents such as Cursor or Claude to securely read and update Webflow projects, making it easier to automate day-to-day operations while Xano continues powering the backend.
How MCP Fits Into a Webflow + Xano Stack
When paired with Xano, MCP doesn’t replace integrations like Wized. Instead, it provides an AI-powered operations layer:
- Xano continues to serve as the backend database and API logic.
- Webflow remains the frontend where users interact.
- Wized handles runtime application behavior such as authentication and dashboards.
- MCP handles bulk updates, content syncs, and development automations.
Example Workflows
- CMS sync: Pull product or user data from Xano and automatically publish it into Webflow CMS collections.
- SEO management: Use an AI agent to analyze Xano data, generate optimized metadata, and update Webflow pages through MCP.
- Data quality checks: Compare Webflow CMS items against Xano’s database and automatically flag mismatches.
Why It Matters
This creates a modern workflow where teams can prototype with AI tools (Cursor, Lovable), rely on Xano for backend infrastructure, design in Webflow for frontend, and now use MCP to automate operations. It extends what’s possible without replacing existing integration tools.
Limitations and When to Seek Help
While integrating Webflow and Xano opens powerful possibilities, there are limitations and challenges that teams often face. Understanding these ahead of time will help you plan more effectively.
Common Challenges
Some challenges are common across Xano integrations and can slow down progress if not addressed early.
- API Rate Limits: Handling high volumes of requests may cause slowdowns if not optimized.
- Complex Authentication: Advanced user roles or multi-step sign-ups can be difficult to set up without experience.
- Maintenance Overhead: Keeping APIs, automations, and CMS collections aligned requires ongoing monitoring.
Ongoing maintenance and updates are important for API-driven sites. Our Webflow maintenance services ensure that your site and integrations stay up-to-date and secure.
When to Bring in Experts
There are specific situations where expert help makes a significant difference. Recognizing these moments can save time, money, and frustration.
- If your app involves payments, sensitive user data, or scaling beyond a prototype.
- When you need Wized set up for advanced workflows.
- To avoid costly mistakes in database structure or API logic.
How Tilipman Digital Helps With Xano Integrations
Integrating Webflow with Xano can transform a project from a static site into a fully functional application, but it requires technical expertise and experience to do it right. This is where Tilipman Digital can provide support.
Our Expertise
Our team brings specialized knowledge in both Webflow and backend systems like Xano. This combination allows us to deliver seamless integrations that support complex business needs.
- Proven experience in Webflow development combined with backend systems like Xano.
- Deep knowledge of using Wized for complex integrations.
- Focus on performance, scalability, and conversion-driven outcomes.
How We Work
The process we follow ensures that your integration is tailored to your requirements and built to scale. We focus on understanding your goals first and then implementing the right technical solution.
- We begin by understanding your project requirements and mapping out the right integration strategy.
- Our team sets up Xano databases, APIs, and workflows to match your needs.
- We implement the Webflow frontend and connect it seamlessly with Xano through APIs or middleware.
Overall, developing complex web applications is a complex process and to make sure you are mitigating all the risks that come with an extremely technical process, our Webflow development agency can provide hands-on support.
And if you're looking to combine Xano with something else, but not sure if we can integrate Webflow with your tech stack, browse the Webflow integrations we work with.
FAQs on Xano and Webflow Integrations
Can Webflow connect directly to Xano?
Yes. You can use Webflow forms or custom code to call Xano’s REST APIs directly. However, middleware tools like Wized often simplify the process.
Do I need Wized to use Xano with Webflow?
Not strictly. You can connect directly, but Wized make handling authentication, dynamic content, and scaling easier.
What types of apps can I build with Webflow + Xano?
You can build membership sites, SaaS dashboards, marketplaces, and community platforms. Xano acts as the backend database and logic layer, while Webflow manages design and presentation.
How long does Xano connection to Webflow usually take?
Timelines vary depending on complexity. A simple integration might take a few hours, while a fully featured SaaS dashboard can take weeks.
Why hire an agency for Xano integration instead of DIY?
Agencies bring experience in structuring databases, scaling APIs, and avoiding common pitfalls. This reduces risk and accelerates your project timeline.
Can I migrate from Airtable or another backend to Xano?
Yes. Data can be imported from Airtable, Google Sheets, or other sources into Xano’s database. For Airtable-specific use cases, refer to our Webflow Airtable integration guide. The process involves mapping fields correctly and setting up new API endpoints to serve data into Webflow.
What security considerations are there when using Xano with Webflow?
When integrating Xano and Webflow, make sure all API keys are kept secure and stored in environment variables or a secure vault. Limit API permissions to only what’s necessary, enforce SSL/TLS for all data transfers, and configure Xano’s role-based access carefully to avoid exposing sensitive user data. Implementing rate limiting and monitoring helps prevent abuse and ensures reliable performance.