


A clear, functional navigation menu is essential for keeping visitors engaged and guiding them to the right content. Whether you're a designer, developer, or B2B marketer, knowing how to add and manage menu links in Webflow is key to optimizing your site’s performance.
This guide walks you through exactly how to add a link to your menu in Webflow — from top-level items to dropdown menus — so your users never get lost.
Why Add Links to Menus in Webflow?
Your navigation menu is often the first thing users interact with. If it’s confusing or broken, they bounce. But if it’s intuitive and well-organized, users explore more pages — increasing engagement and conversions. For B2B sites especially, where decision-makers skim for info fast, clear menus make or break performance. Read our guide to learn how to develop engaging navigation menus in Webflow.
Understanding Webflow Menus and Navigation
Webflow offers powerful and flexible navigation options built directly into the Designer. You can create:
- Top navigation bars (commonly placed in the header)
- Dropdown menus for grouped links
- Link boxes that act like buttons inside dropdowns or sidebars
Each menu item can link to:
- A different section on the same page (anchor links)
- Another page within your Webflow project
- A different section on a different page
- An external URL
Menus are built with Nav Menu elements and controlled using Webflow’s visual interface — no coding required.
If you're unsure what kind of navigation makes the most sense for your site, check out our Ultimate SaaS Website Navigation Playbook for a full breakdown of navigation types and best practices.
Prerequisites: What You Need Before Adding a Link
Before you start editing your navigation:
- Make sure you have an active Webflow project
- Familiarize yourself with the "Designer" mode in Webflow
- Have a rough idea of your site’s structure (pages, sections, etc.)
Pro tip: Plan your top-level pages first to avoid unnecessary reshuffling later.
How to Add a Link to Menu in Webflow (Step-by-Step)
Step 1: Open Your Project in Webflow Designer
Navigate to the Webflow project where you want to add or edit a menu.
Step 2: Locate the Navigation Menu
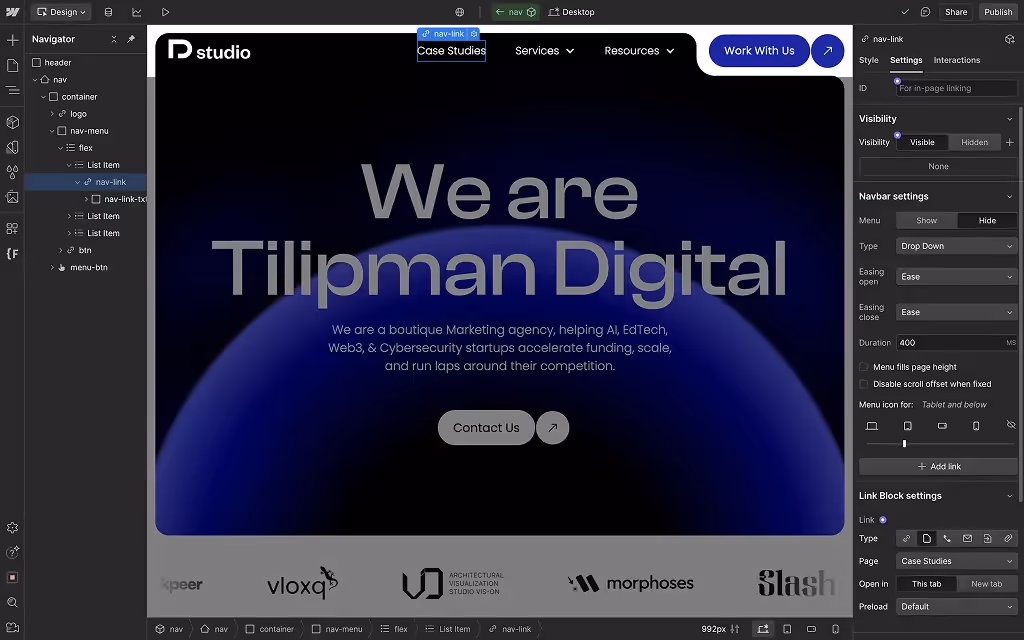
Look for the Navbar element in your page structure by clicking Z and looking at the sidebar on the left. Click to select it. Click down key until you see the existing menu items appear. You can also find the navbar in the visual designer and click on the link to select it.
Step 3: Add or Edit a Menu Item
To add a new link chose one of the following methods:
- Combine
Cmd + Eon Mac andCtrl + Eon Windows and type in "link" into the search bar. Hit "Enter" to add a link to the navigation. To speed up your Webflow workflow, we released a guide on Webflow shortcuts. - Click the plus (+) icon in the left sidebar and find a link element.
- Click
Aon your keyboard and then find the link element within the left sidebar. - Click on an existing menu link and duplicate it.
To edit an existing one:
- Click the menu text block
- Double-click to rename
Step 4: Link the Item
With your new item selected, open the Settings panel by either clicking on the gear icon in the right sidebar, or clicking on D in your keyboard:
- For internal pages: choose Page and select from the dropdown
- For sections: choose Section and link to an element with an ID (e.g., #features)
- For sections in internal pages: choose URL and paste a relative path of the page and an ID of the section you are looking to link to (e.g., /webflow-maintenance#pricing).
- For external links: choose URL and paste the destination; make sure external links open in new tabs
Step 5: Save and Publish
Once your menu is set up, click Publish to push changes live.
Adding Links to a Drop Down Menu in Webflow
To set up a dropdown:
- Find the Dropdown in your elements sidebar menu ("+" in the sidebar, or
Cmd + A) - Drag a dropdown element into your Navbar
- Click on the dropdown element and click
Dto open the dropdown menu settings - Open up the dropdown
- Inside the dropdown list, add Link Blocks or Text Links
- Follow the same link setup steps as above
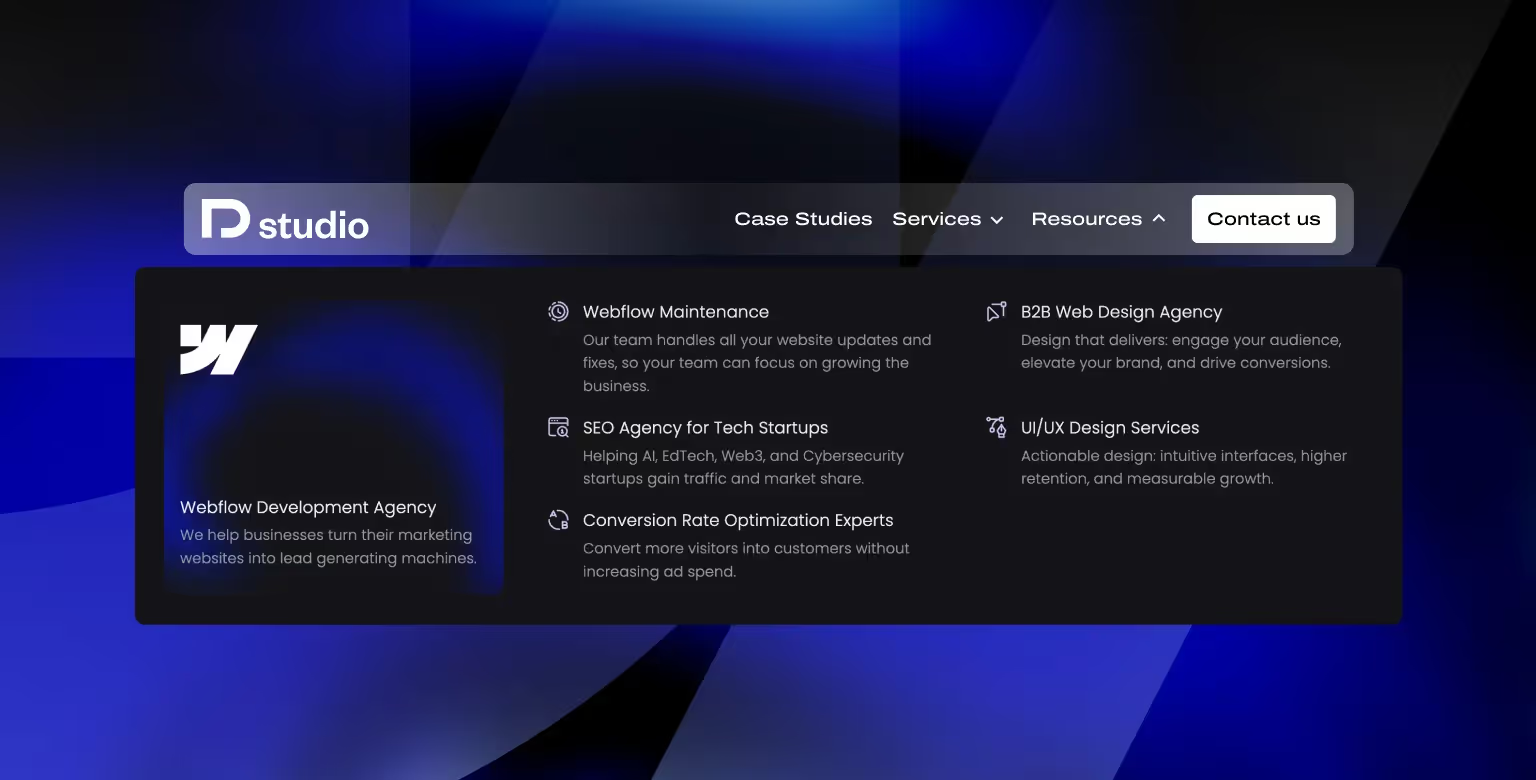
This is especially useful when organizing service categories or resource hubs like what we have in our navigation. To learn more about how dropdown elements work, Webflow has written a guide breaking down the dropdown component.
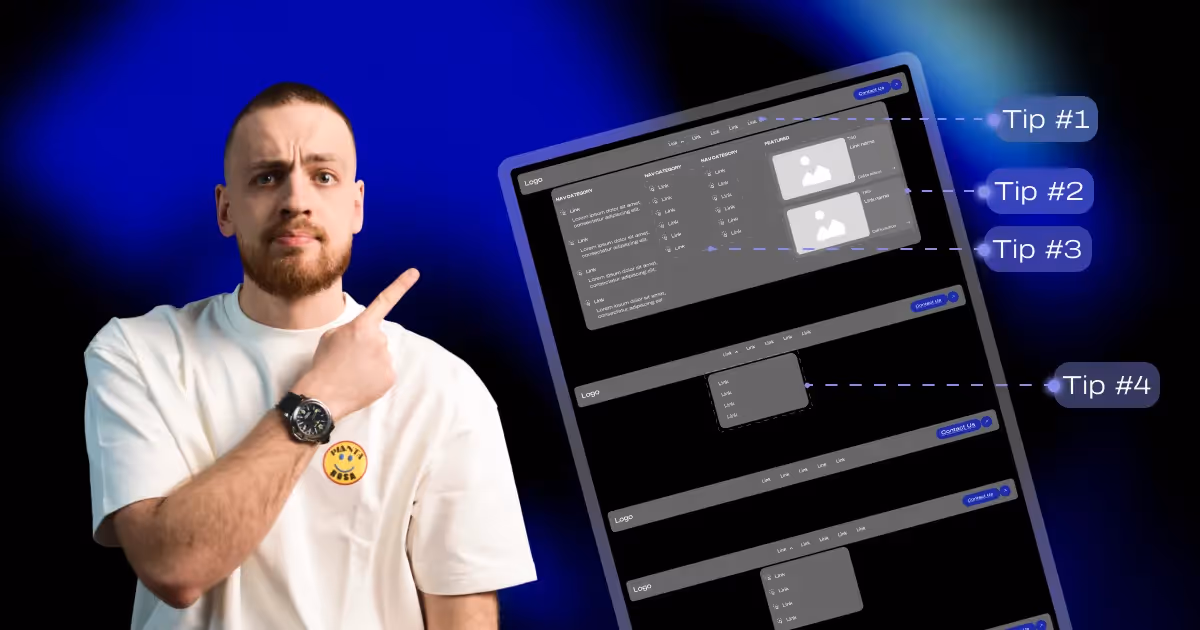
Tips for Organizing and Customizing Menu Links
- Keep naming simple and clear (e.g., “Pricing” instead of “Our Pricing Plans”)
- Use consistent structure: main pages at top level, grouped items in dropdowns
- Consider using icons or separators to improve scannability
Menus aren’t just functional — they communicate structure and brand.

Common Issues and Troubleshooting Menu Links in Webflow
- Link not working? Check if the section or page exists and has the correct ID. Make sure the link is connected to the page / ID.
- Dropdown not appearing on hover? Confirm hover checkbox is checked in dropdown settings.
- Link item doesn’t show up on mobile? Ensure it’s inside the Navbar wrapper and not hidden in tablet, landscape, and mobile breakpoints.
If you run into persistent issues, our Webflow Development Agency can help diagnose and fix them.
When to Seek Professional Webflow Development Help
If your navigation is becoming too complex or isn’t getting user interaction, it might be time to consult a professional offering UI/UX Design Services. Clean, strategic navigation improves SEO, usability, and user trust.
Frequently Asked Questions (FAQ)
Can I link menu items to external sites in Webflow?
Yes. Select the menu item, go to the Settings panel, and use the URL option.
How do I update links in my Webflow menu?
Open the Navbar in Designer view, click the link, open the settings panel by clicking on the gear icon or hitting "D" on your keyboard. Continue to update the destination in the Settings panel.
Conclusion: Enhance Your Site Navigation with Webflow
Strong navigation is one of the most important parts of a high-converting website. Whether you’re linking to pages, sections, or external tools — Webflow gives you the tools to do it visually and easily. Strong navigation is one of the most important parts of a high-converting website.
Want more tips? Explore our Resource Hub or reach out to our team for expert Webflow support.